.png)
Quick Start Guide
Get Started in 5 Easy Steps
Run the Auto-Configuration Wizard
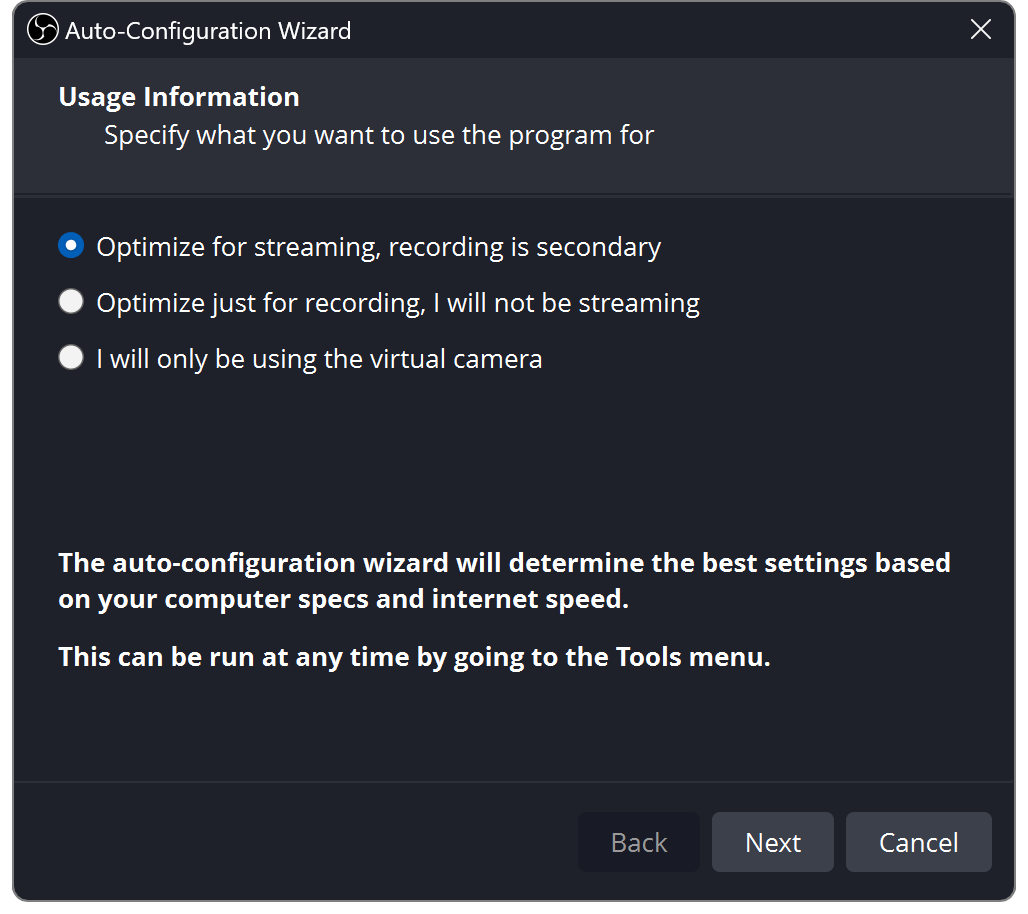
First things first, let's start by setting up the best settings for your recordings and streams. The Auto-Configuration Wizard optimizes OBS Studio for your needs, whether you're streaming fast-paced gameplay or recording high-fidelity video.
It takes into account what you want to do in OBS Studio, your computer's hardware resources, and your network conditions (if you're streaming).
The wizard shows the first time you run OBS Studio. If you wish to use it again, click on the Tools menu → Auto-Configuration Wizard.
Add Sources to your Scenes
Set up your Audio
When you start OBS Studio, you start with a blank scene by default. You can add all kinds of
Sources — to show images, text, video, your
webcam, game play, desktop, etc.
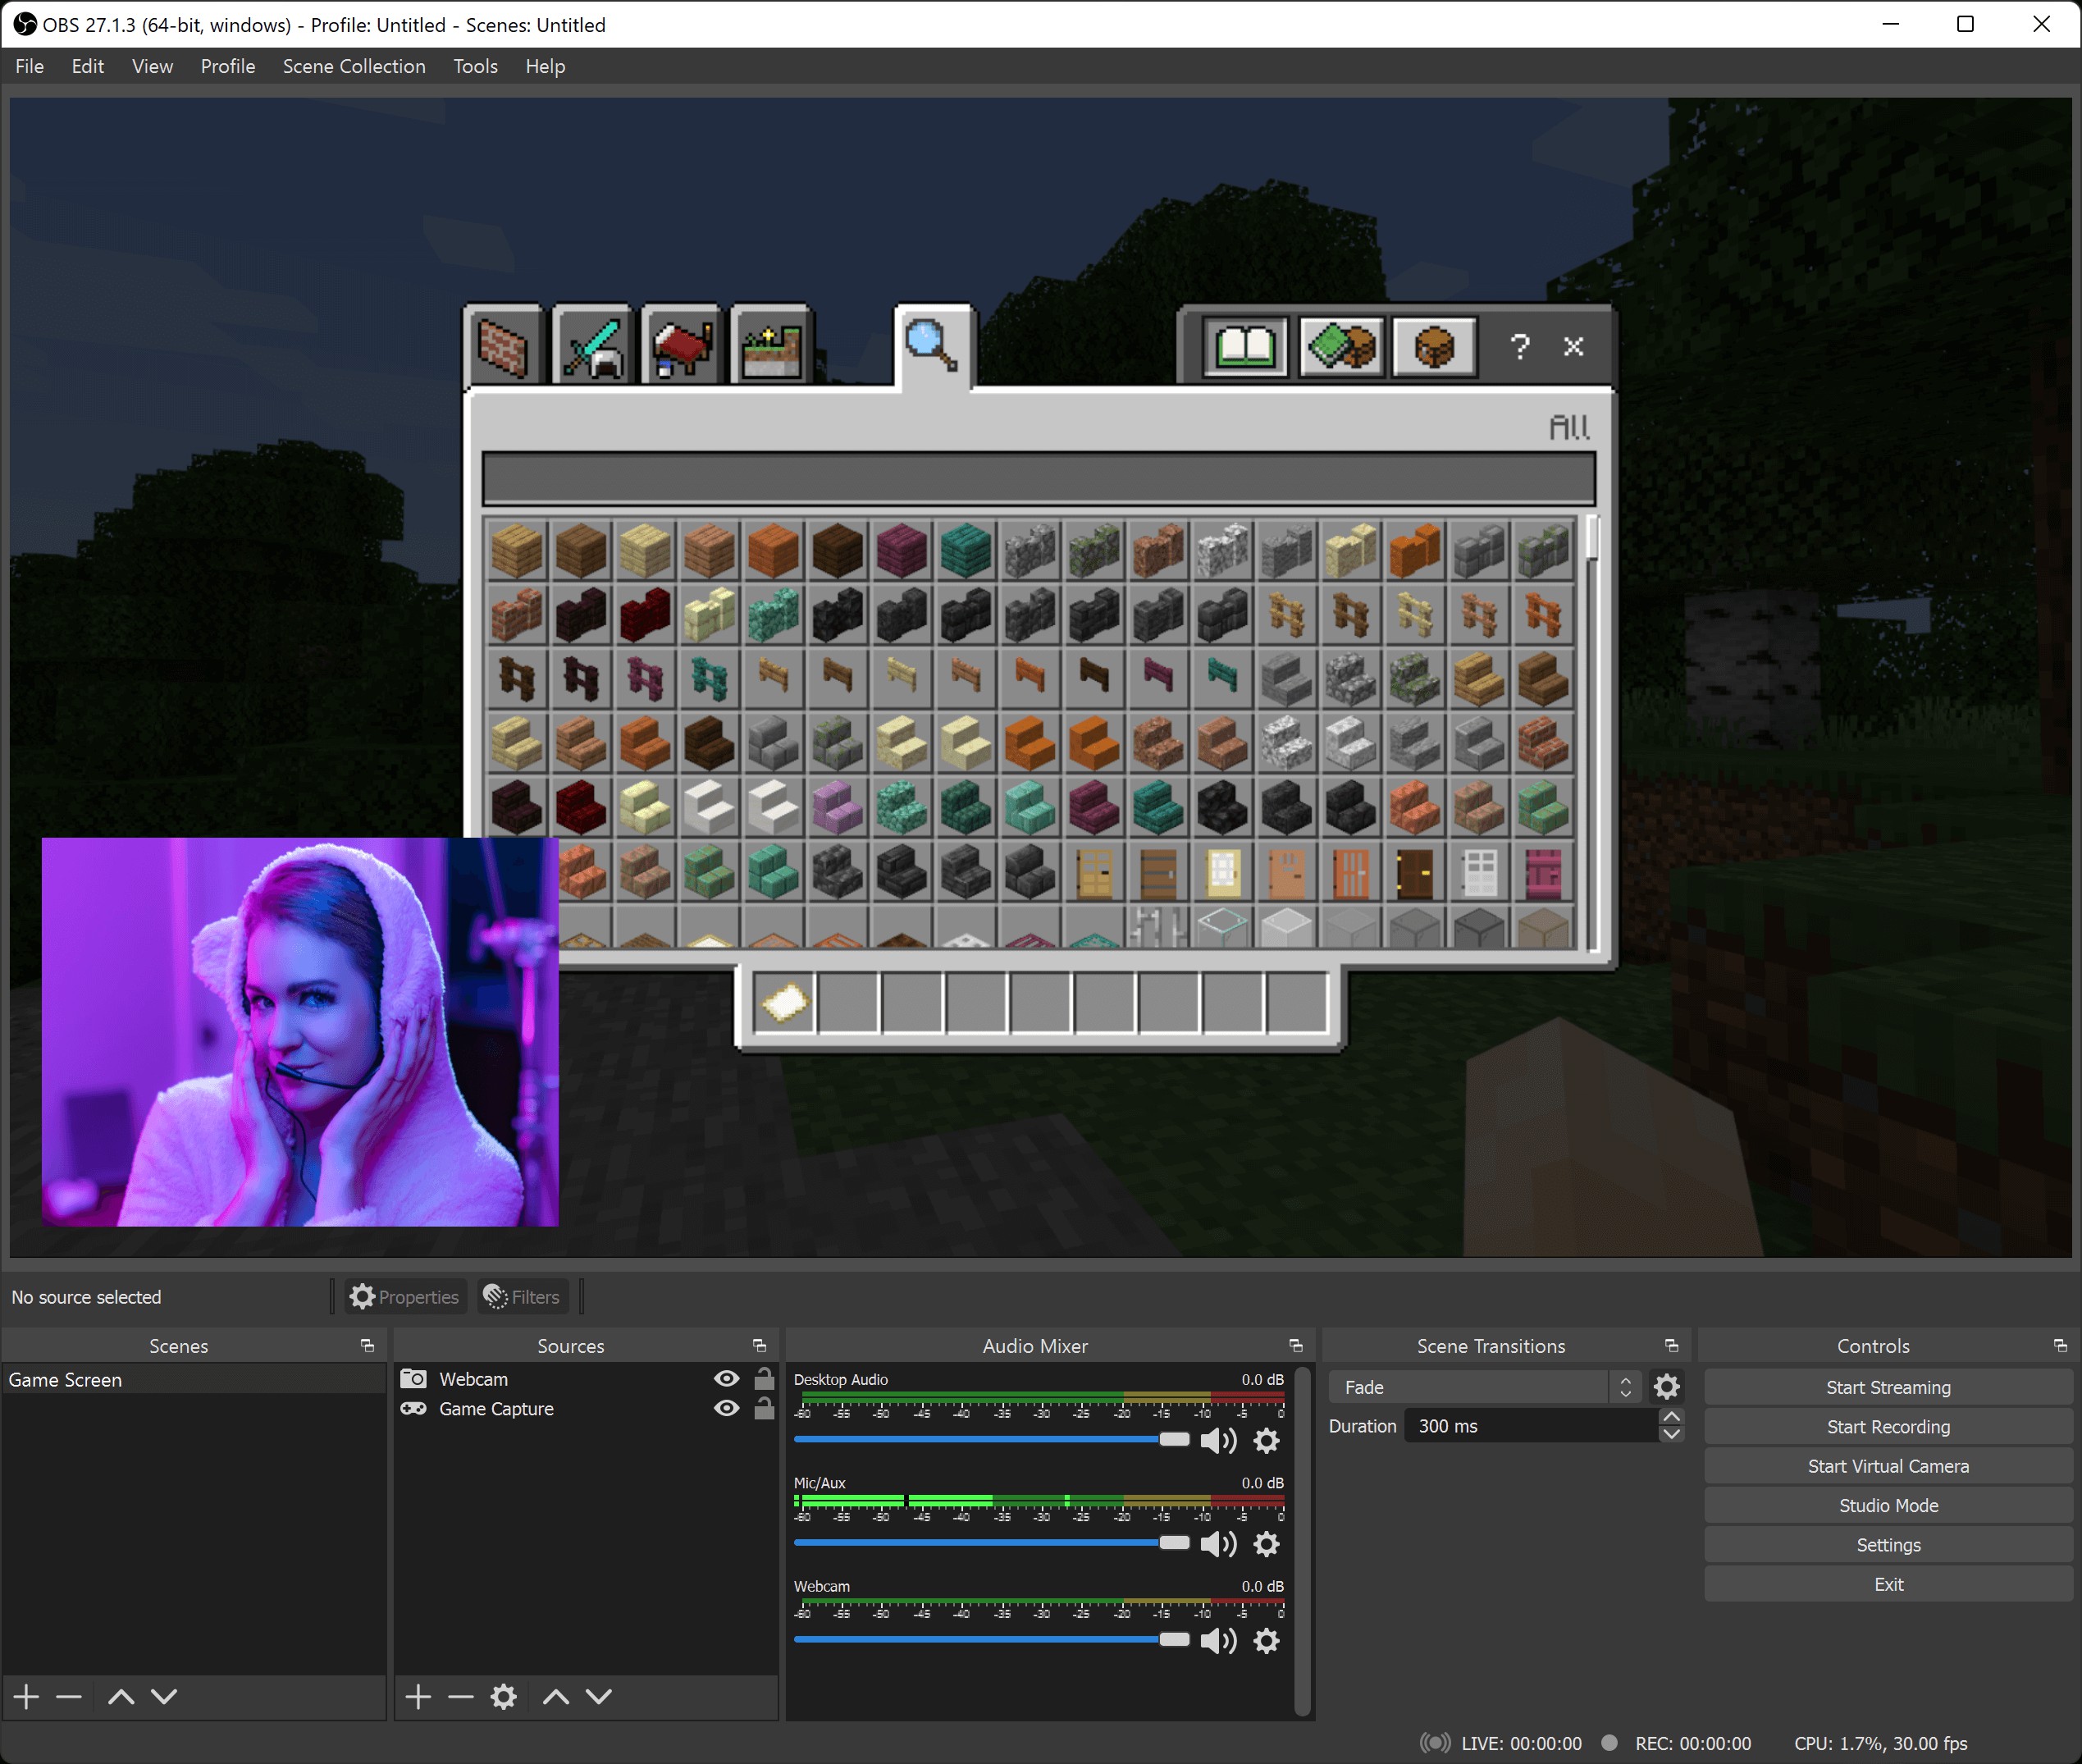
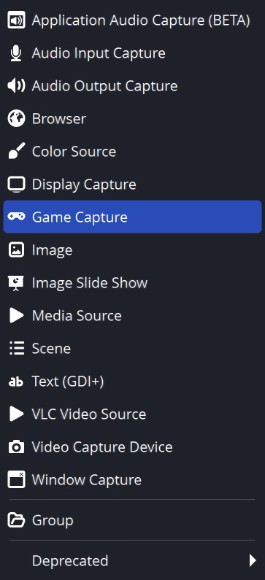
At the bottom of the main window is the Sources Dock. Click on the + symbol to add a source of your choice. Here are a few basic Sources to get you started:
|

|
Display Capture Source and Window Capture Source for Windows and Linux, and macOS Screen Capture Source for macOS — capture your desktop or a single window |
|

|
Game Capture (Windows only) to capture 3D games with the highest performance |
|

|
Video Capture Source to capture your webcam and/or capture cards |
For more information on the various sources, check the Sources Guide
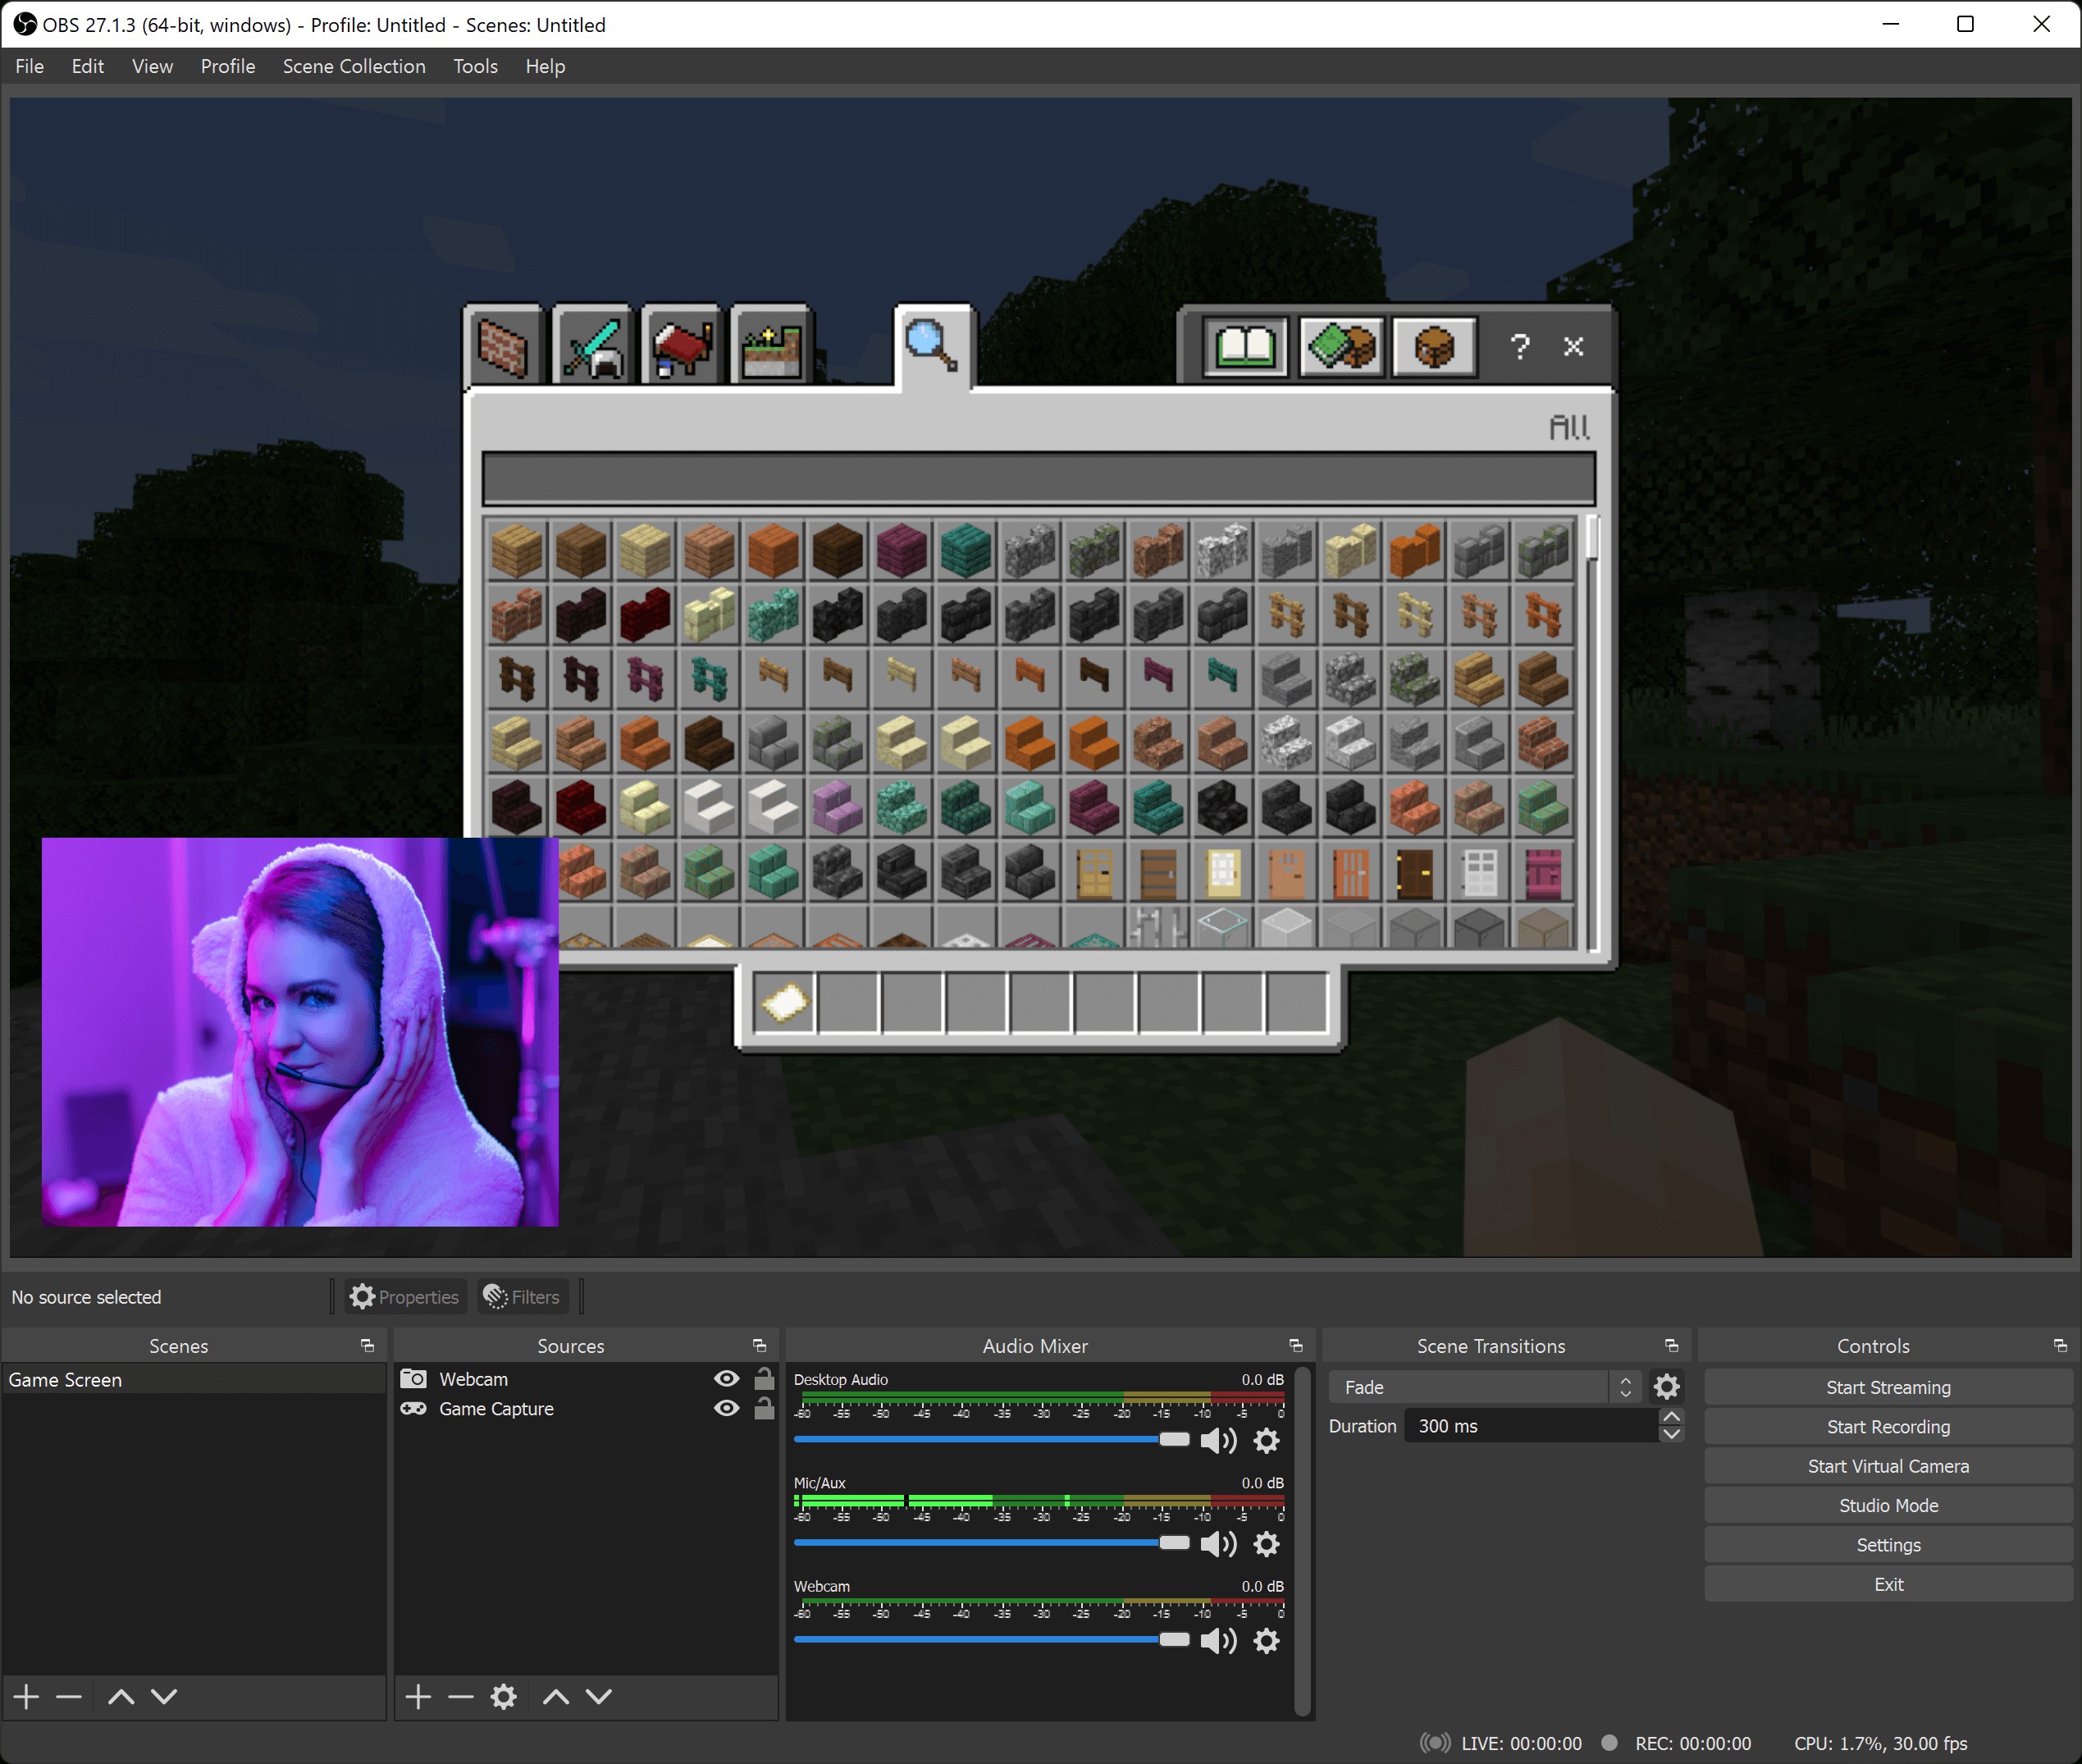
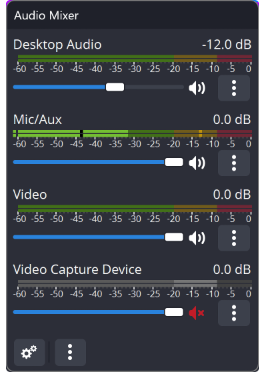
By default, OBS Studio is set to capture your desktop audio and microphone. You can verify this by looking at the volume meters in the Audio Mixer (pictured left) at the bottom of the main OBS Studio window.
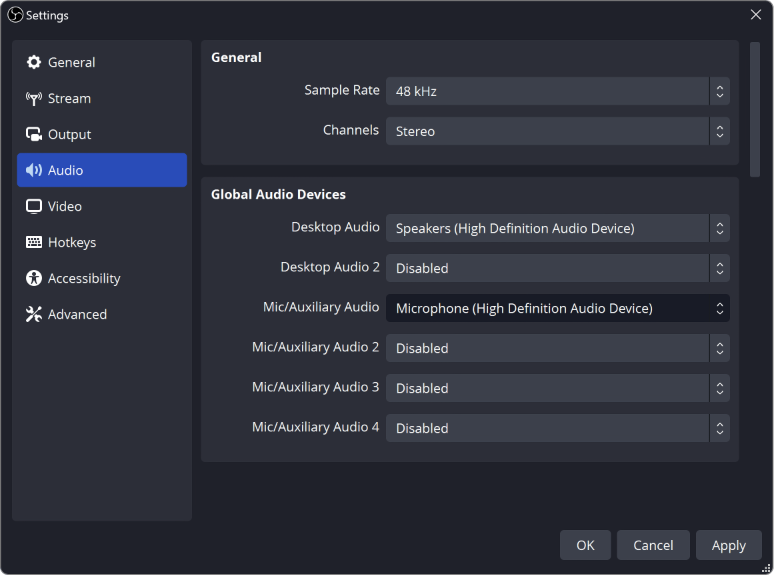
If they aren't moving, or you suspect the wrong device is being captured, click on Settings → Audio and select the devices manually.
|
|
|
4. Test your Settings
|
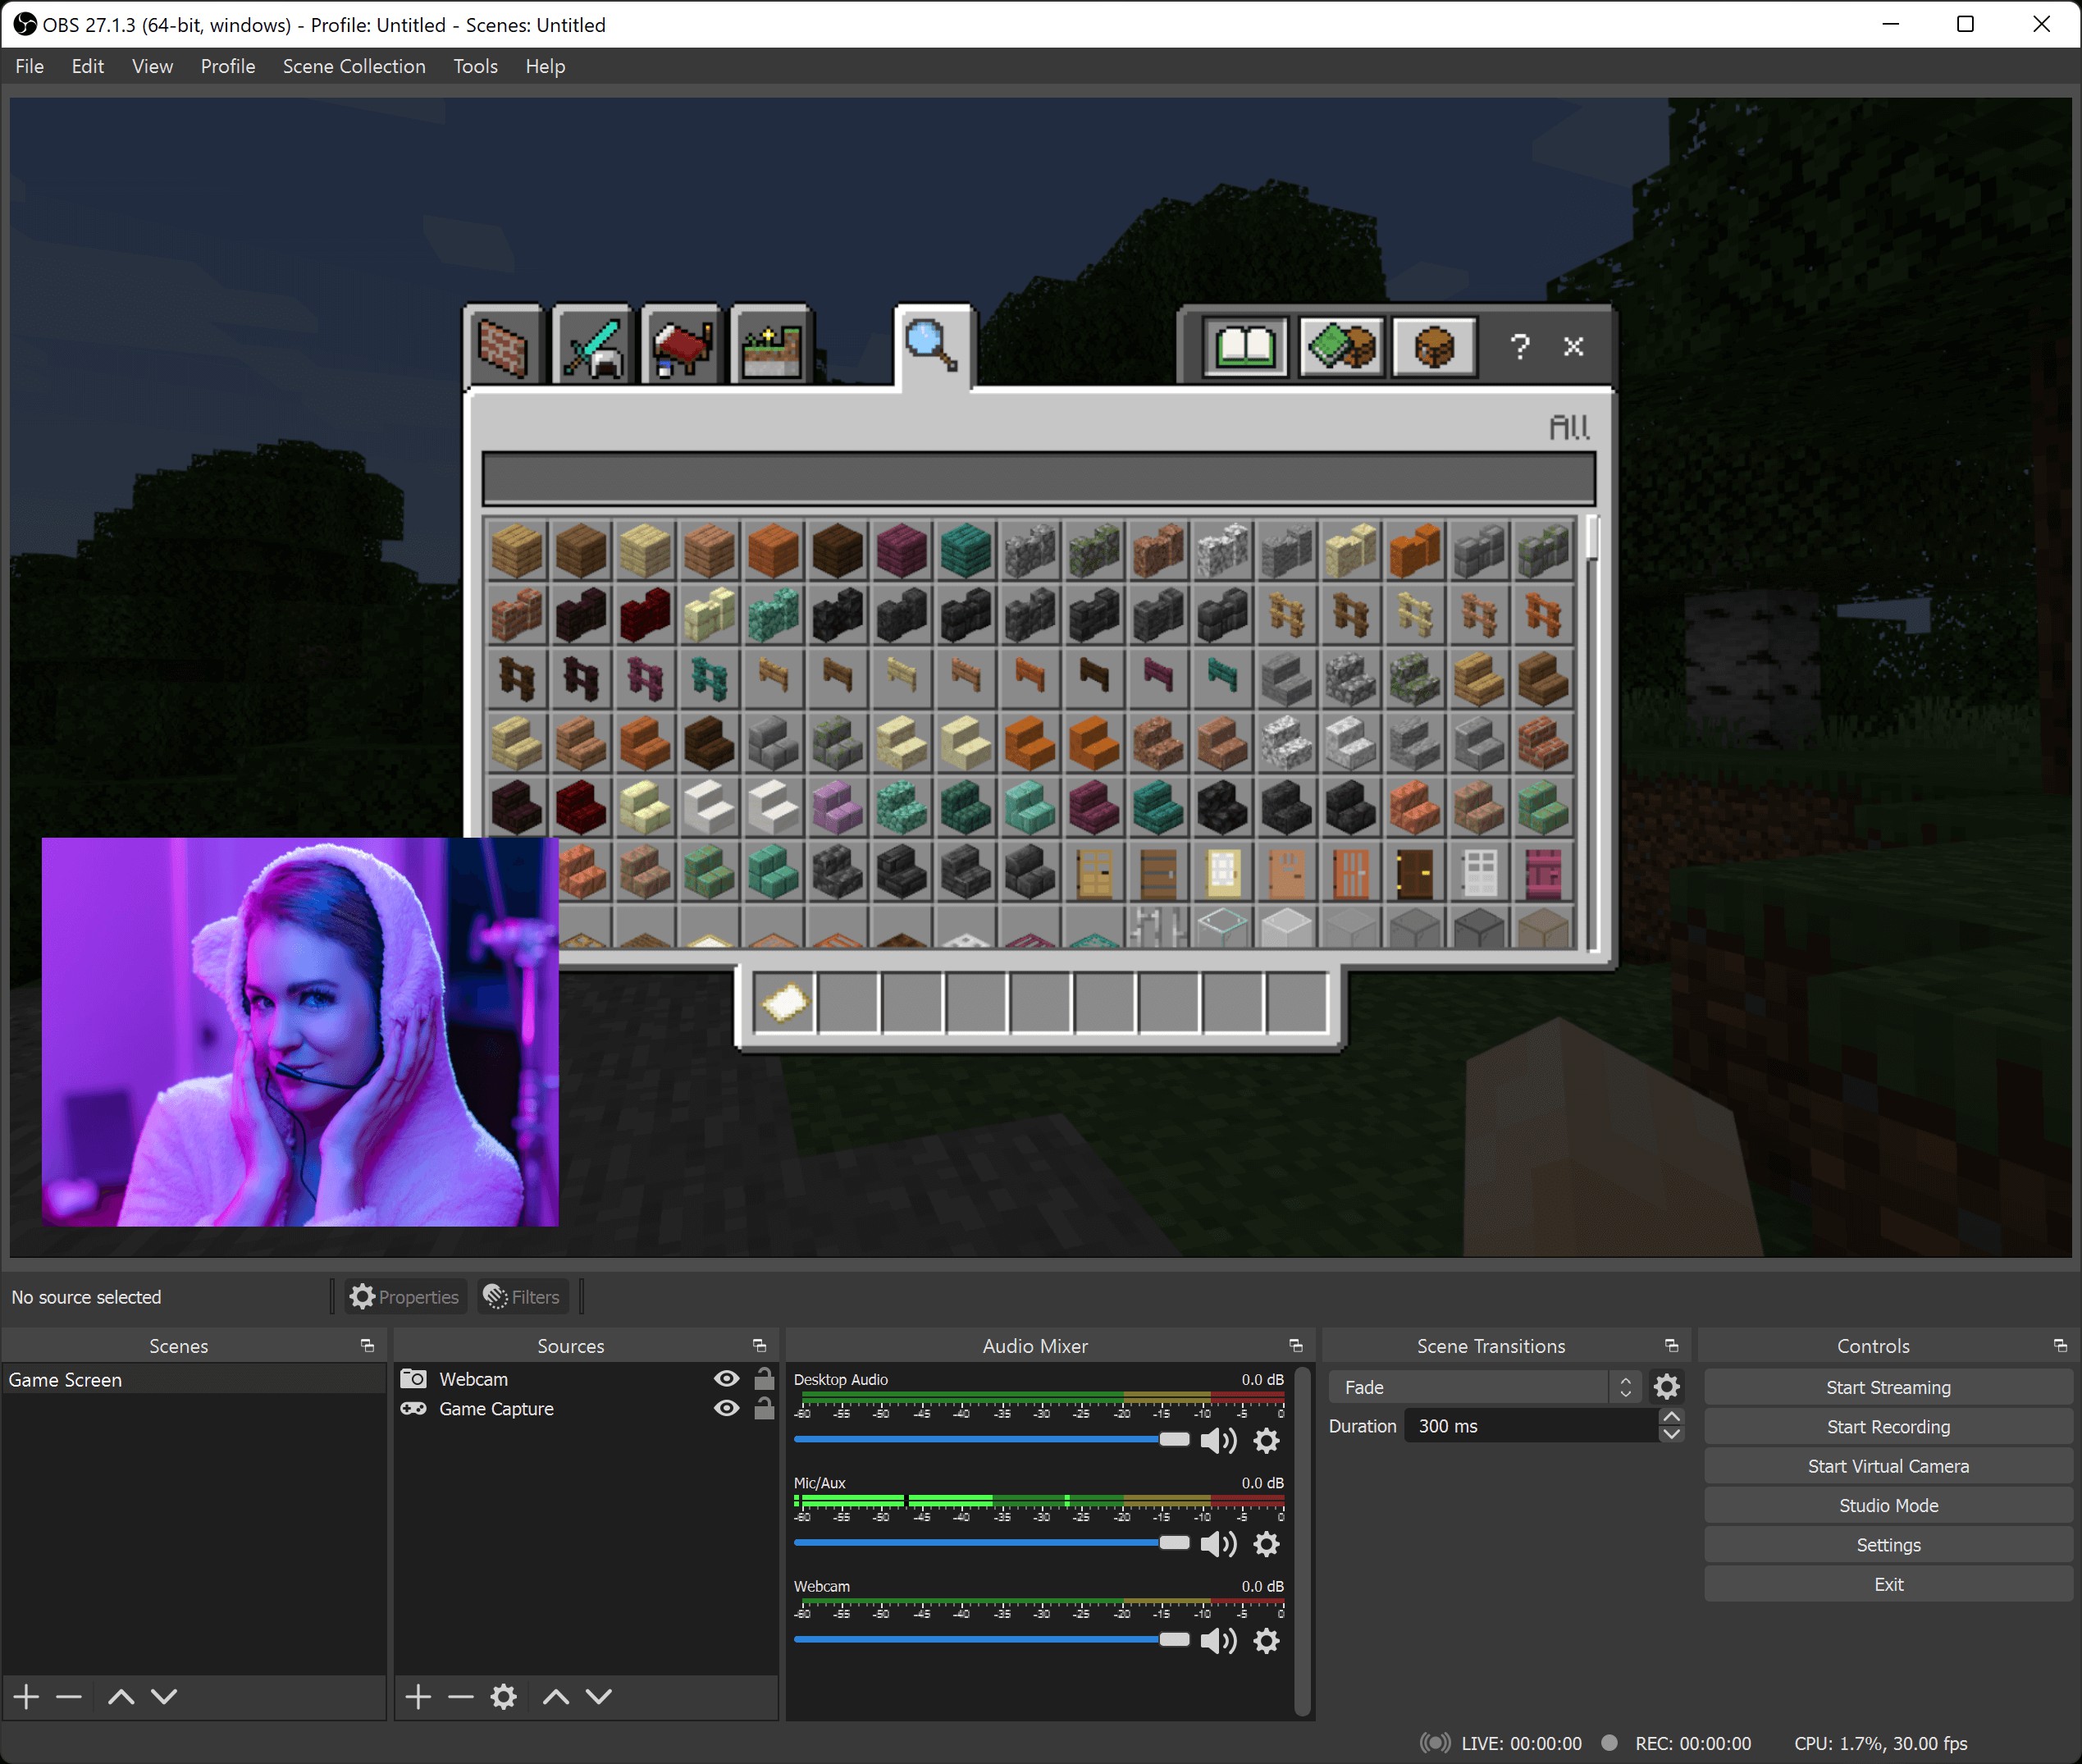
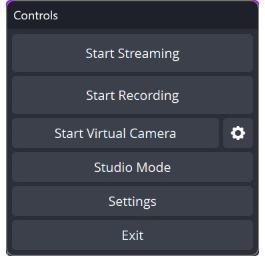
Double check that all your settings are how you want them in Settings → Output. Then, click Start Recording or Start Streaming on the Controls Dock (pictured left). We strongly encourage running a test for a few minutes to make sure that there are no issues, rather than just jumping in to your first stream or recording. |
|
5. There is no Step 5! |
Once you're satisfied, you can go on to creating great content. That's all there is to it! |
Further Reading
For more tips for setting up a gaming stream, check the following tutorials: