Install Office 365 on a personally-owned computer
Current UNC Asheville students, faculty, and staff may install the full Office 365 suite on up to five (5) personally-owned computers at no cost.
These instructions guide you through installing Office 365 on your personally-owned computer. If you're an employee using a university-owned computer, please follow the instructions at Upgrade your university computer to Microsoft Office 365.
Steps
Install Office 365 on a personally-owned Windows computer
Installation
- Log in to the Office 365 portal at https://portal.office.com using your full UNC Asheville email address and current UNC Asheville Security Account password.
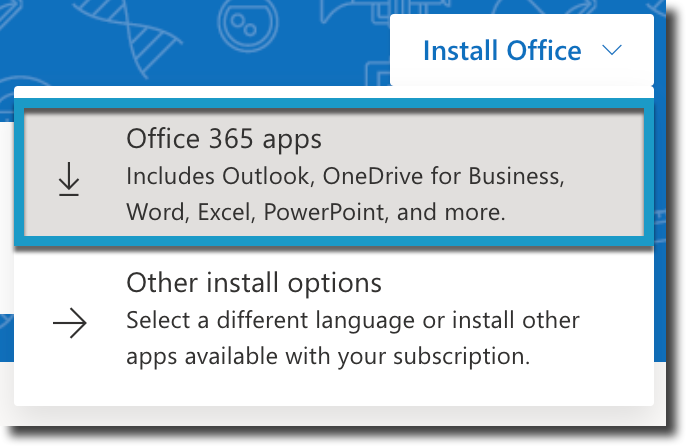
- In the top menu area, click Install Office.

- Click Office 365 apps.
- Once the download completes, double-click the OfficeSetup.exe file in your Downloads folder.
- You may receive a User Account Control prompt asking "Do you want to allow this app to make changes to your device?" Click Yes.
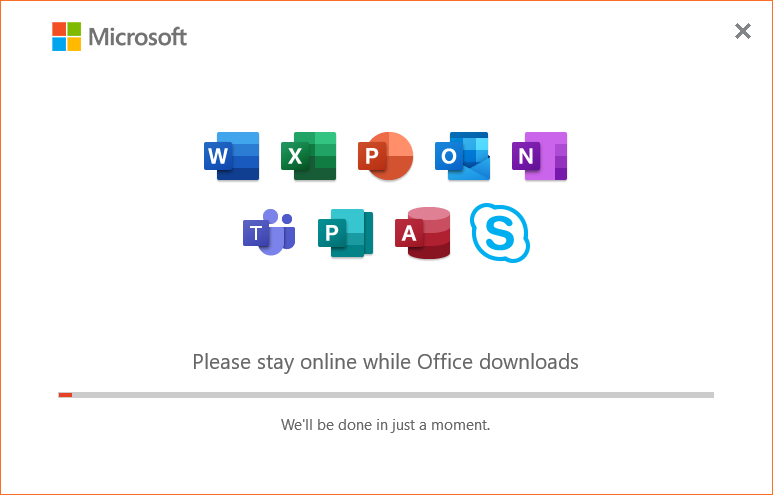
- The installer will begin downloading Office 365 apps. This can take some time depending on the speed of your Internet connection. Do not disconnect from the Internet or restart your computer during this process.
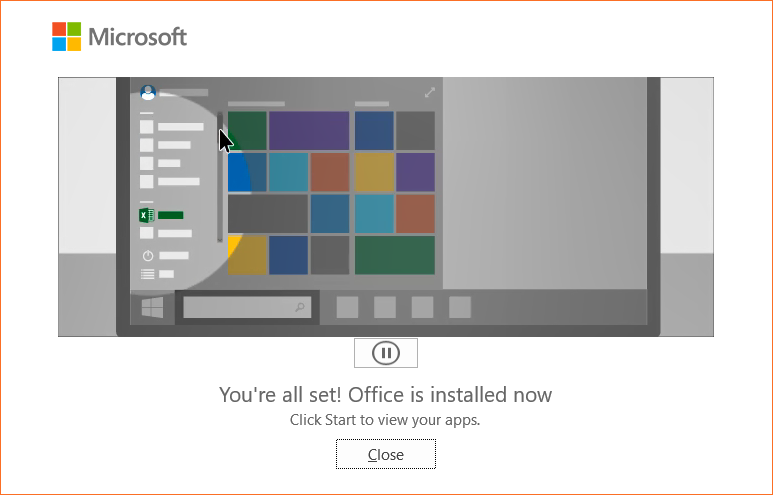
- Once the Office 365 apps download, a completion screen appears. Click Close.
Activation
The first time you use an Office 365 app, you'll be prompted to sign in and activate your license. The process is the same for all Office 365 apps, but we'll use PowerPoint as an example.
- Open PowerPoint from the Windows Start menu.
- A sign-in window will appear. Enter your UNC Asheville email address, then click Next.
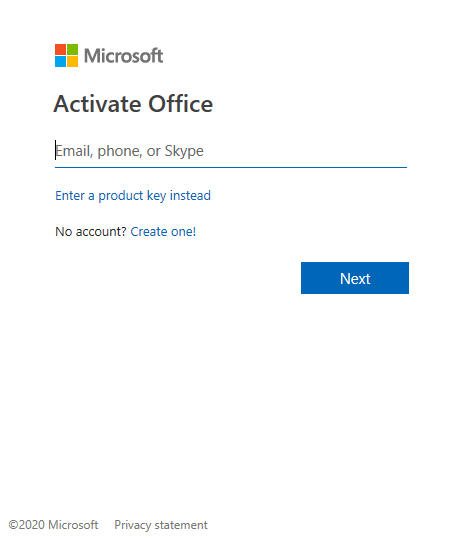
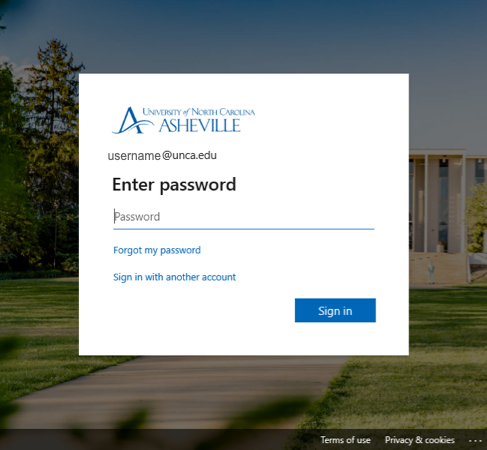
- Enter your UNC Asheville password, then click Sign in. This is the same password you use to access all UNC Asheville services.
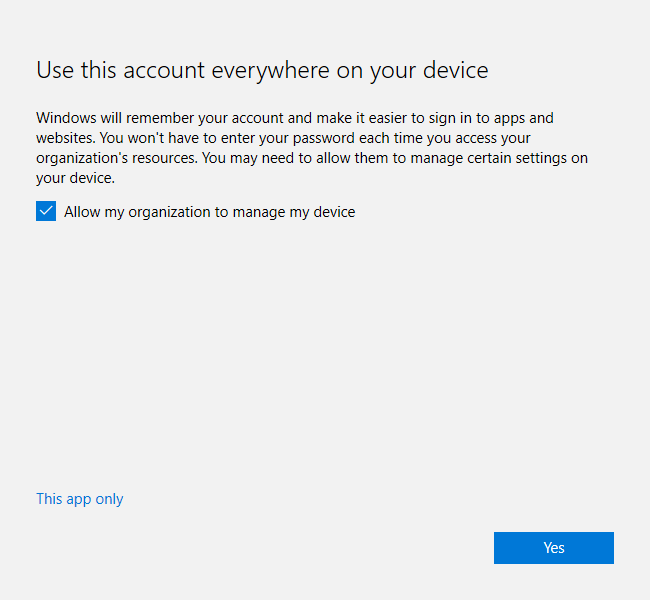
- You may be asked if you'd like to "Use this account everywhere on your device." This can make accessing and logging in to some aspects of your UNC Asheville Office 365 subscription easier, but is not required. You can remove the check beside "Allow my organization to manage my device" as well. UNC Asheville makes no attempt to manage personally-owned computers, and this prompt is a required option provided by Microsoft.
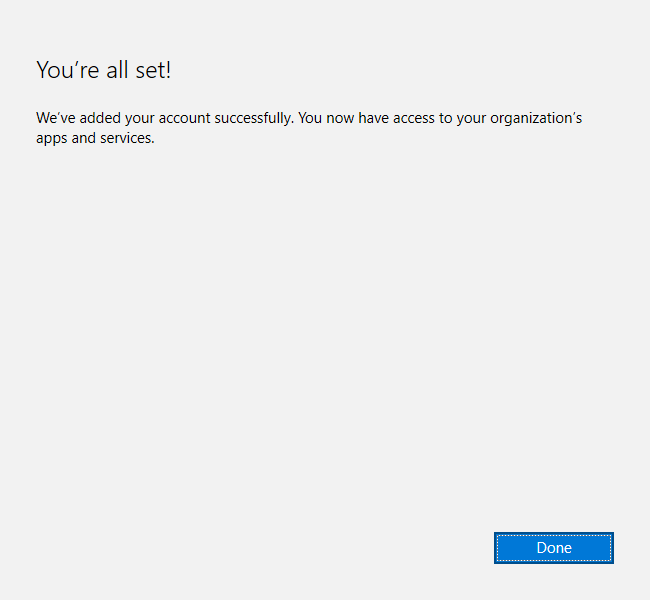
- Once Office 365 activates, you'll see a confirmation screen.
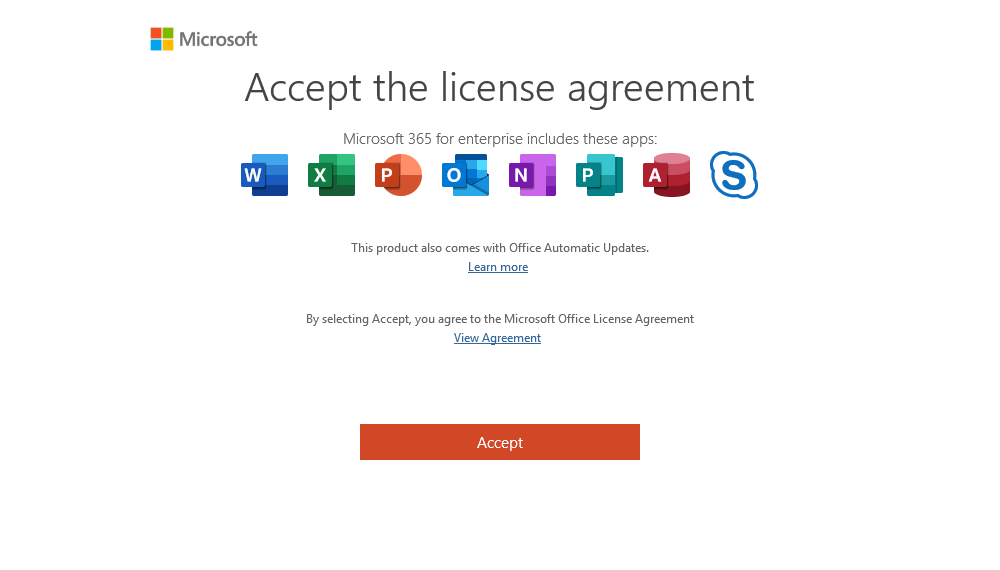
- Finally, you may be prompted to accept the Office 365 license agreement. Click View Agreement to read it, then Accept to continue.
Install Office 365 on a personally-owned macOS computer
Installation
- Log in to the Office 365 portal at https://portal.office.com using your full UNC Asheville email address and current UNC Asheville Security Account password.
- In the top menu area, click Install Office.

- Click Office 365 apps.

- The Office 365 installer will begin downloading. The installer is about 1.5 GB, and may take some time to download depending on your Internet connection speed.
- Once the download completes, double-click the Microsoft_Office_currentversion_Installer.pkg file in your Downloads folder.
Note: The exact file name will differ slightly depending on the current version of the software at the time you download it. - Follow the on-screen directions to install Office 365. If you wish to customize your installation and install only specific Office apps, click Customize when the option appears.
- The installer will complete the installation, and alert you when finished.
Activation
The first time you use an Office 365 app, you'll be prompted to sign in and activate your license. The process is the same for all Office 365 apps, but we'll use PowerPoint as an example.
- Open Microsoft PowerPoint.app from your /Applications folder.
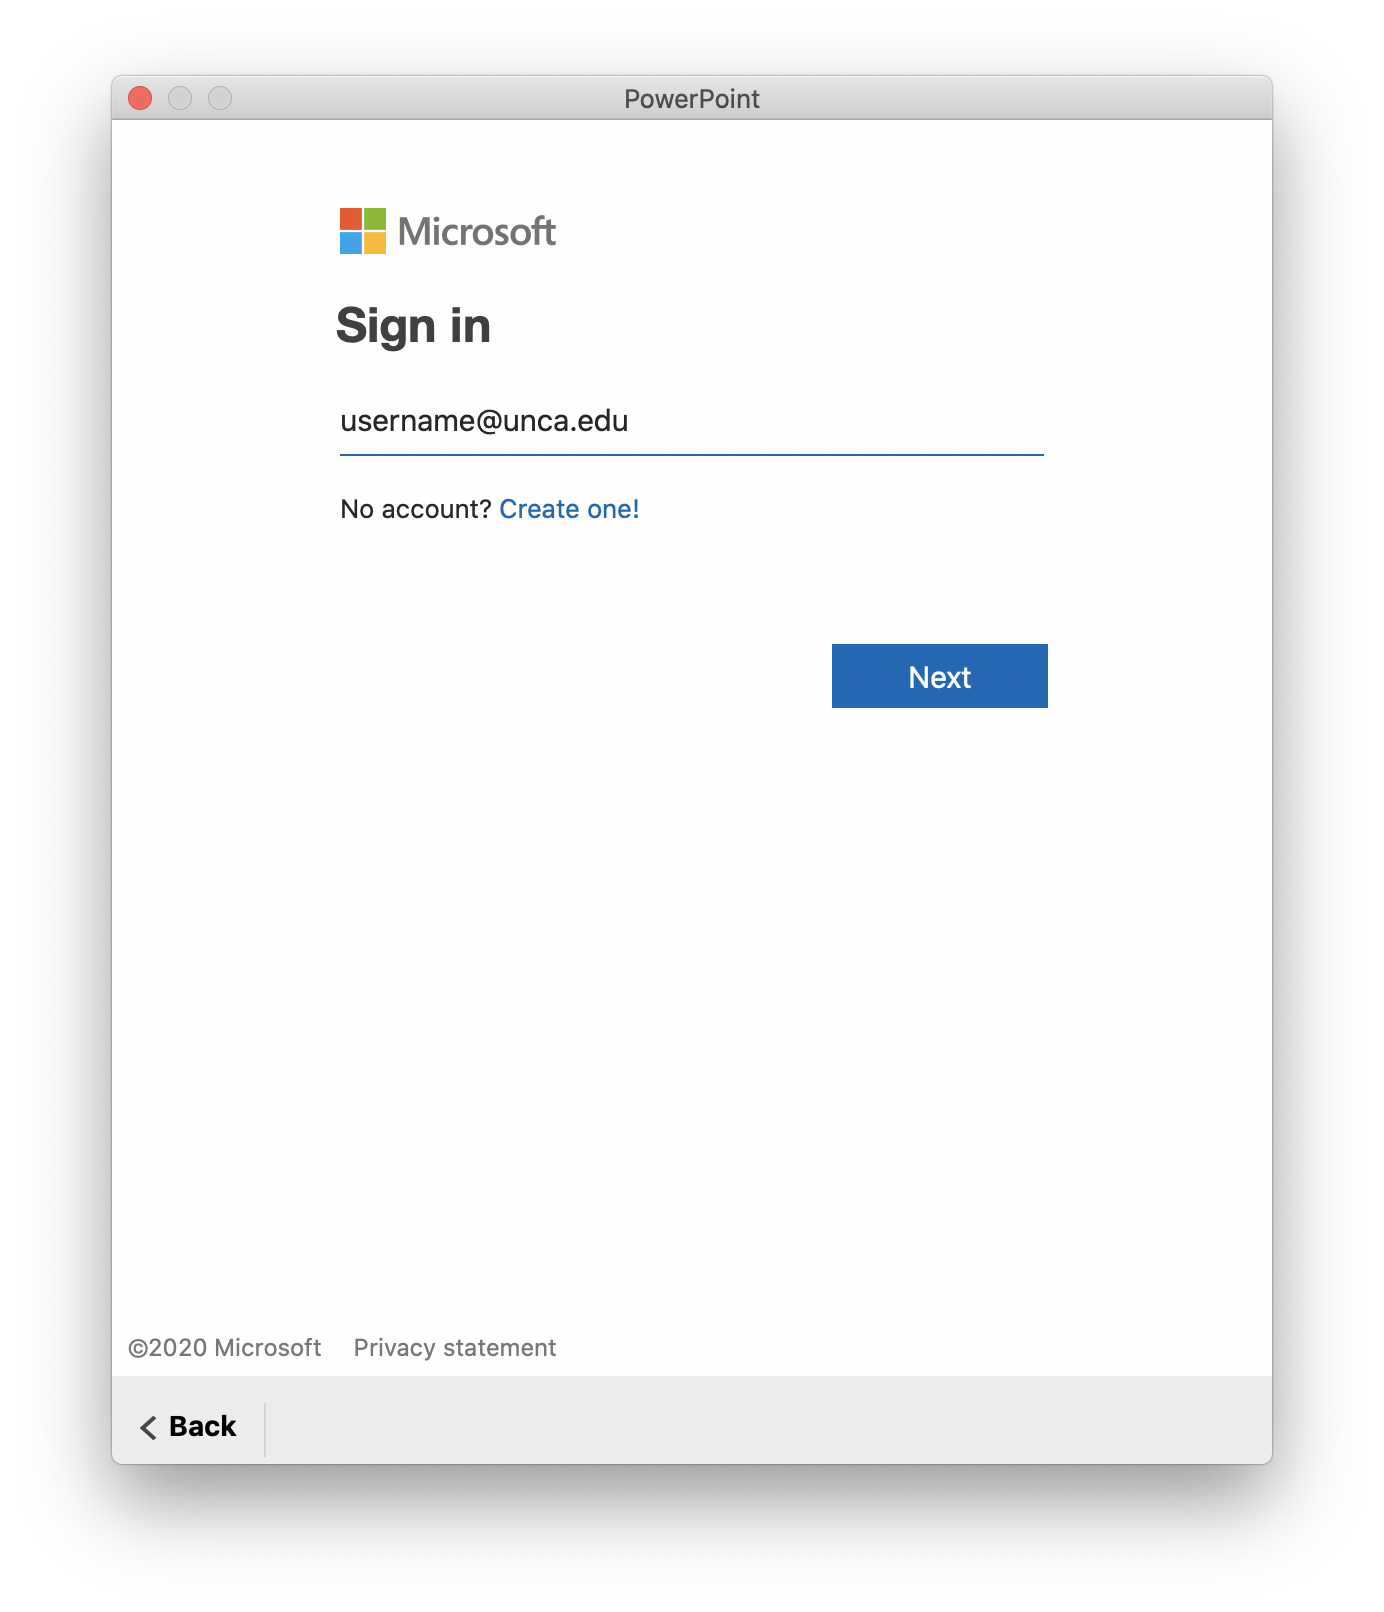
A sign-in window will appear. Enter your UNC Asheville email address, then click Next.
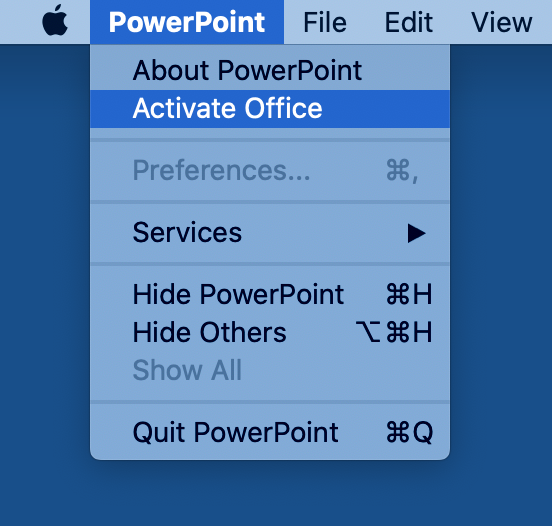
If you don't see a sign-in window, in the menu bar at the top of the screen, click PowerPoint, then click Activate Office.
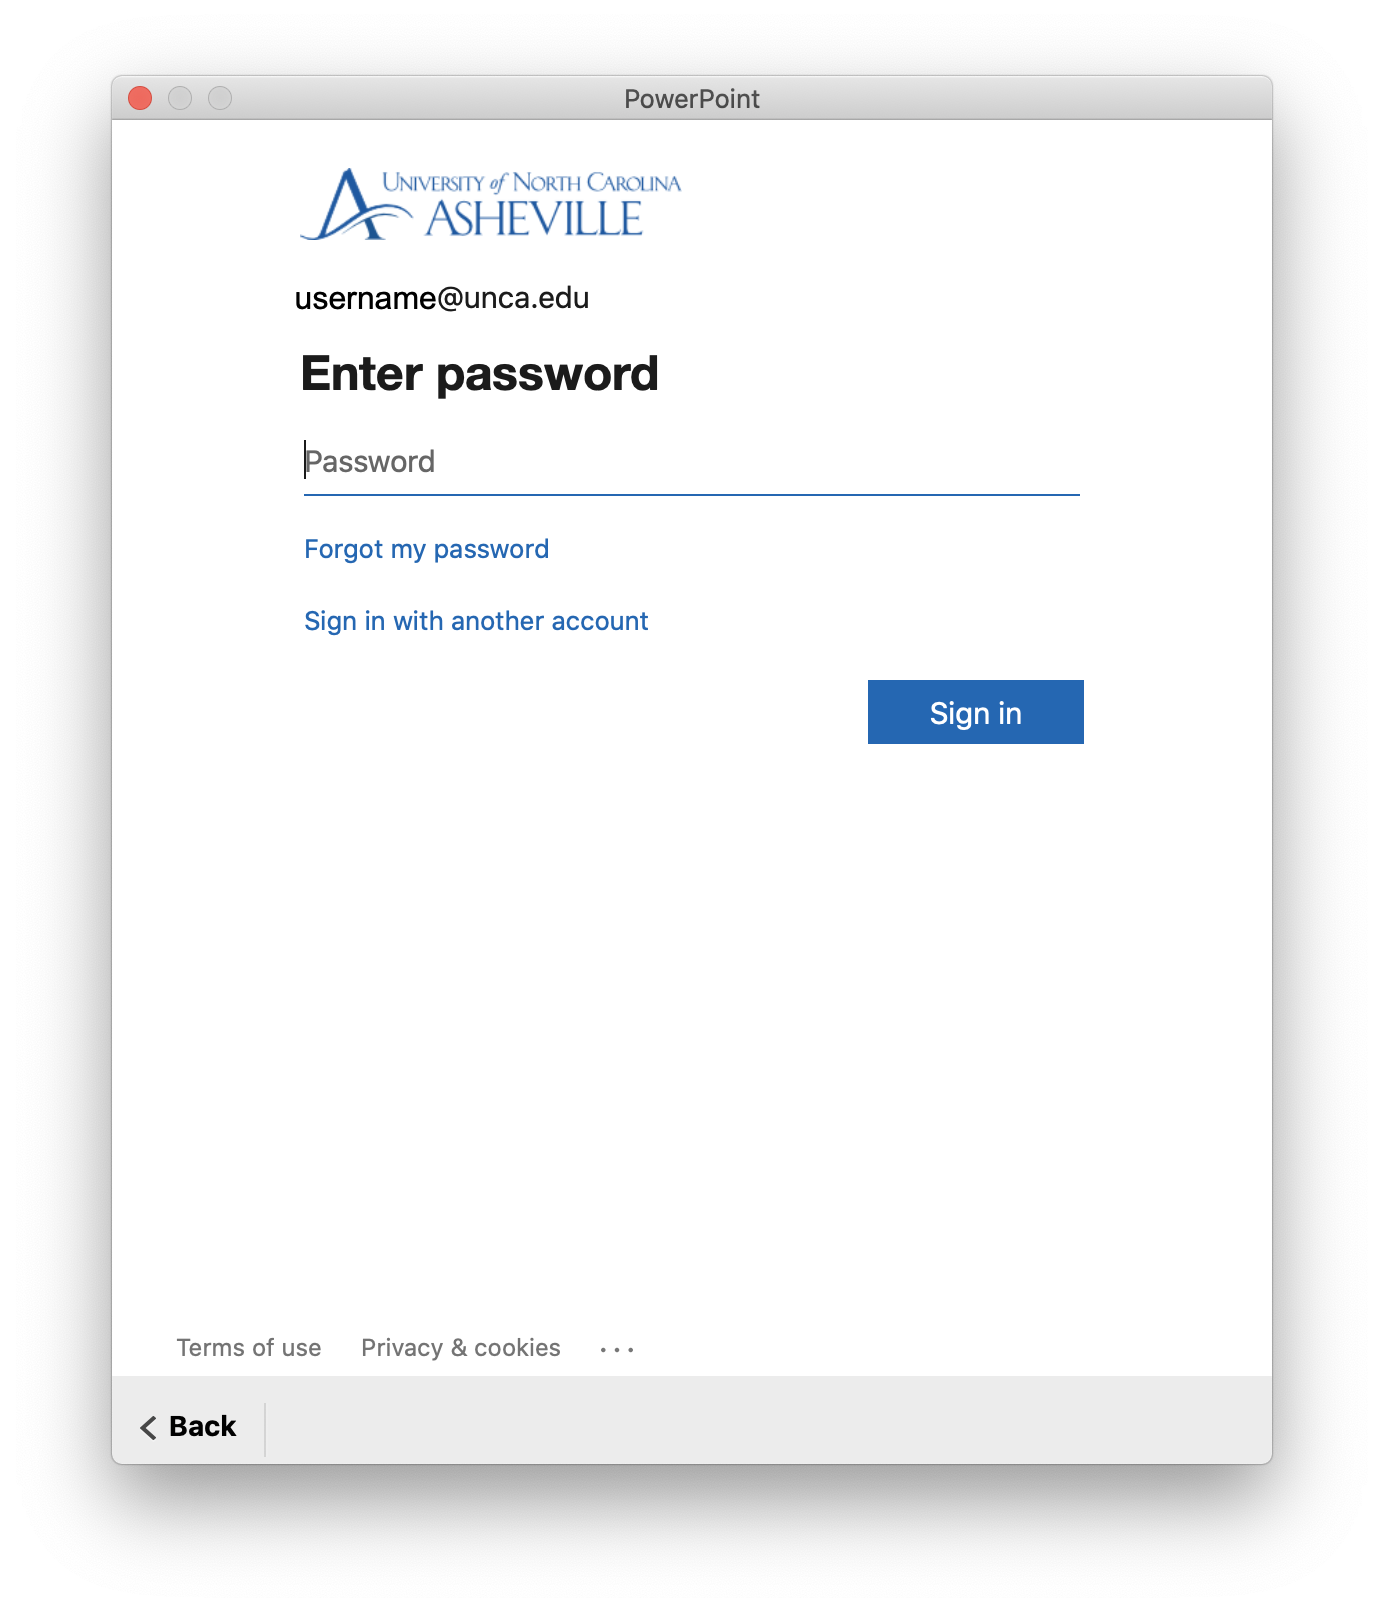
- Enter your UNC Asheville password, then click Sign in. This is the same password you use to access all UNC Asheville services.
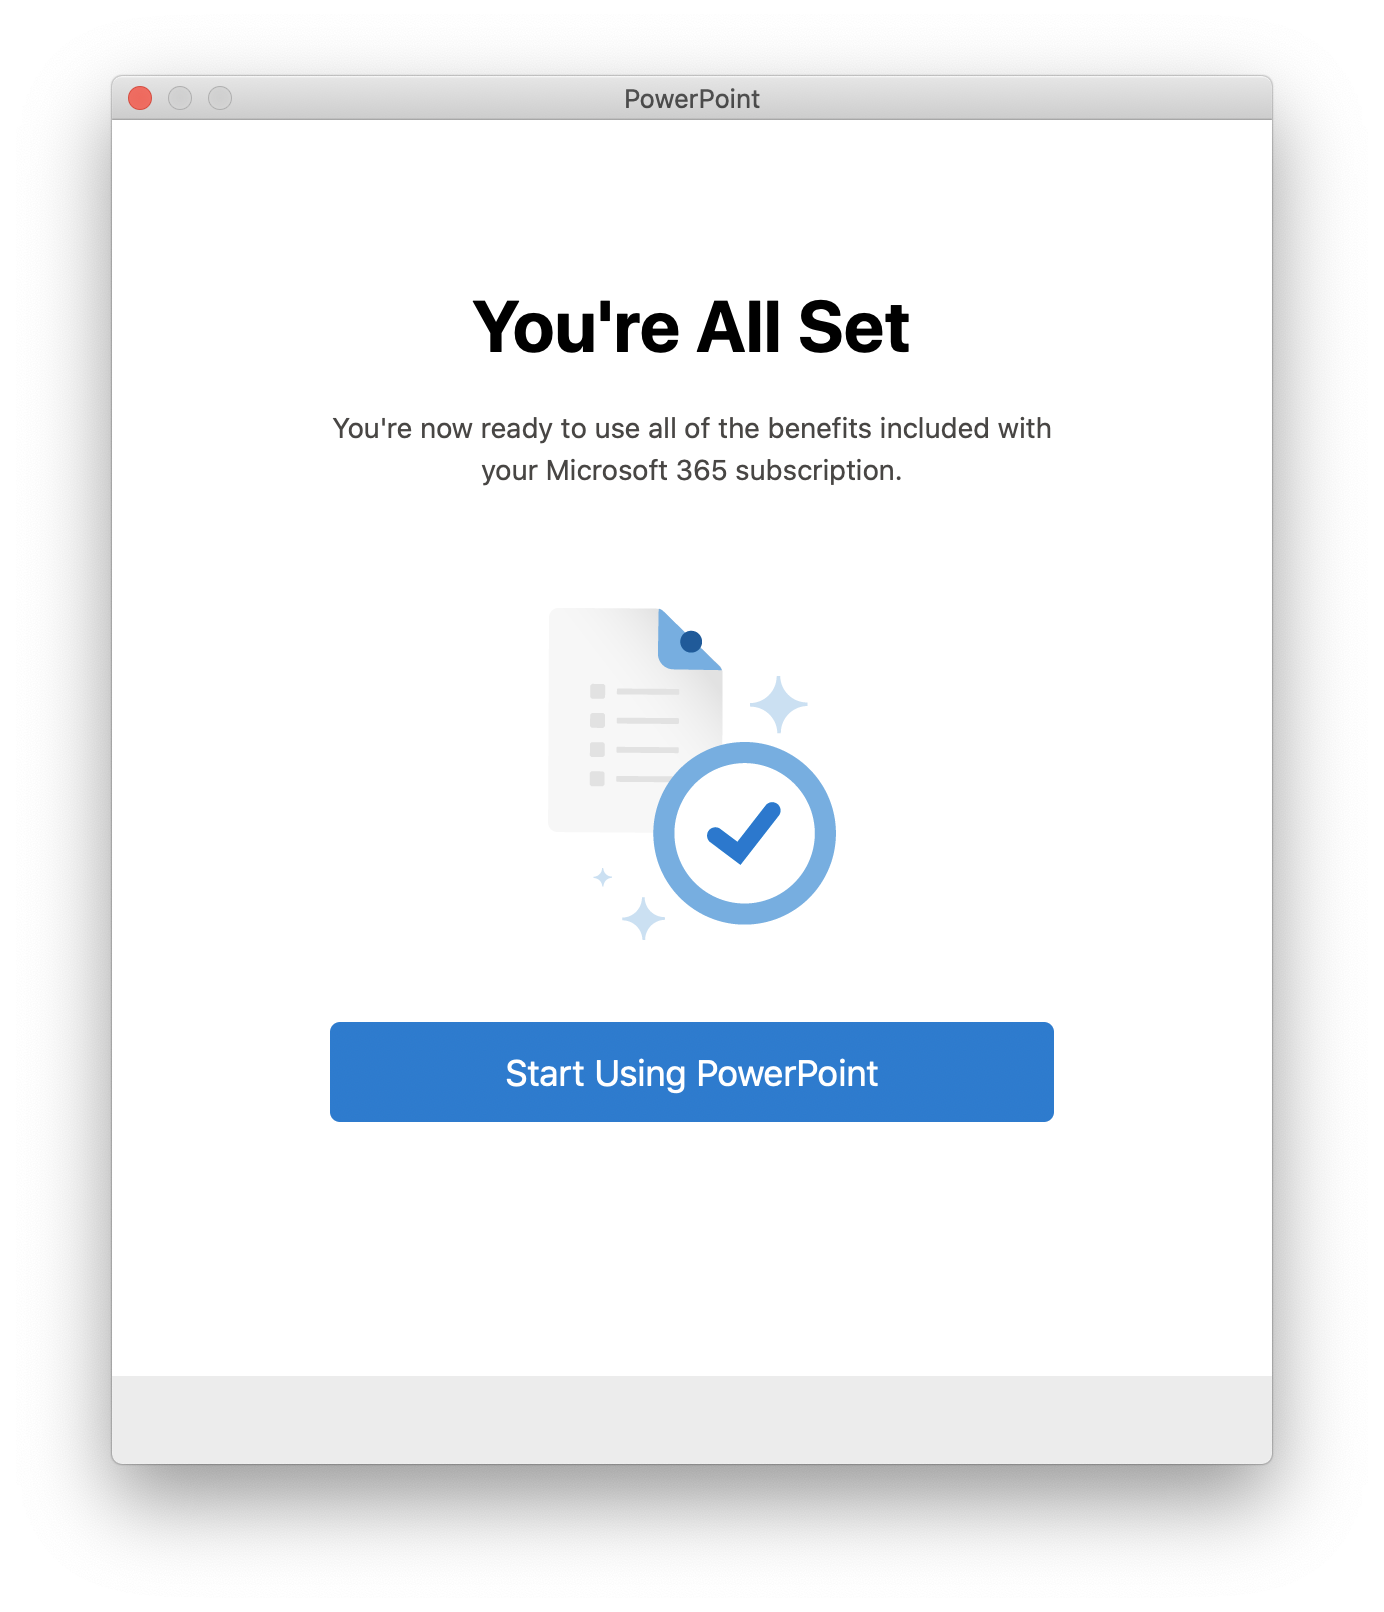
- Office will activate. On the completion screen, click Start using PowerPoint to get started.
