Install Camtasia on your university computer
Camtasia is available at no additional cost for current university instructors (full and part time) and select academic support personnel. Camtasia can be installed on your university-owned computer by following these steps.
Steps
Note
Camtasia is only available for current instructors (full and part time) on university-owned computers. If you are an instructor, but do not see Camtasia in Software Center (Windows) or Self Service (macOS), please contact helpdesk@unca.edu.
Install Camtasia on Windows
- Open Software Center.
- Click Camtasia, then click Install.
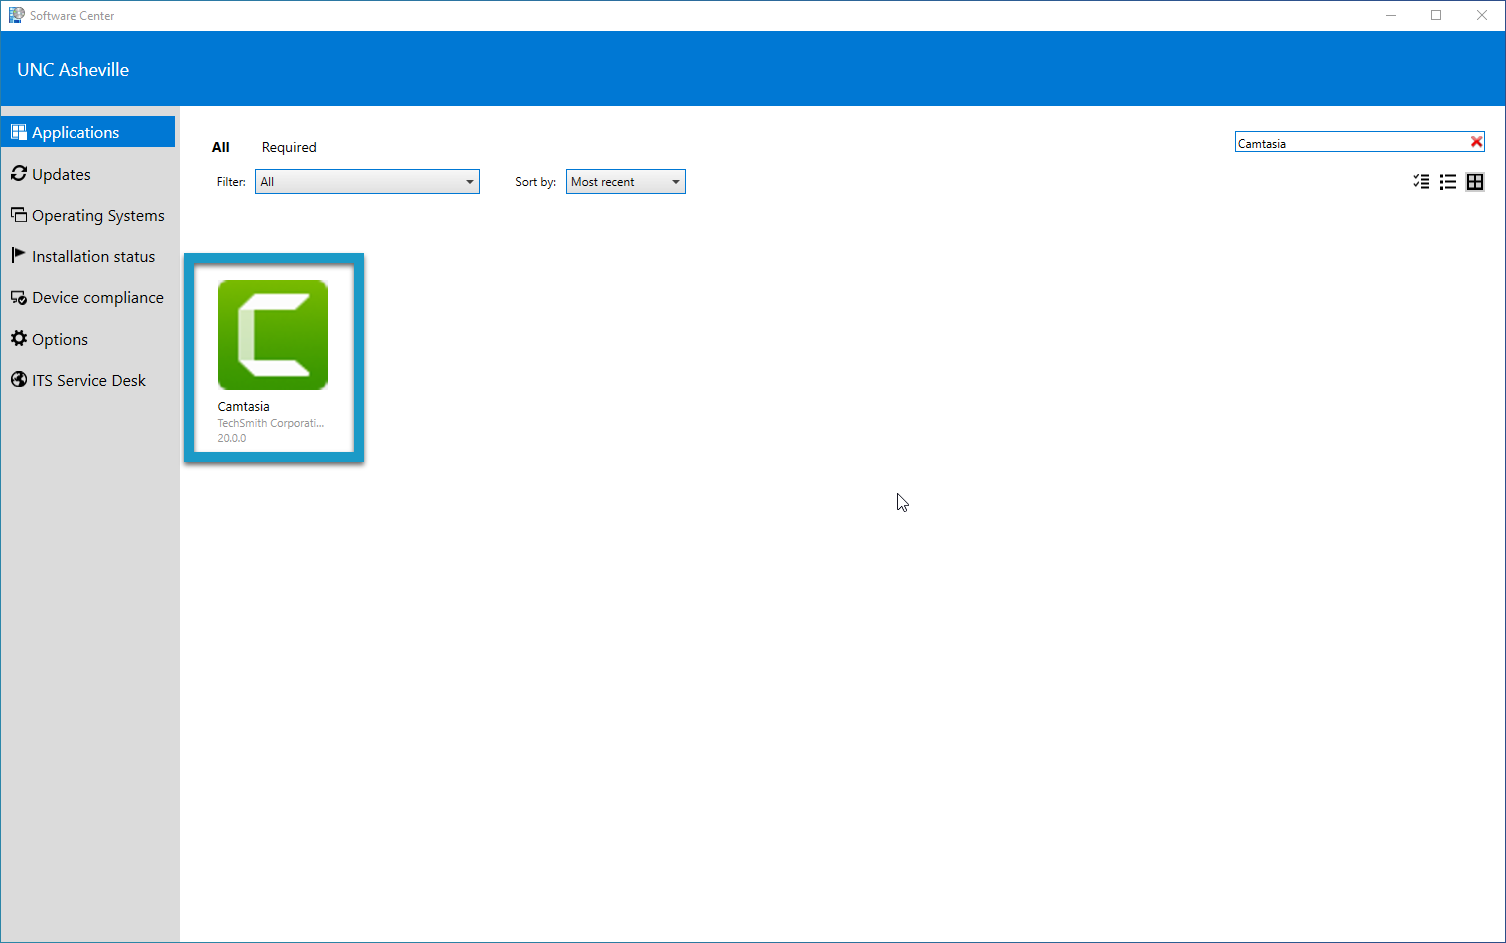
- Open the Camtasia app once the installation completes.
Install Camtasia on macOS
- Open Self Service.
- Click Log In near the top-right, then enter your university username and password.

- Click My Licensed Apps on the left category list. Then, click Install below Camtasia.
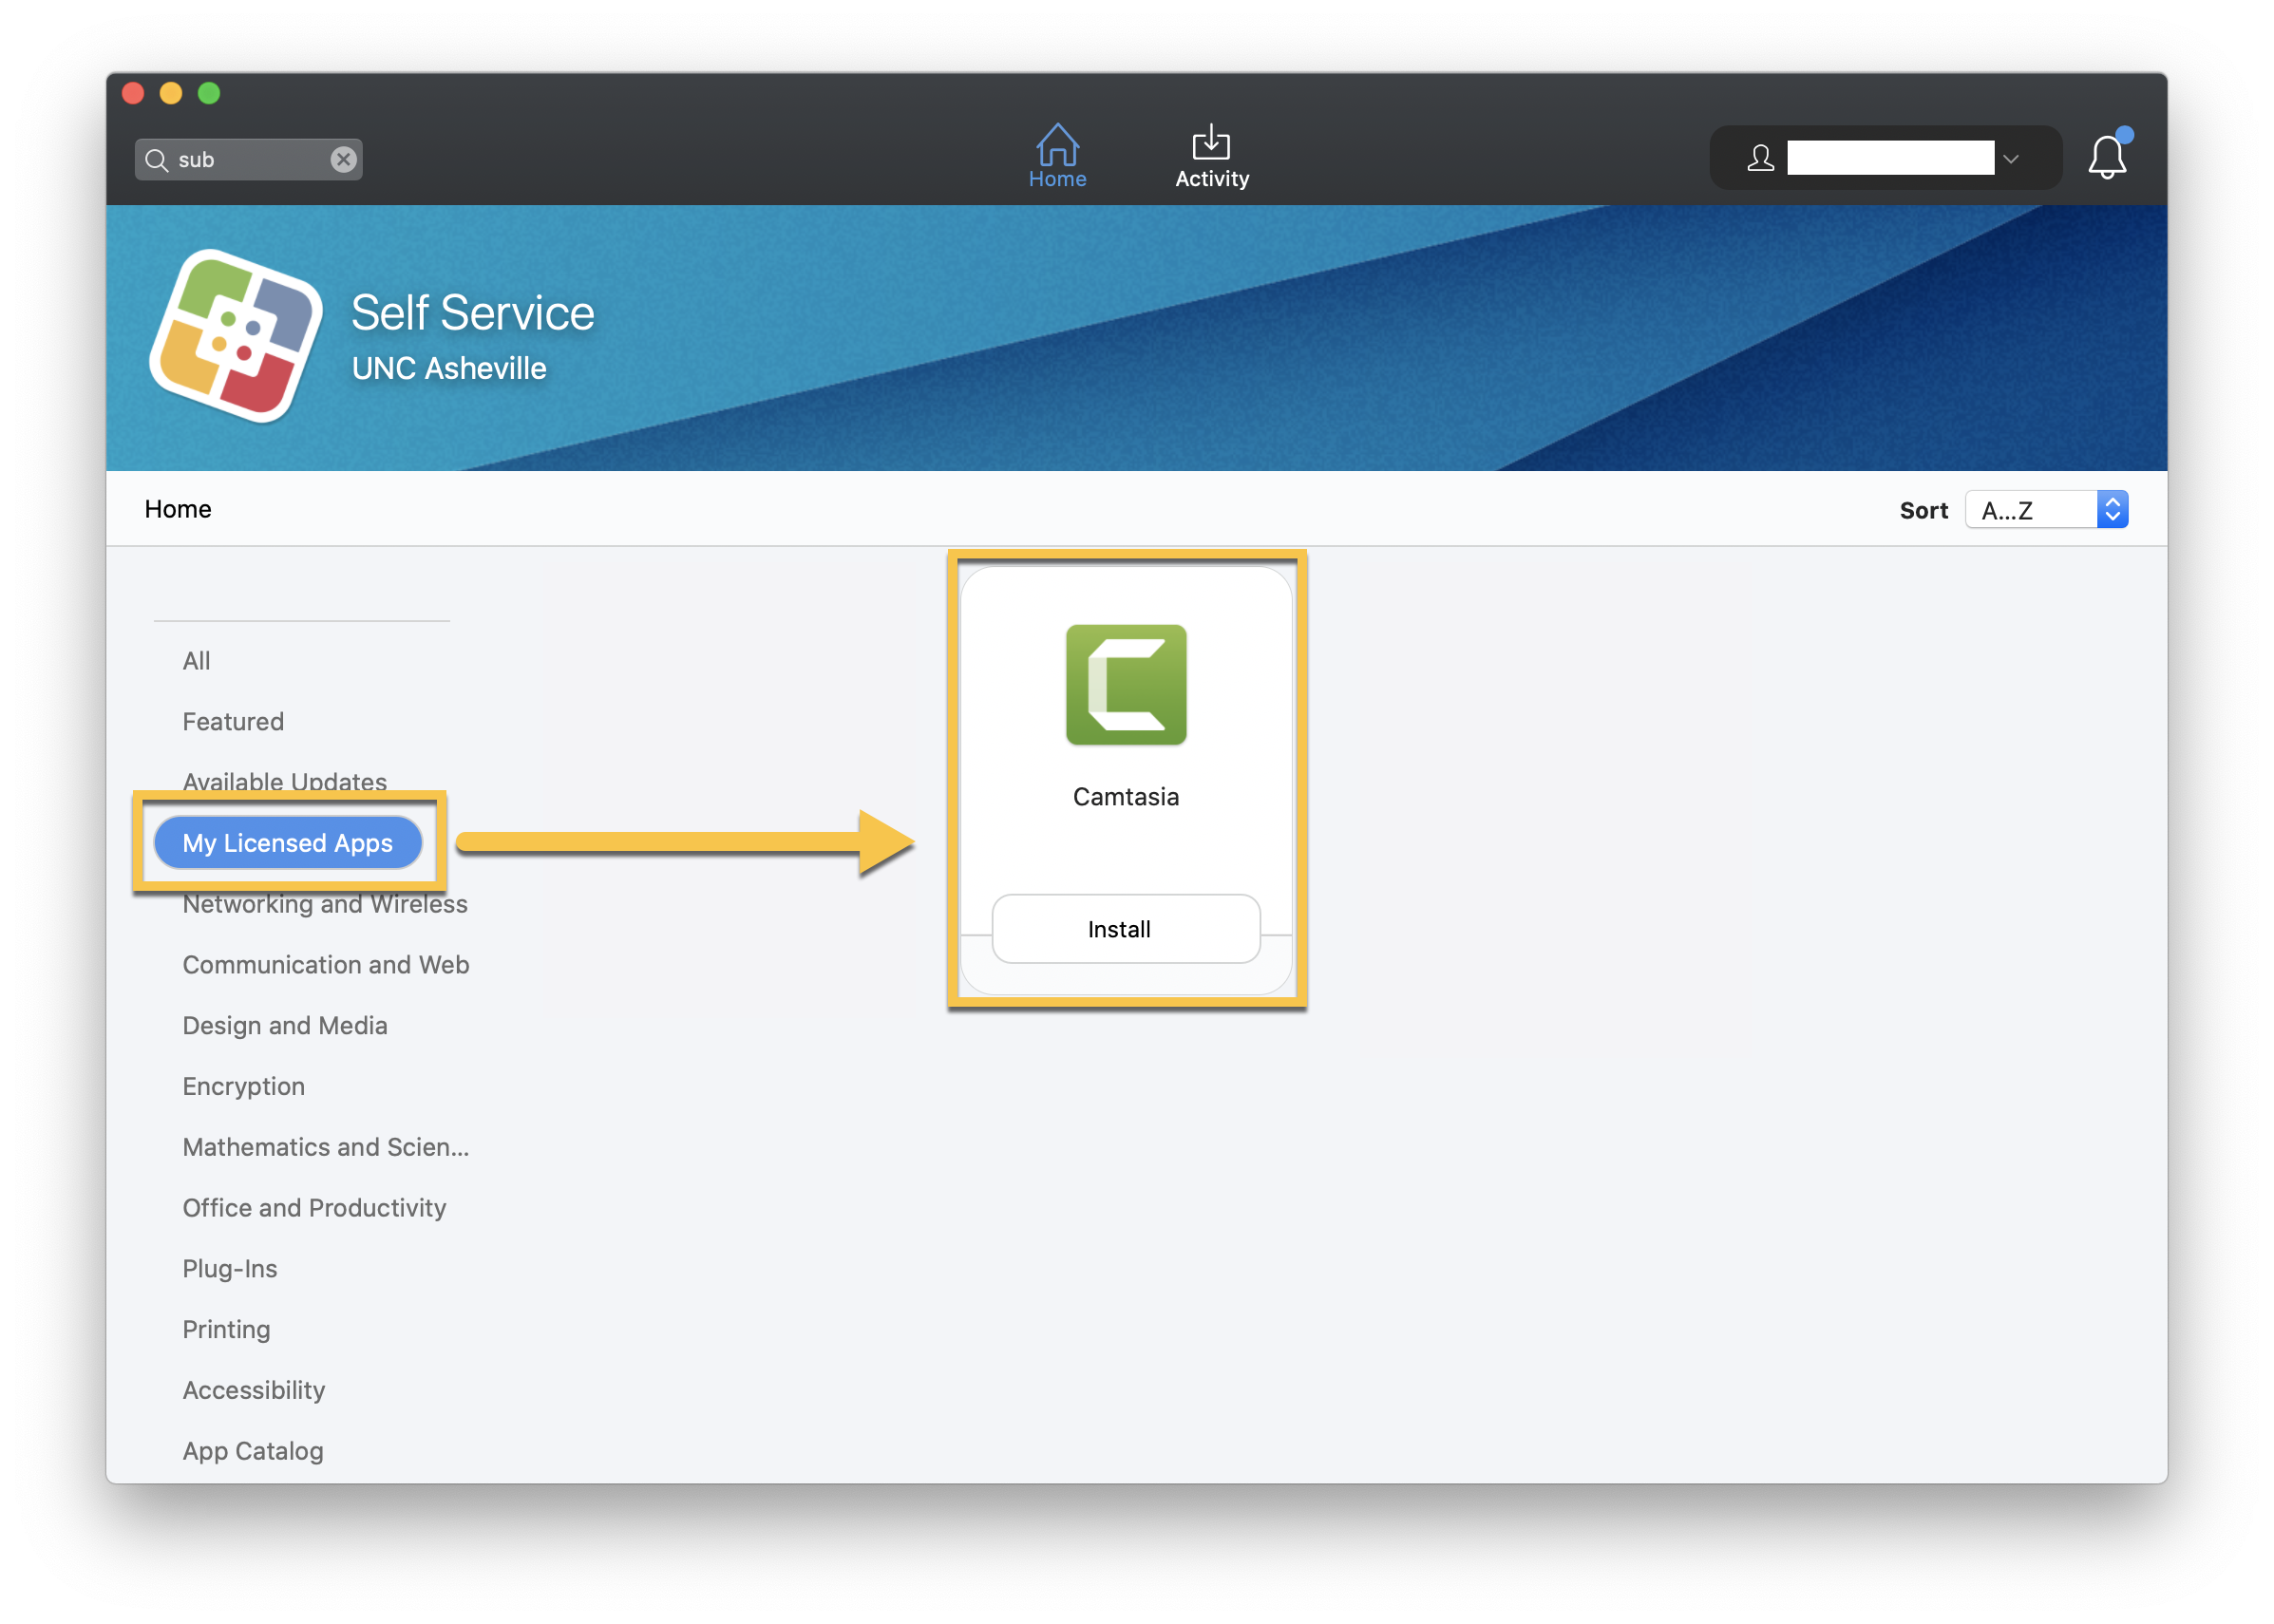
- Open the Camtasia app in your /Applications folder once the installation completes.
Permission requests the first time you run Camtasia
To protect your privacy, macOS includes a number of protections to safeguard your information. You will need to grant Camtasia additional permissions for full functionality. ITS is unable to complete these steps on your behalf, and you must follow this process to enable all Camtasia features after installation.
- The first time you open Camtasia, you'll see a System Permissions window.
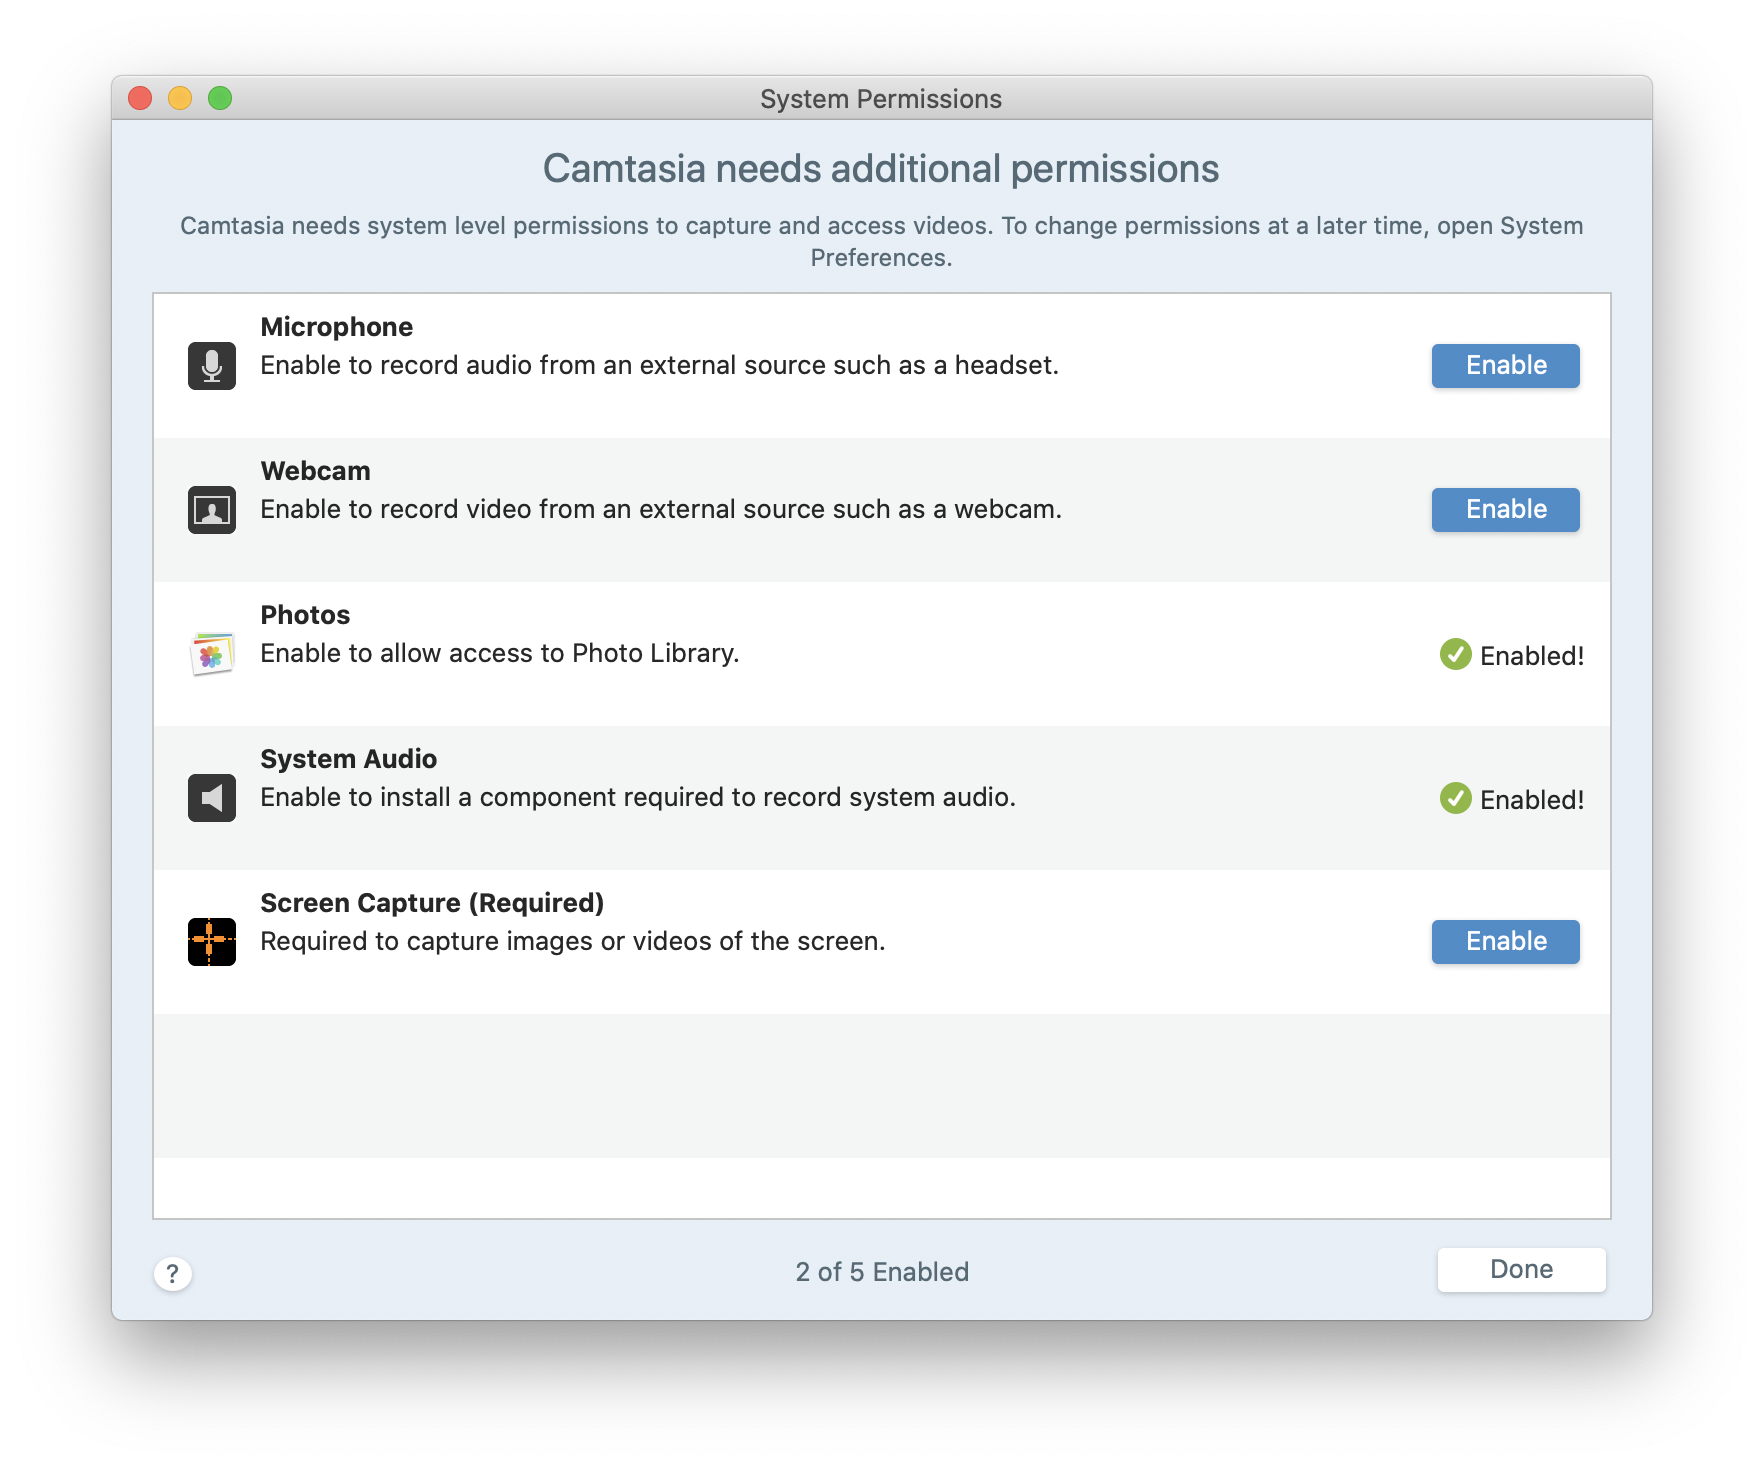
- Click Enable beside Microphone, then click OK when prompted to provide microphone access.
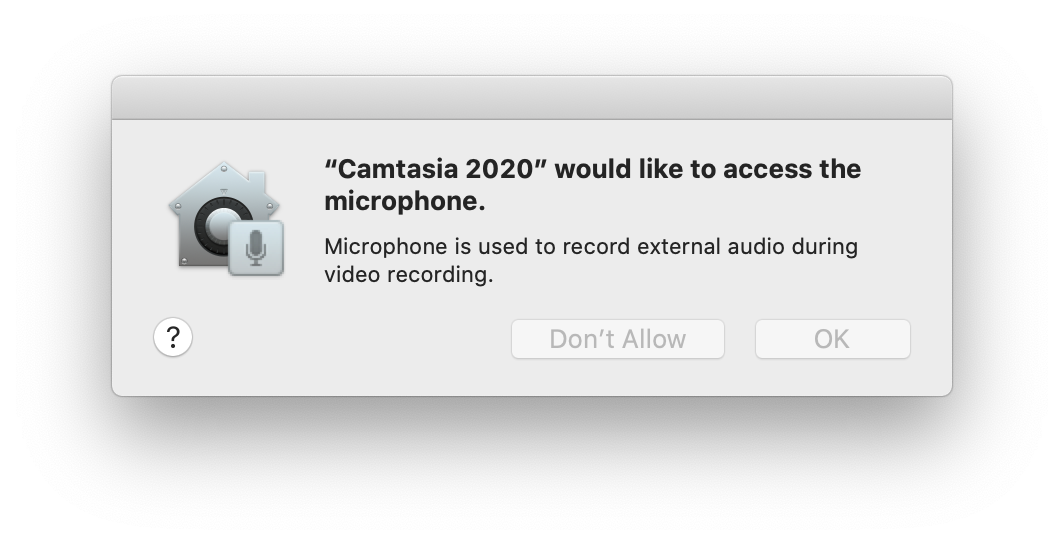
Note: Microphone access is required to record your voice during videos. - Click Enable beside Webcam, then click OK when prompted to provide camera access.
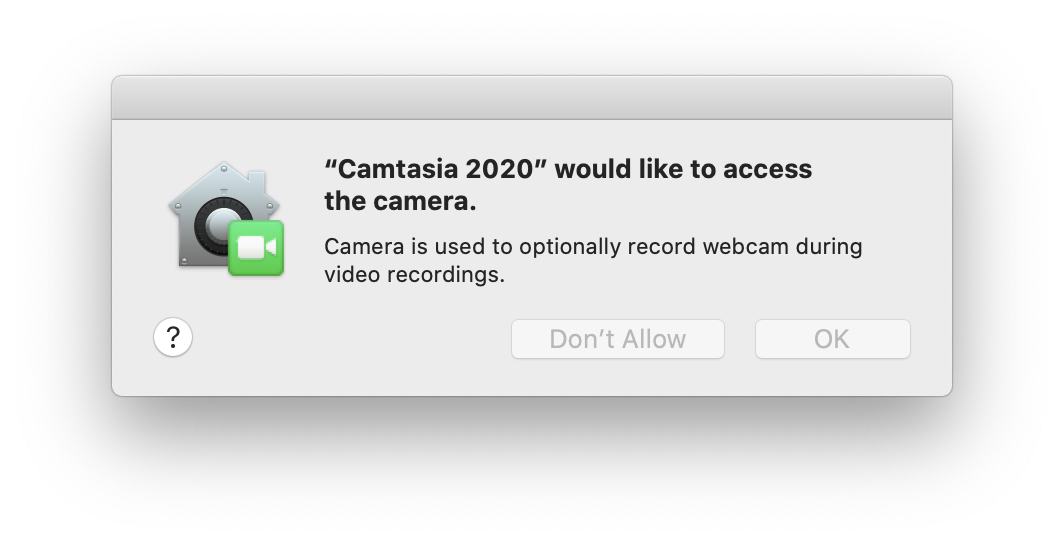
- Click Enable beside Screen Capture (Required), then click Open System Preferences when prompted.
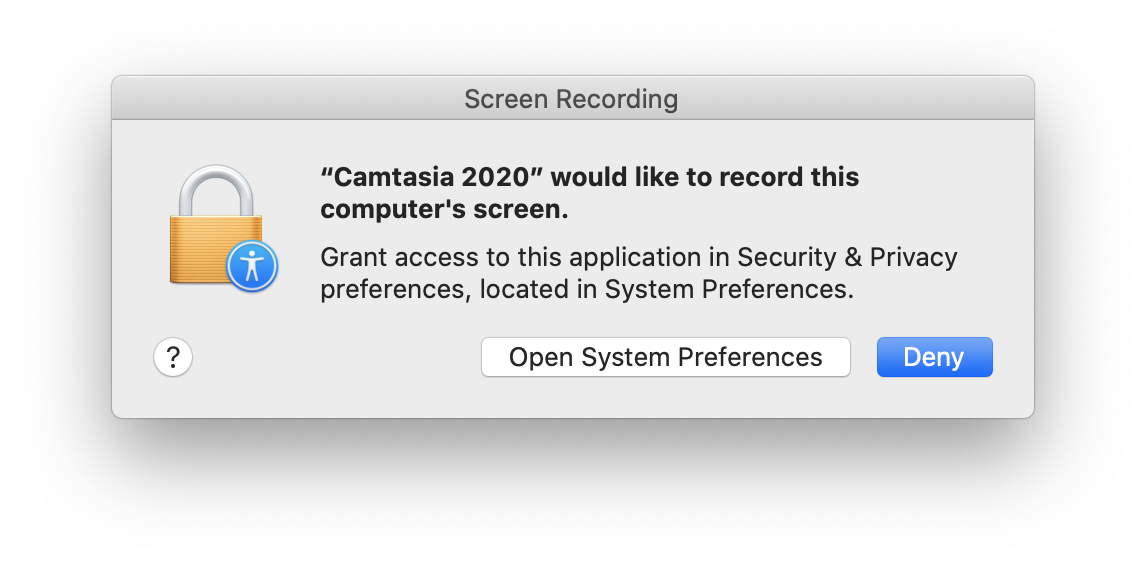
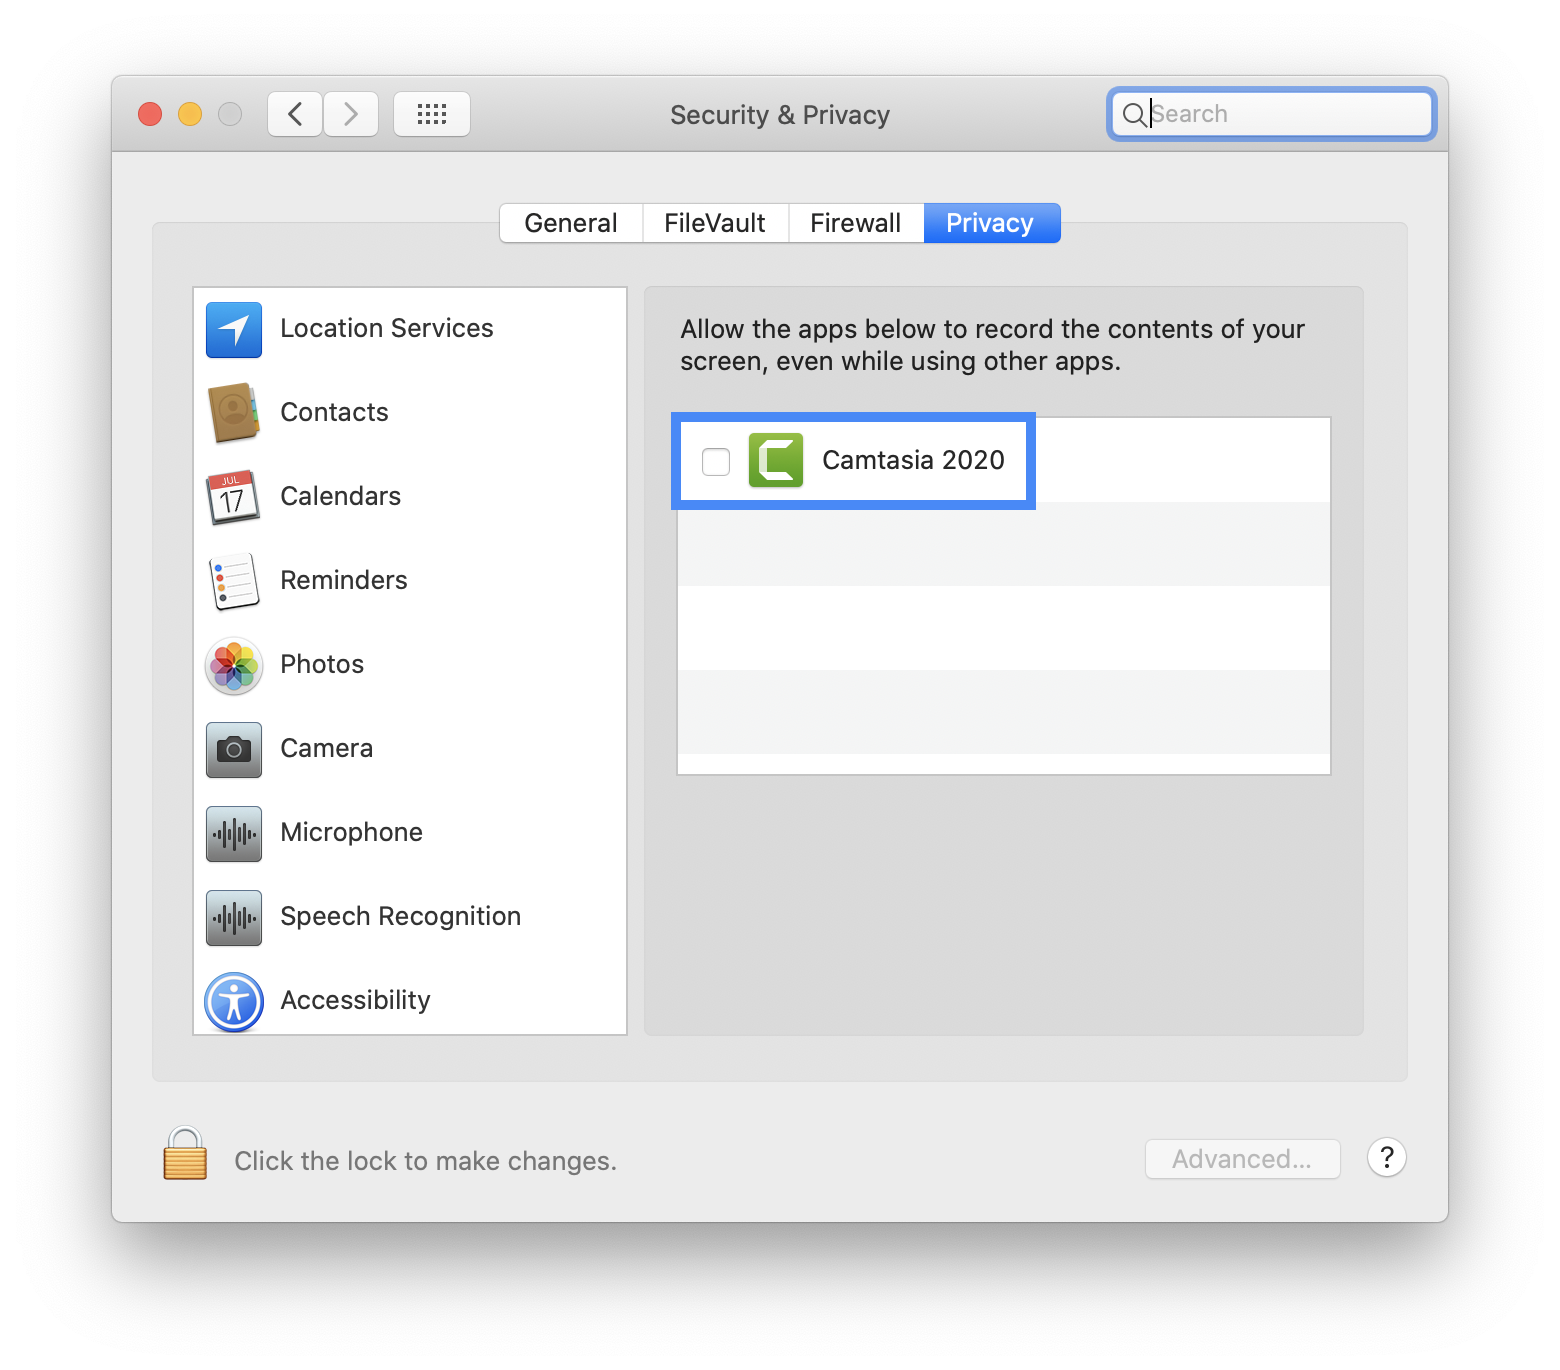
- Once System Preferences opens to the Security & Privacy > Privacy > Screen Recording preferences, put a check beside Camtasia 2020.
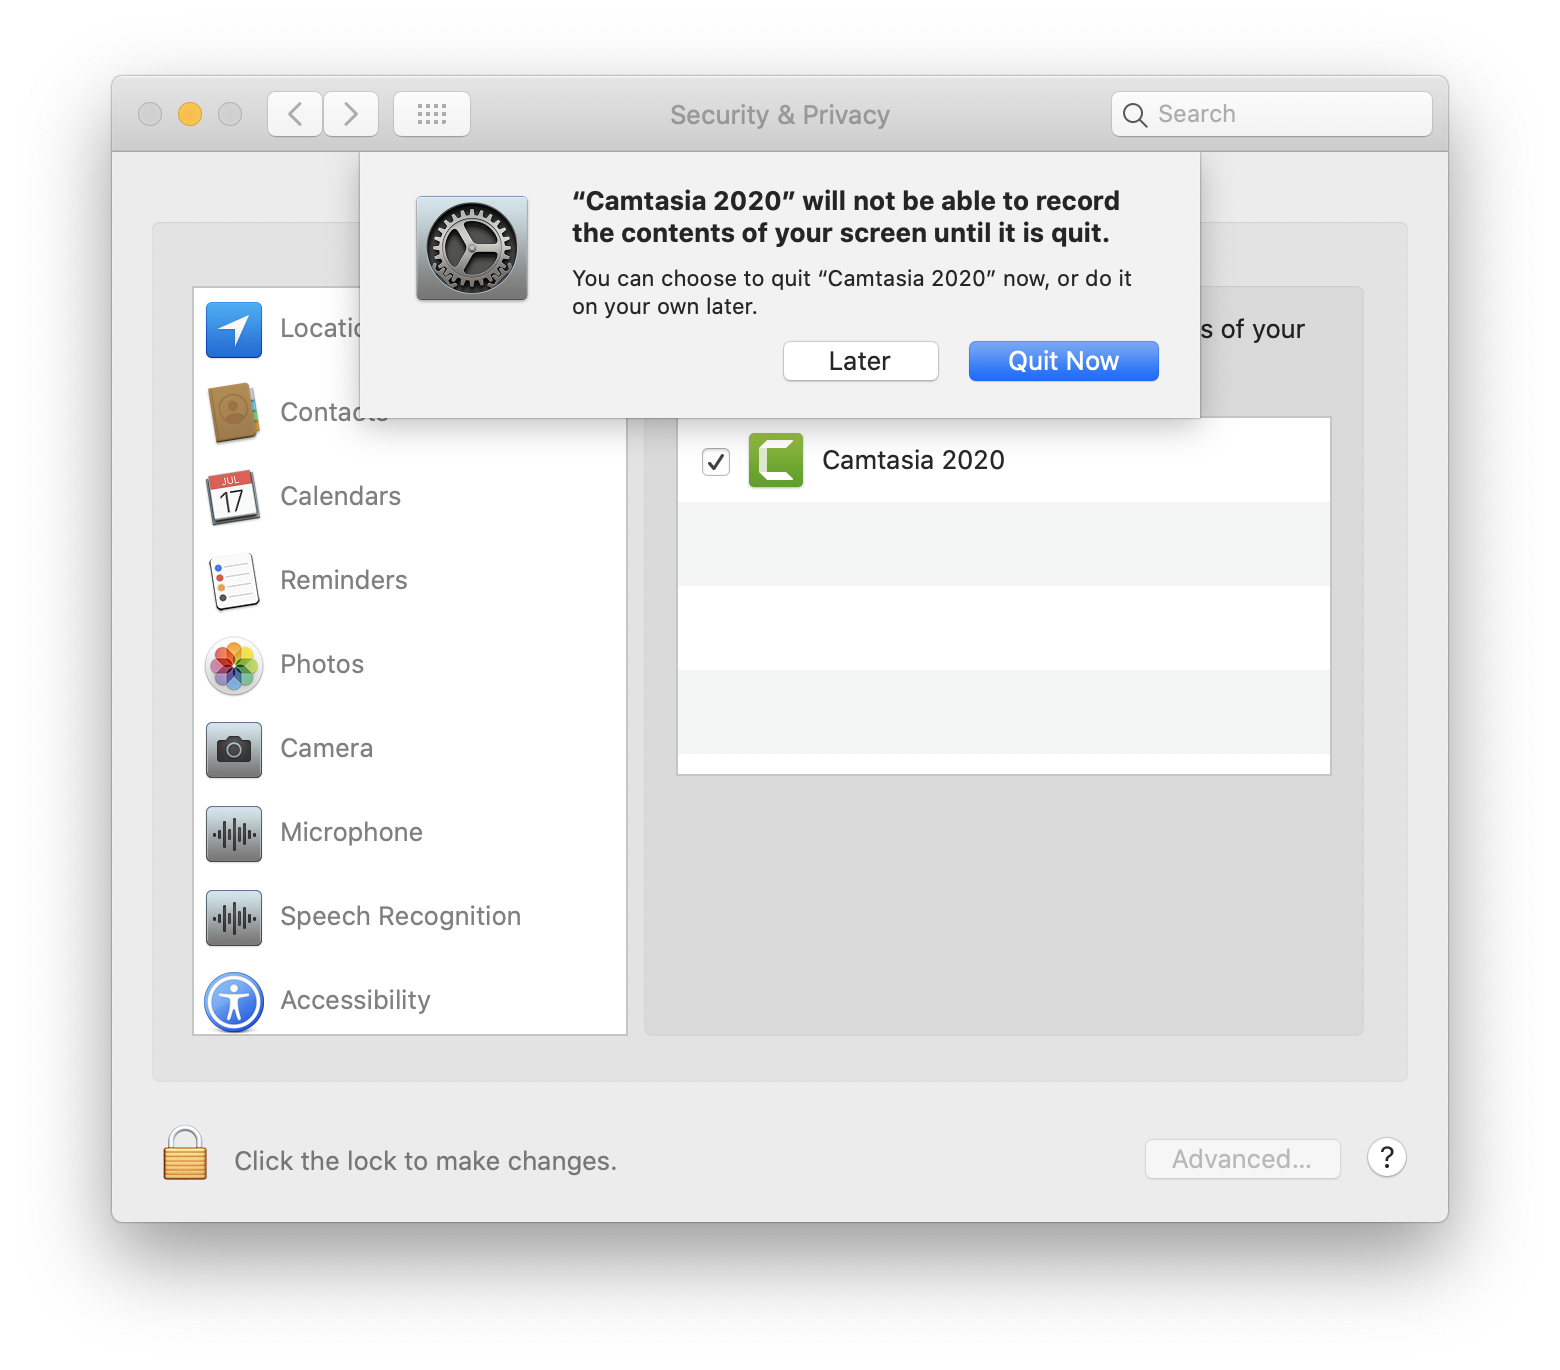
- When prompted, click Quit Now so the screen recording permission takes effect.
- Re-open Camtasia to begin working.
