.png)
The Browser Extension method will allow you to complete the Multi Factor Authentication process using only a laptop!
Install the Extension
Open a Chrome browser and visit the link for the Authenticator Extension.
Click Add to Chrome.
You will be directed to the Chrome Web store.
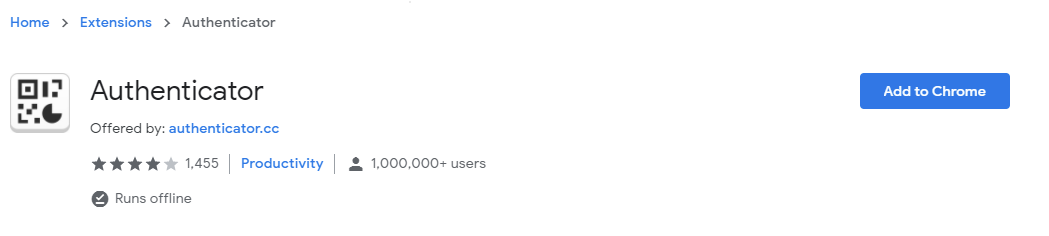
Click Add to Chrome again.
You will be prompted to add the extension. Click Add Extension.

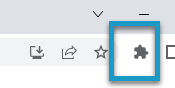
Next access the authenticator extension via the puzzle piece icon.

Here you can acknowledge Two Factor requests. You can also pin the app for easier access!
Configure your UNC Asheville Sign In Info to utilize the Authenticator Extension
Visit https://mysignins.microsoft.com/security-info and login if prompted.
Click the “+ Add a Sign In Method” button. Pick Microsoft Authenticator from the dropdown list.
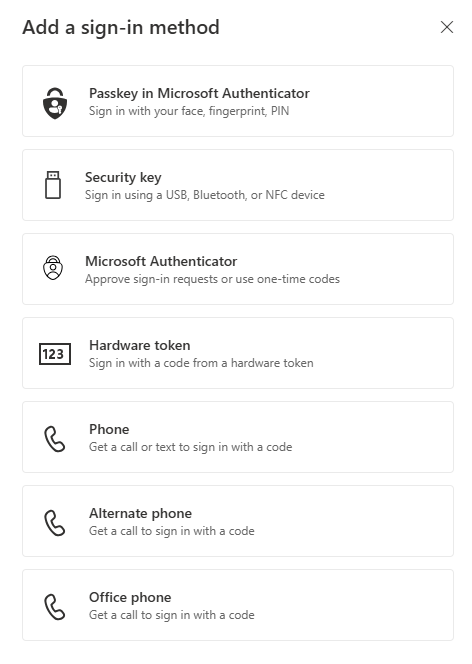
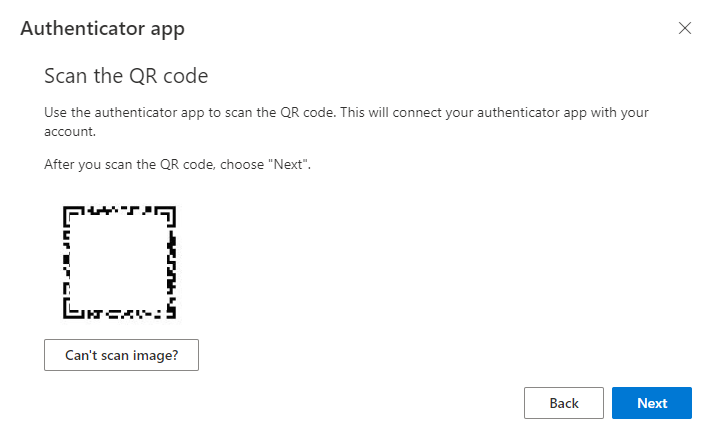
You will be prompted to utilize the Microsoft Authenticator app.

Instead pick “I want to set up a different Authenticator app”.
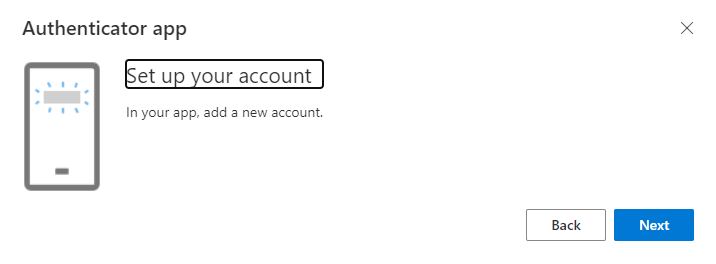
Click Next to for the QR code needed to complete the next steps.
We will move into the browser extension for the next steps.
Configure Authenticator Extension to work with your UNC Asheville account
If the Authenticator extension is not pinned click the puzzle piece and then click on the QR Code icon.

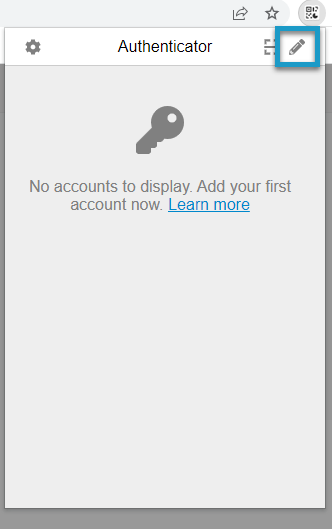
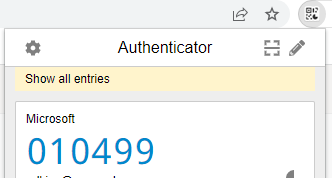
You will see the Authenticator window with no accounts present.
Click the Pencil icon as shown
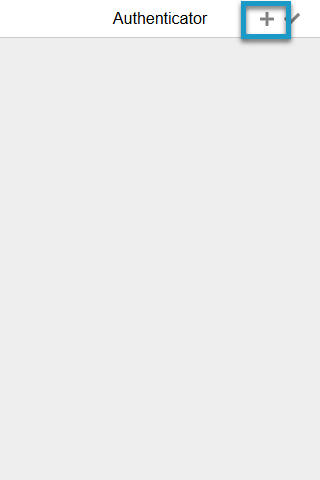
Click the Plus button
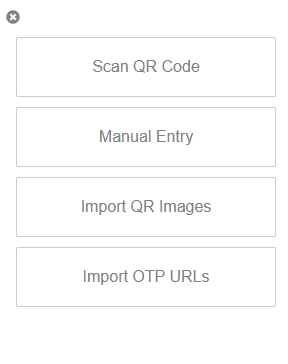
Click the Scan QR code button
Drag the box around the QR Code (highlighted with the blue arrow)
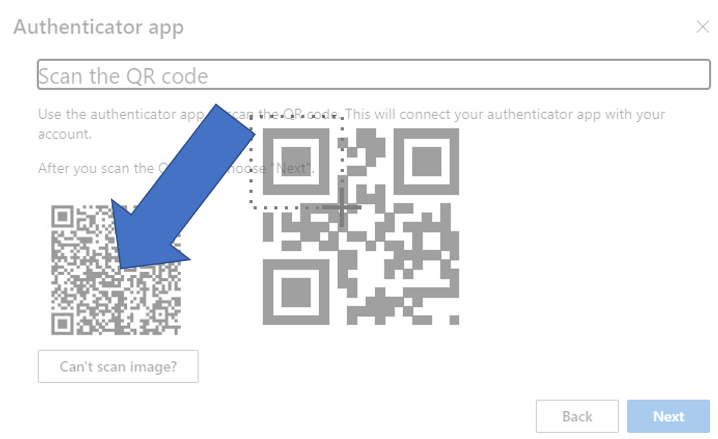
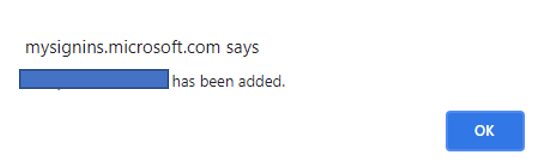
Click Next. You will be presented with confirmation of the addition of the authenticator.
Now we will confirm the code presented in the authenticator extension with Azure MFA.
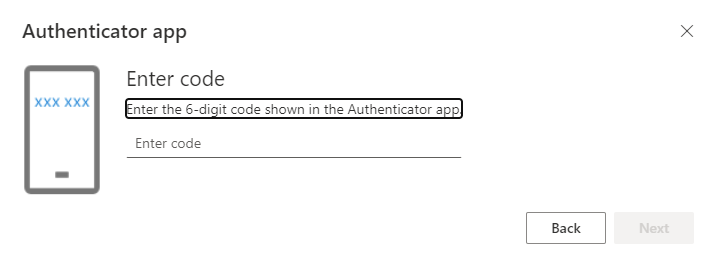
Click the code in the extension to copy the code. Paste it in and click Next. You may also type the code as shown.
You will see a confirmation of acceptance of the code.
The Authenticator extension is now ready for use.