.png)
Proxy Access is when a student grants a proxy (parent or otherwise) access to see the specific details of their account.
Access is controlled wholly by the student but we can walk the student through setting this up.
For more information and step by step guides on setting up proxy access visit the registrar’s website!
https://www.unca.edu/academics/registrar/policies/ferpa/#proxy
Proxy Access on Oneport allows the Proxy to see:
-
Account Summary by Term
-
Financial Aid Status
-
Financial Aid History
-
Unofficial Academic Transcript
-
Printable Student Schedule
-
Tax Notifications.
Proxy Access on Oneport does not provide the means to pay the student's account. That is done through the ePayment portal. This will also be covered.
Oneport Proxy Access
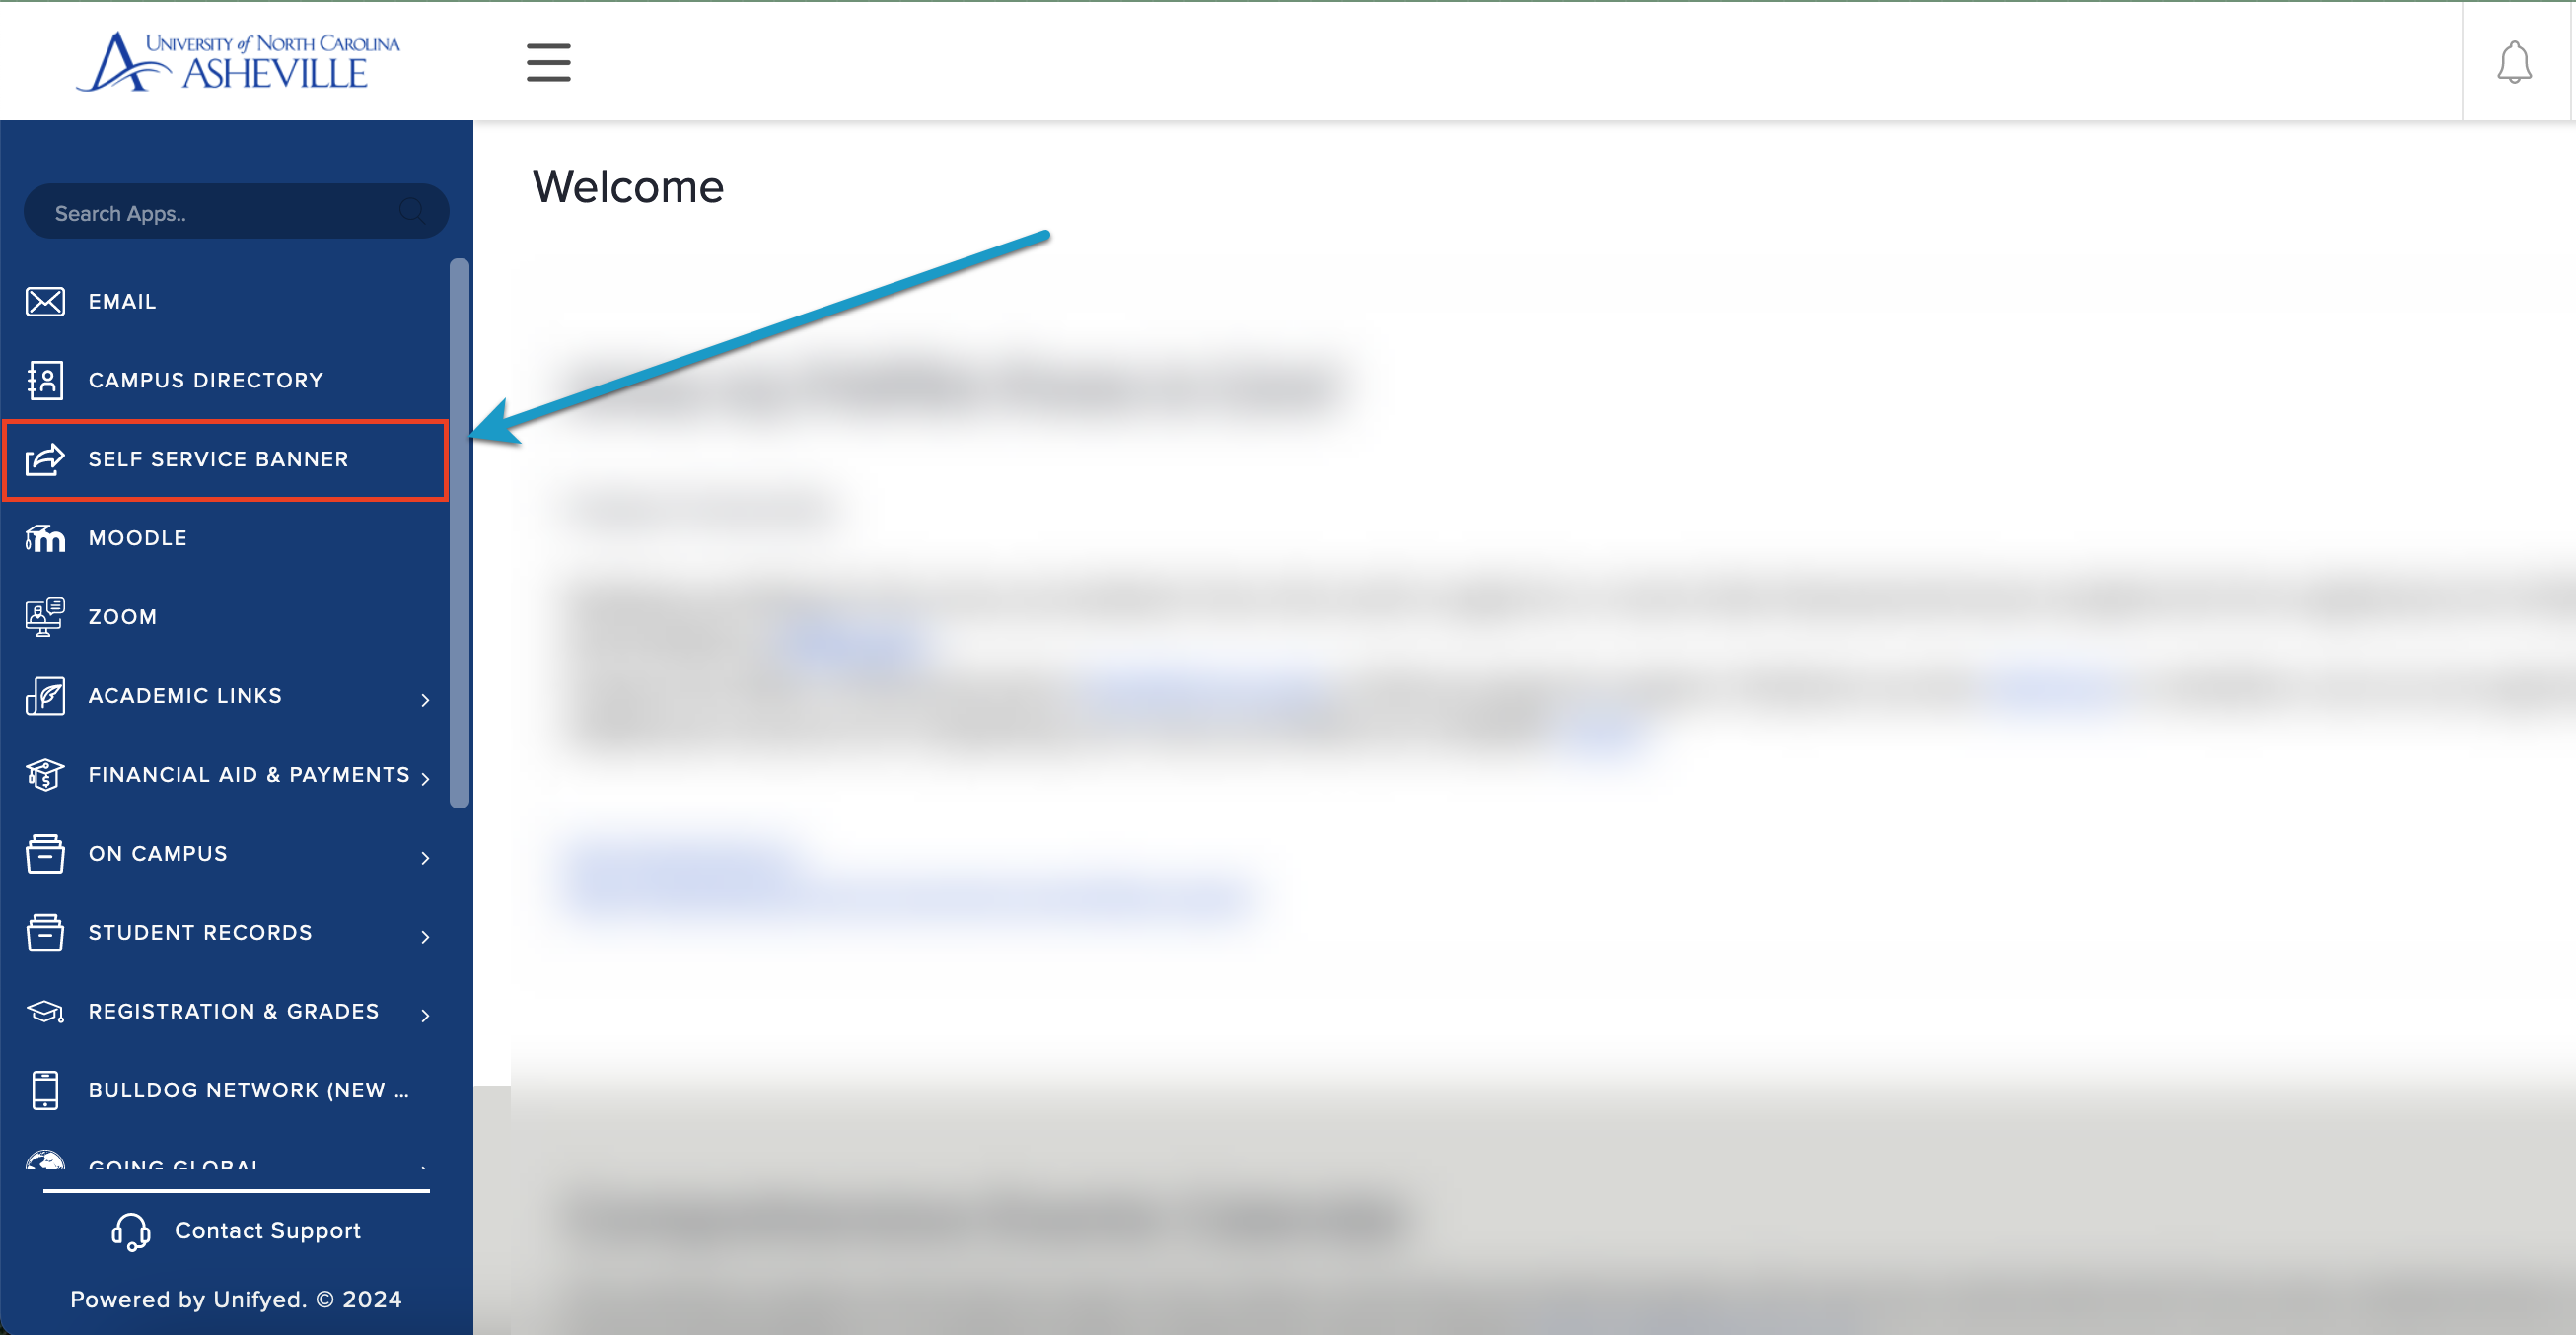
To grant access, once logged into Oneport, the user should click Self Service Banner
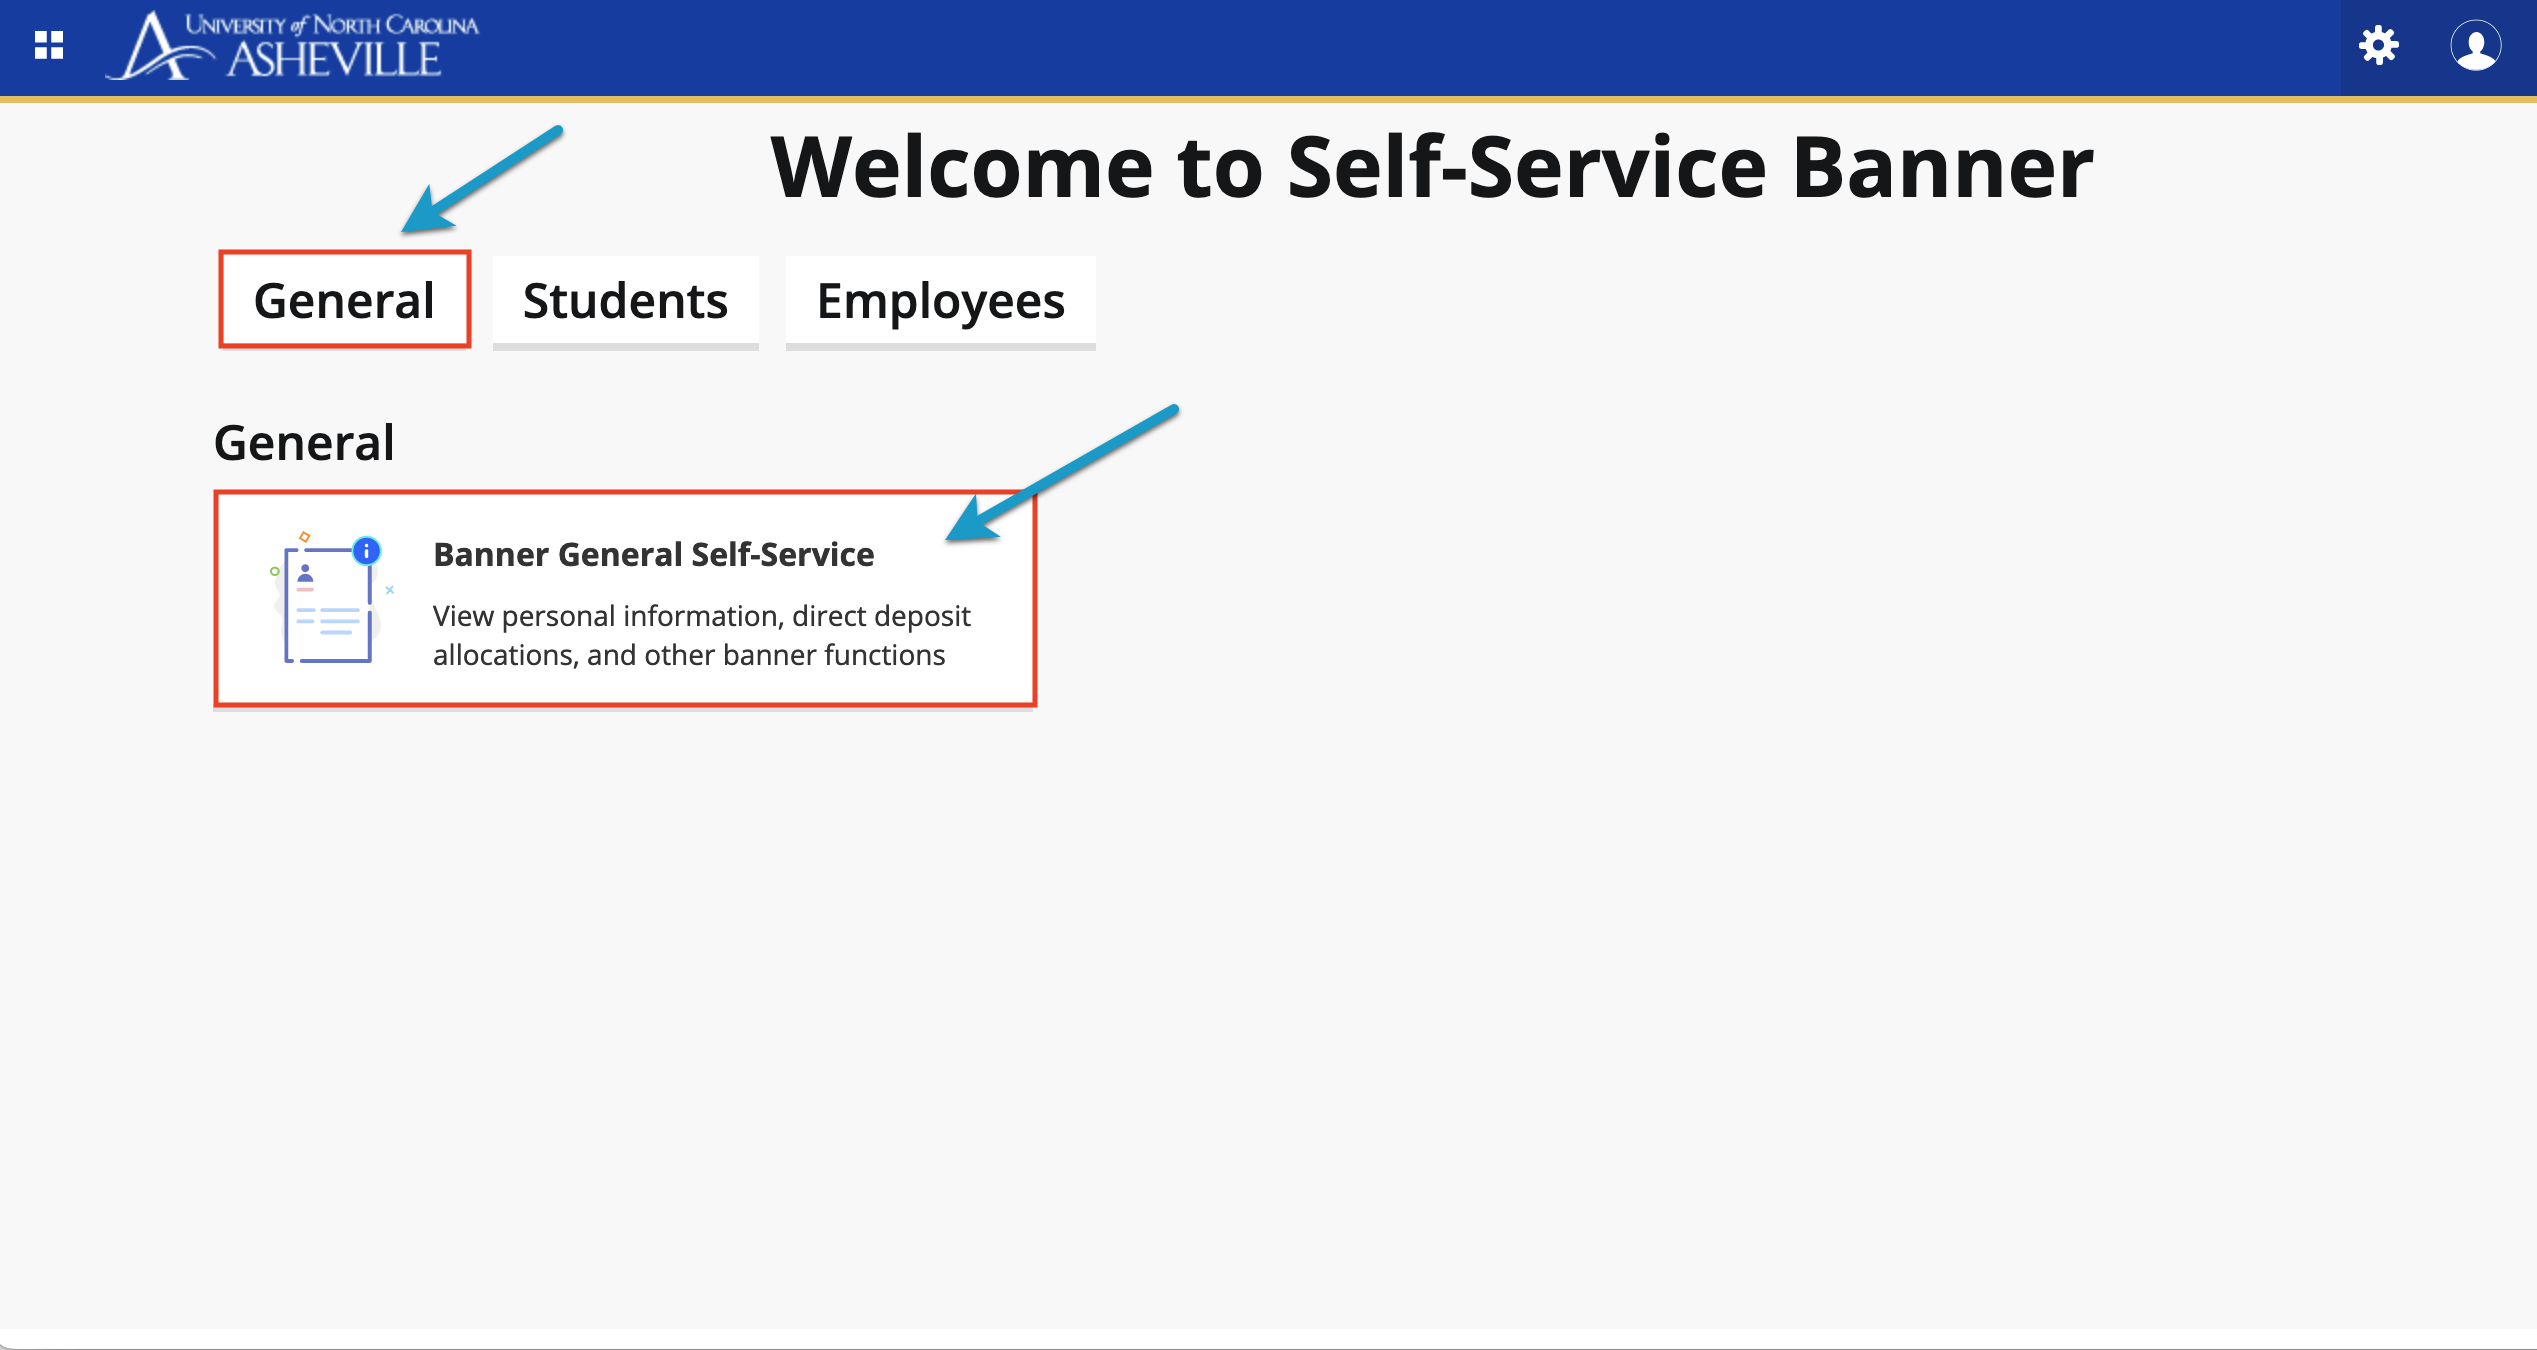
Under the General menu, click Banner General Self-Service
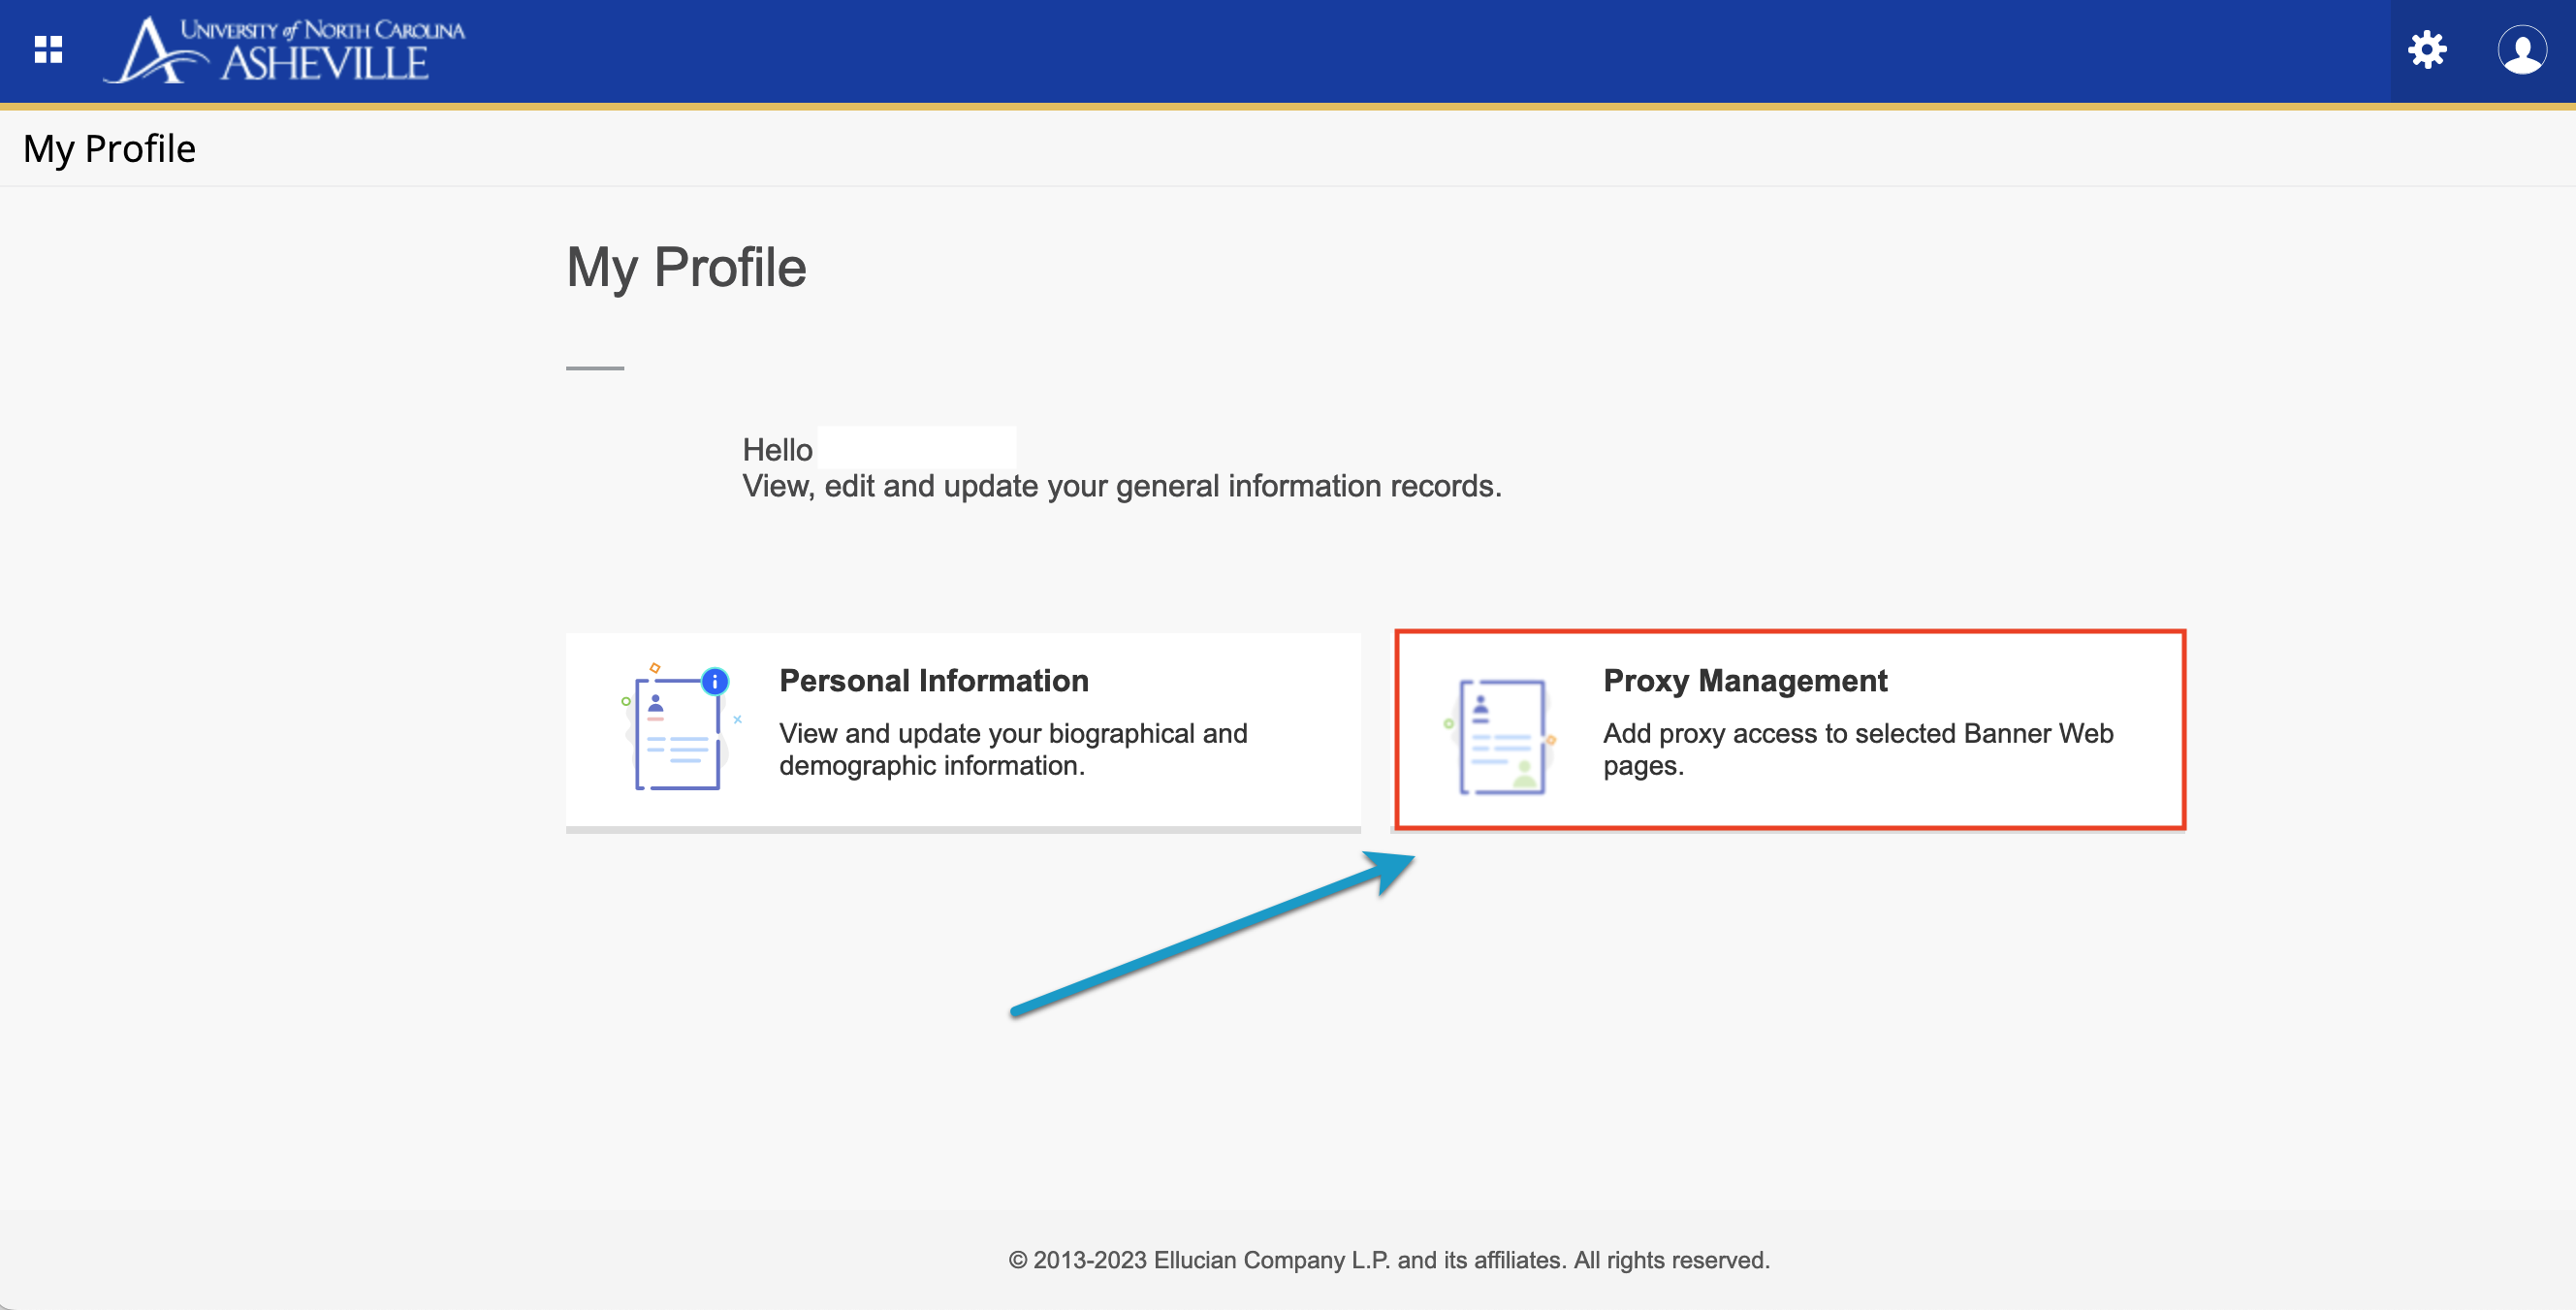
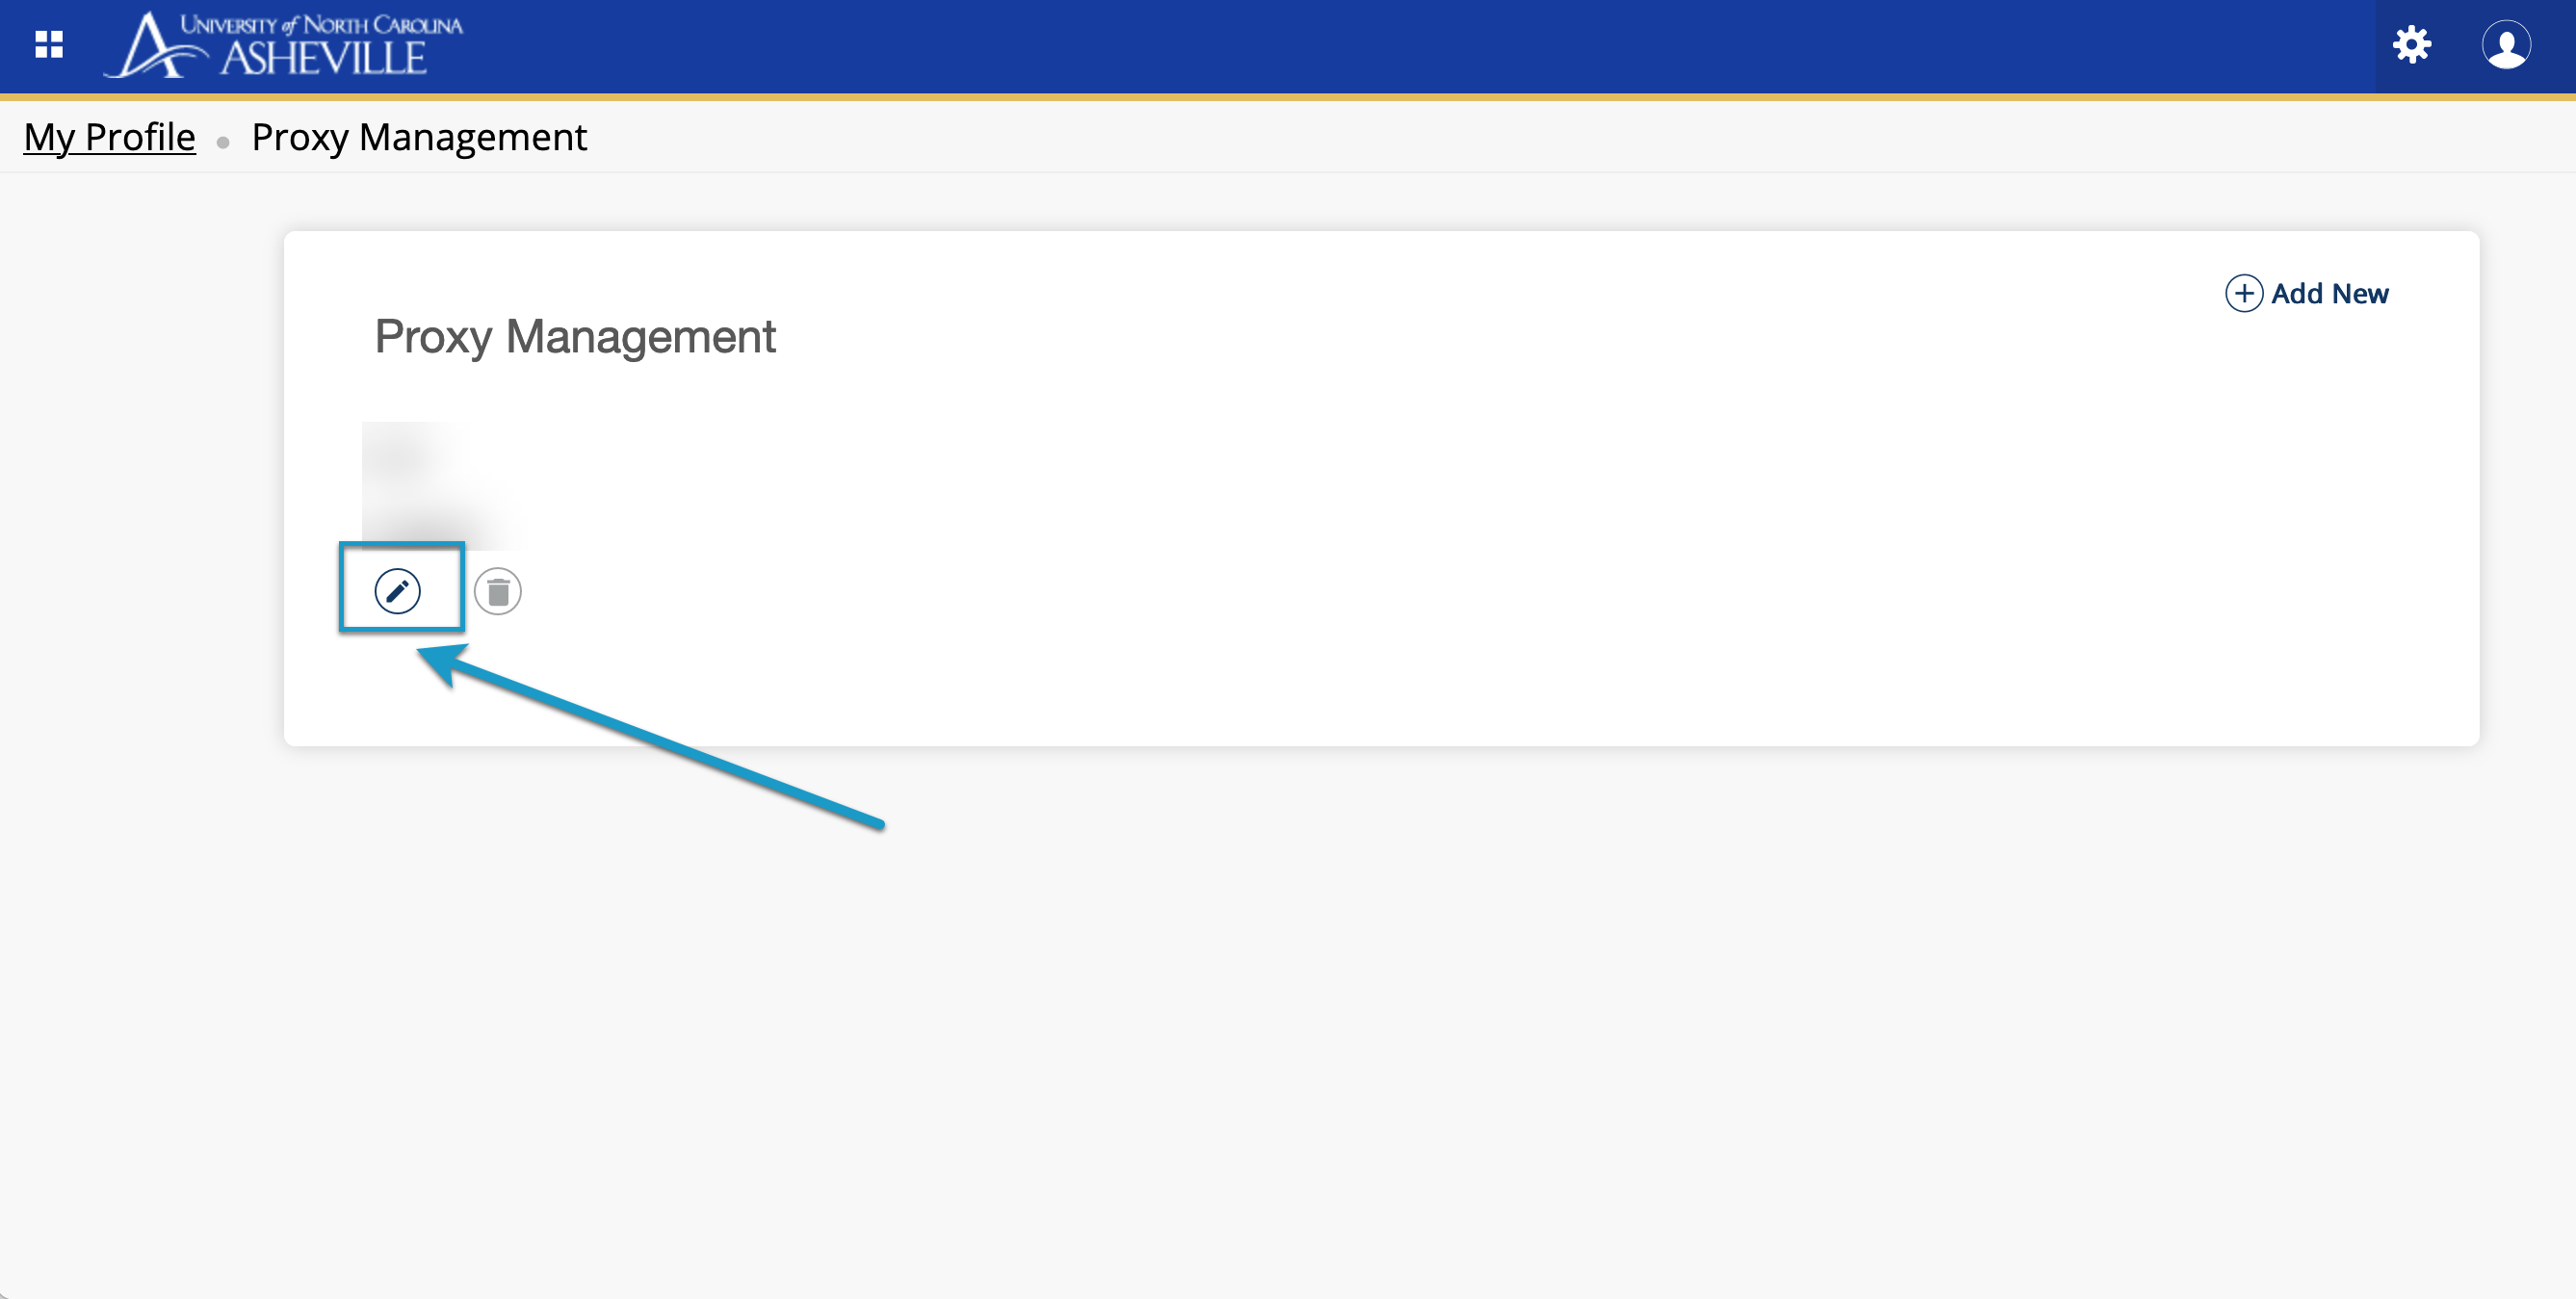
Click "Proxy Management"
Click the plus symbol “Add New” to create a new proxy

Enter the information requested by the system about the new Proxy. Click Submit when completed.
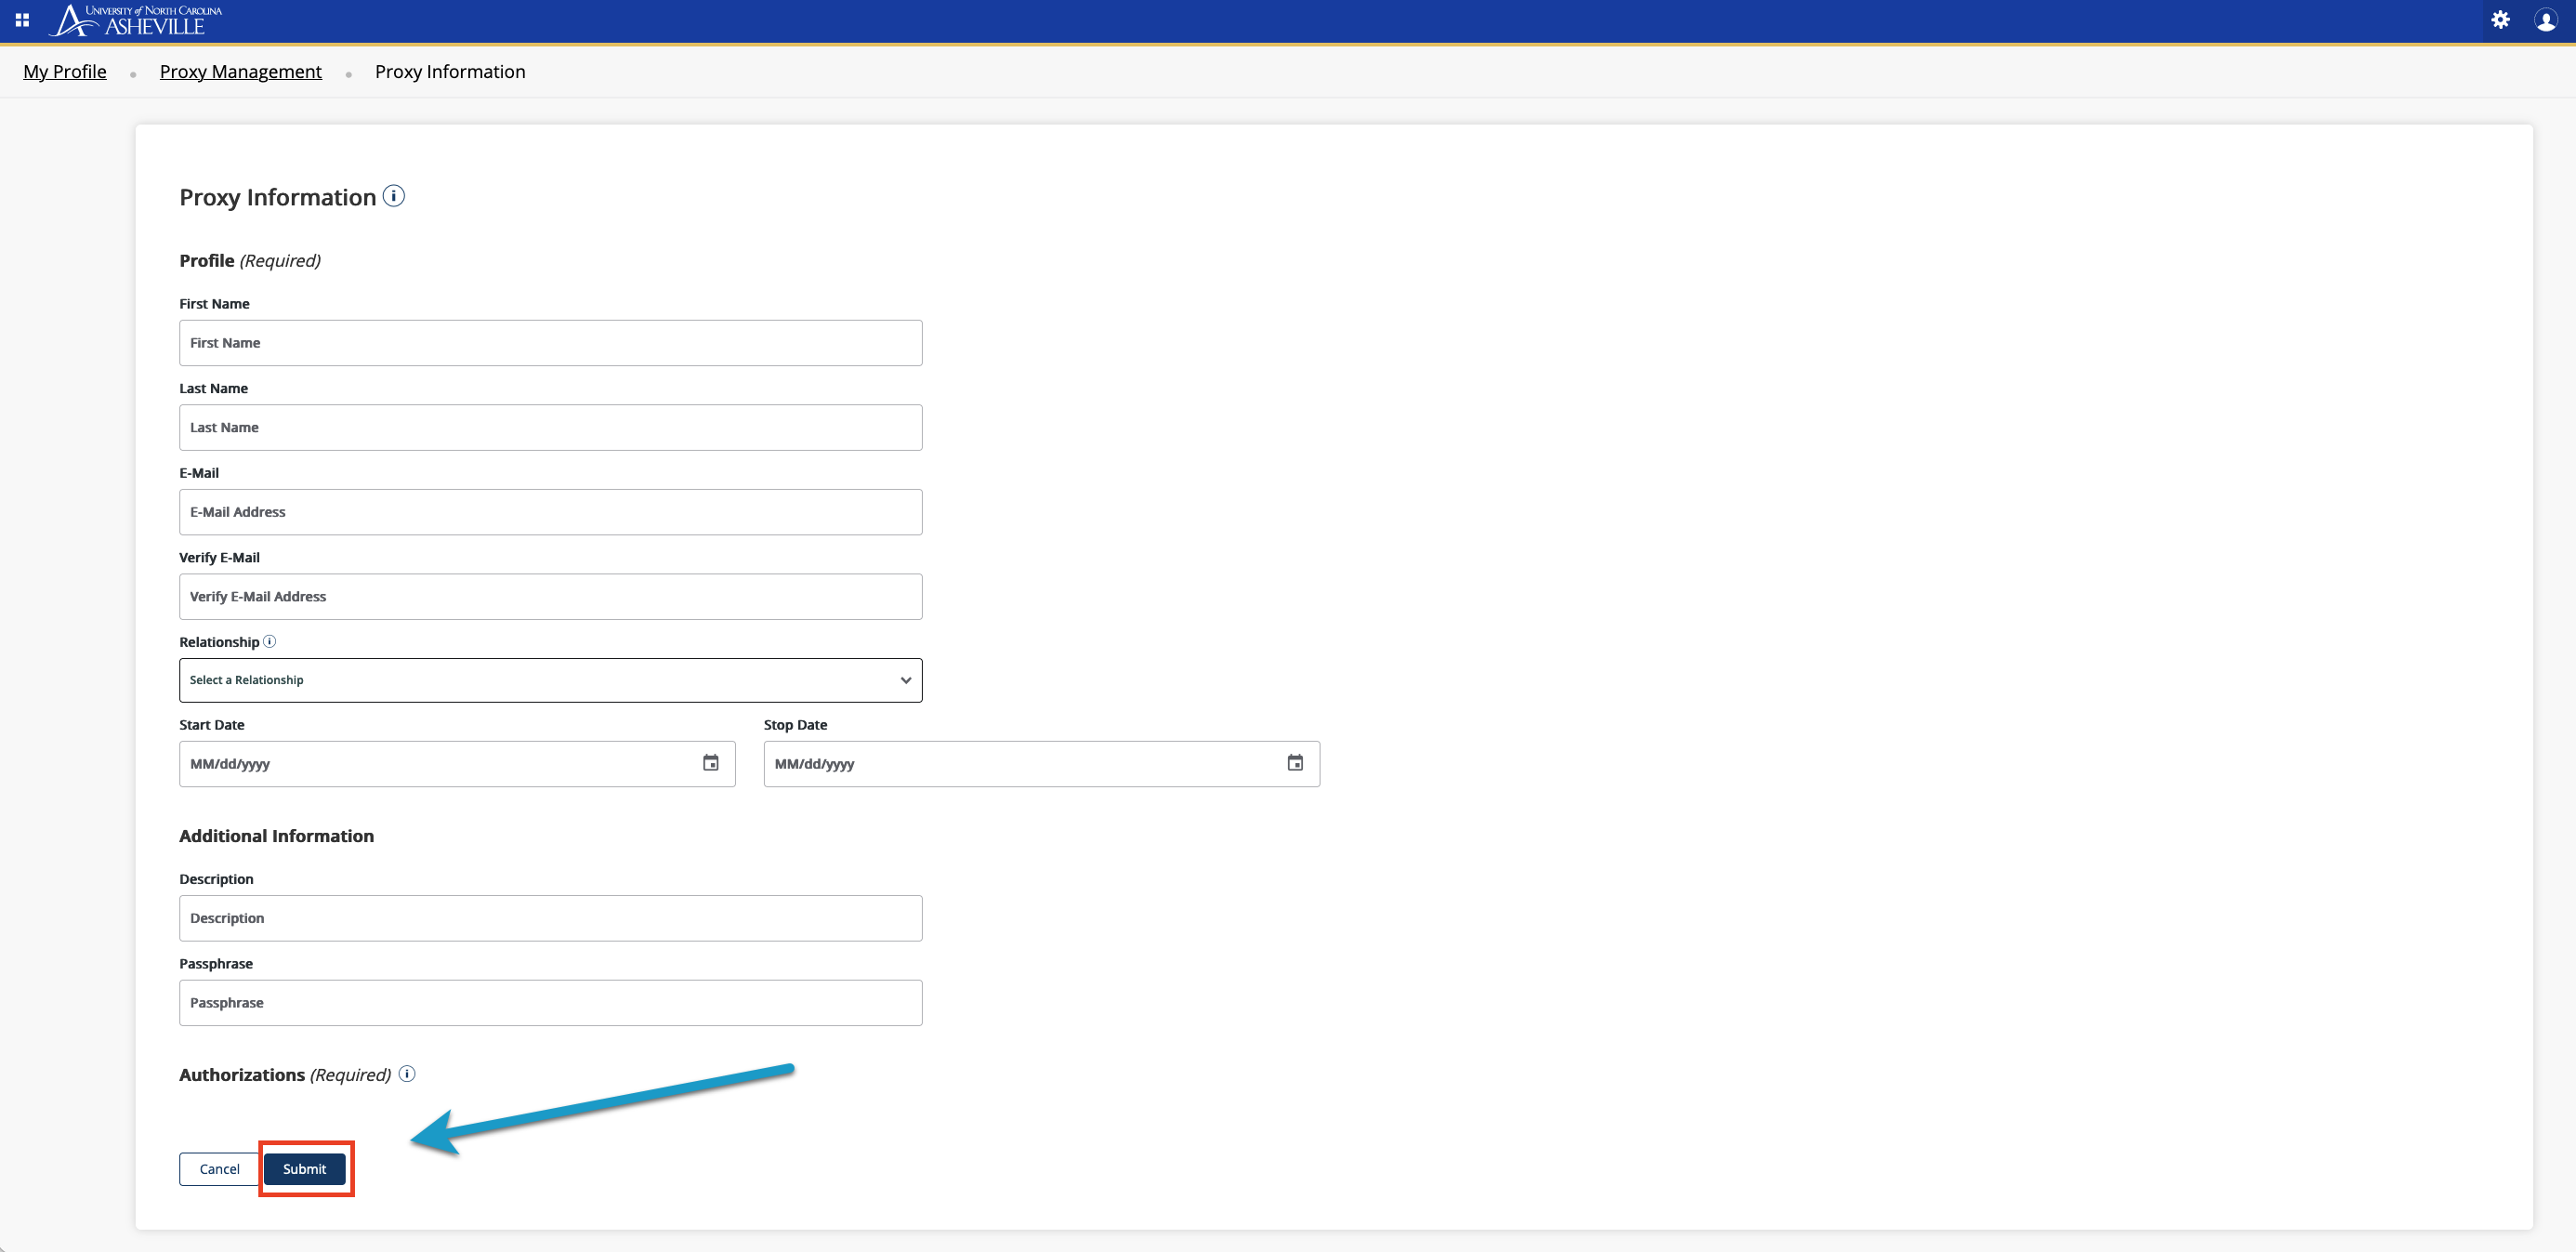
Once this is done, the proxy should be created. Clicking the pencil icon will expand the details. The "Passphrase" is used by the proxy whenever they need to discuss the account with the Registrar.
Two emails will be sent in order to create the account. The first will contain a time limited link

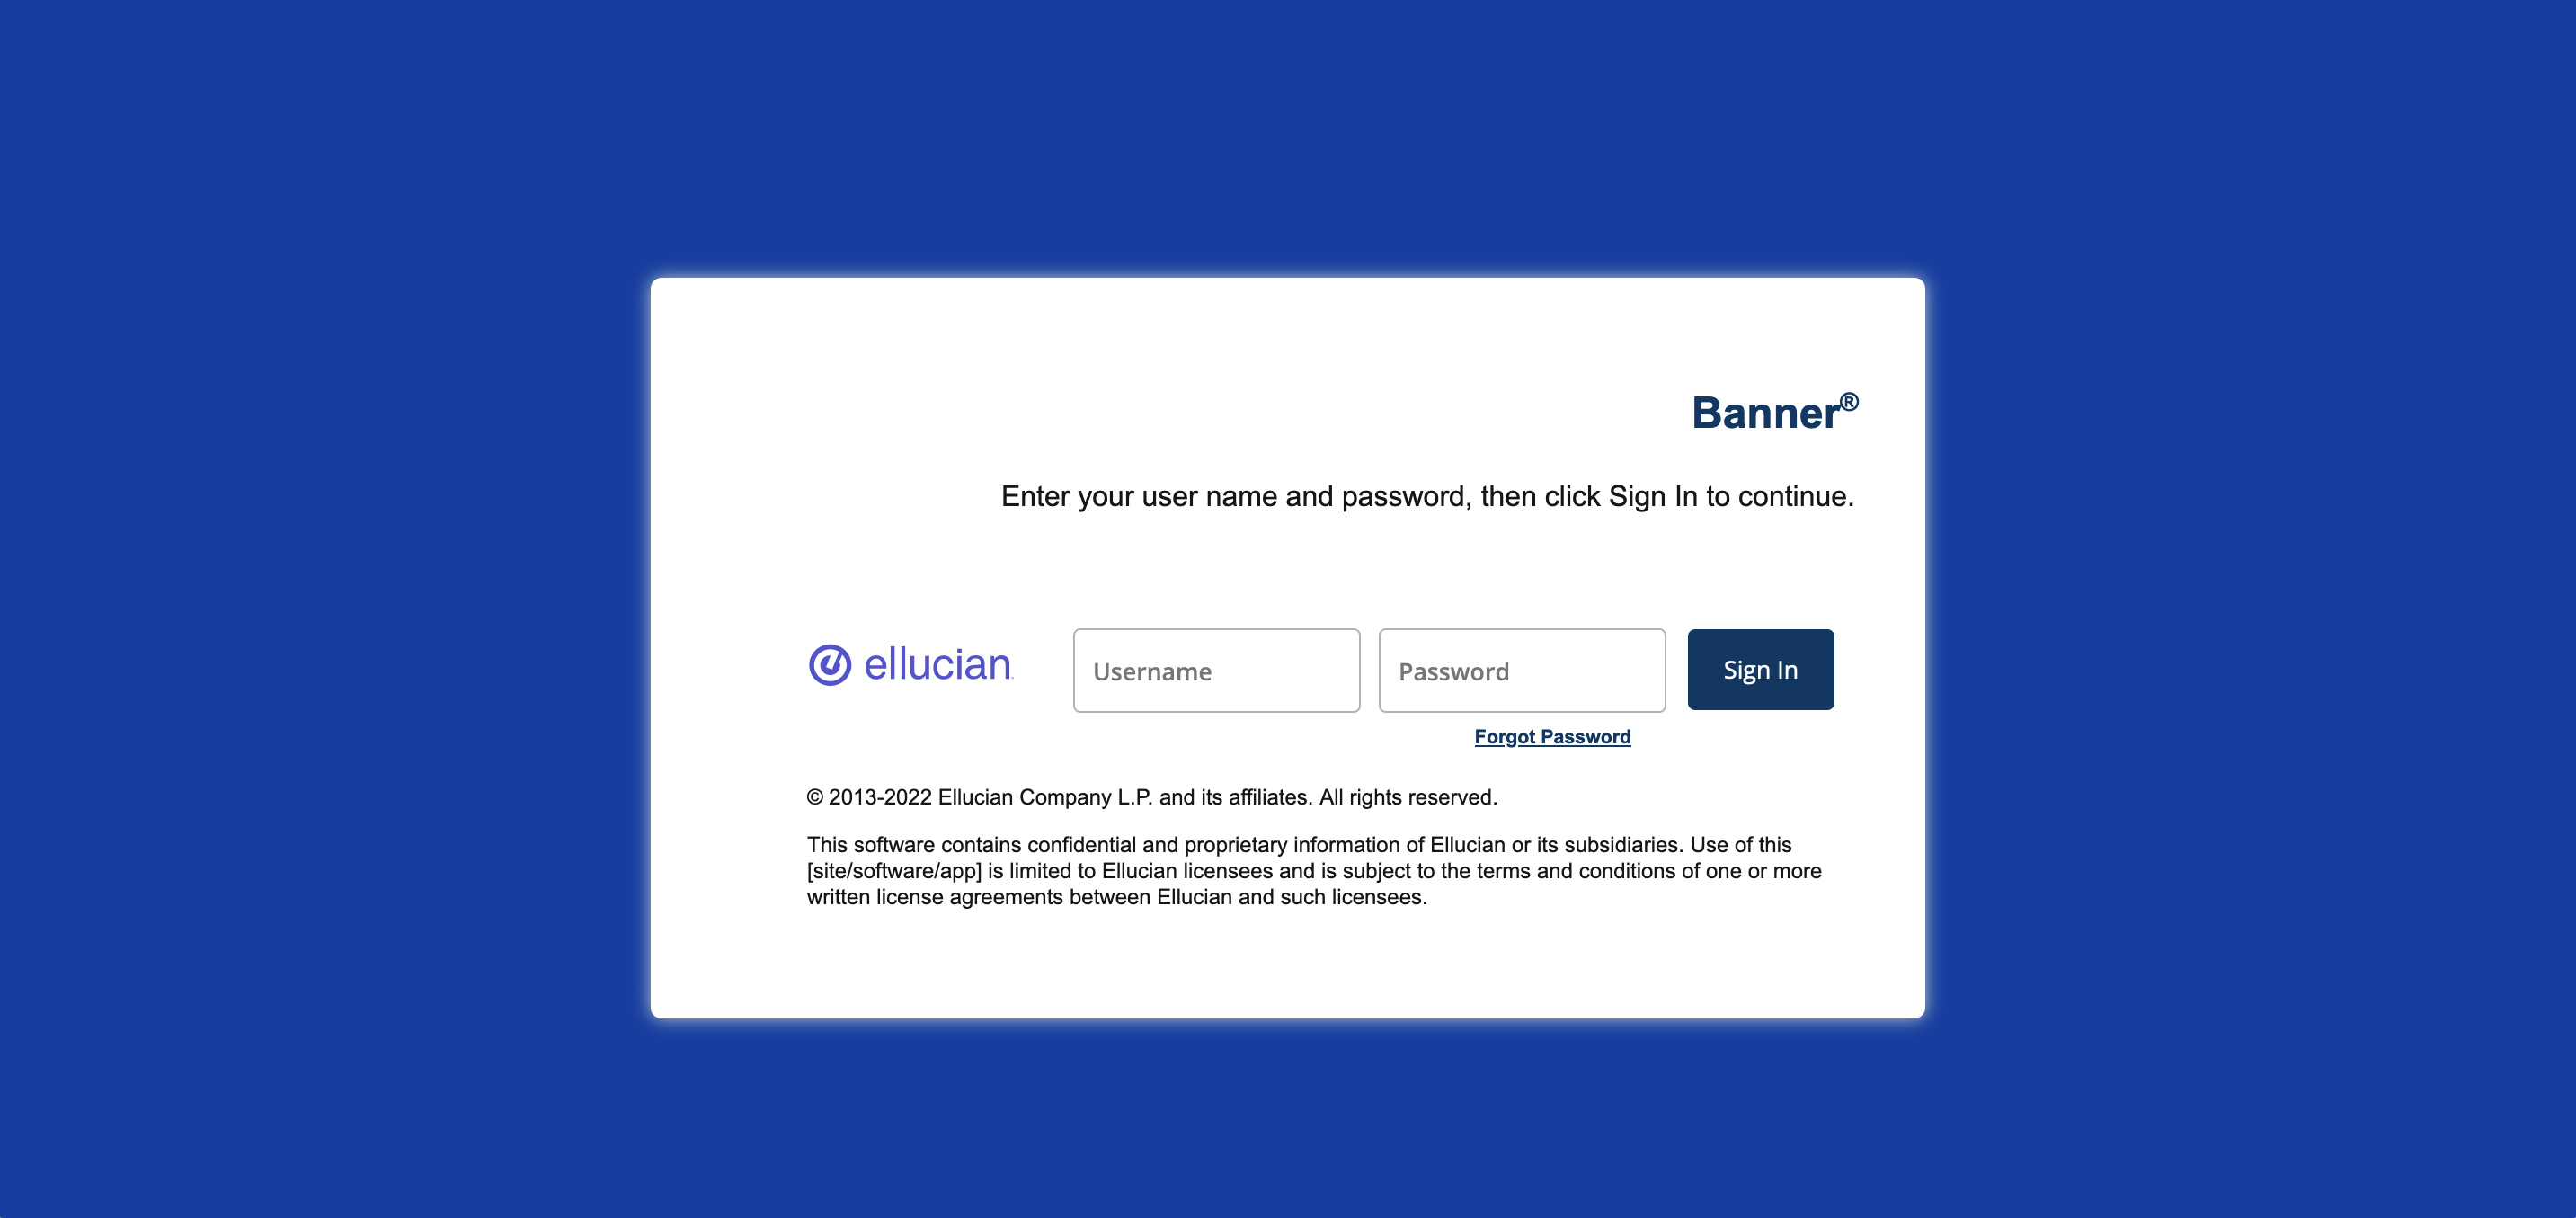
The next email will contain the initial password.

This will grant access. The proxy will access through the "Proxy Access" button on the Oneport Sign-in screen.
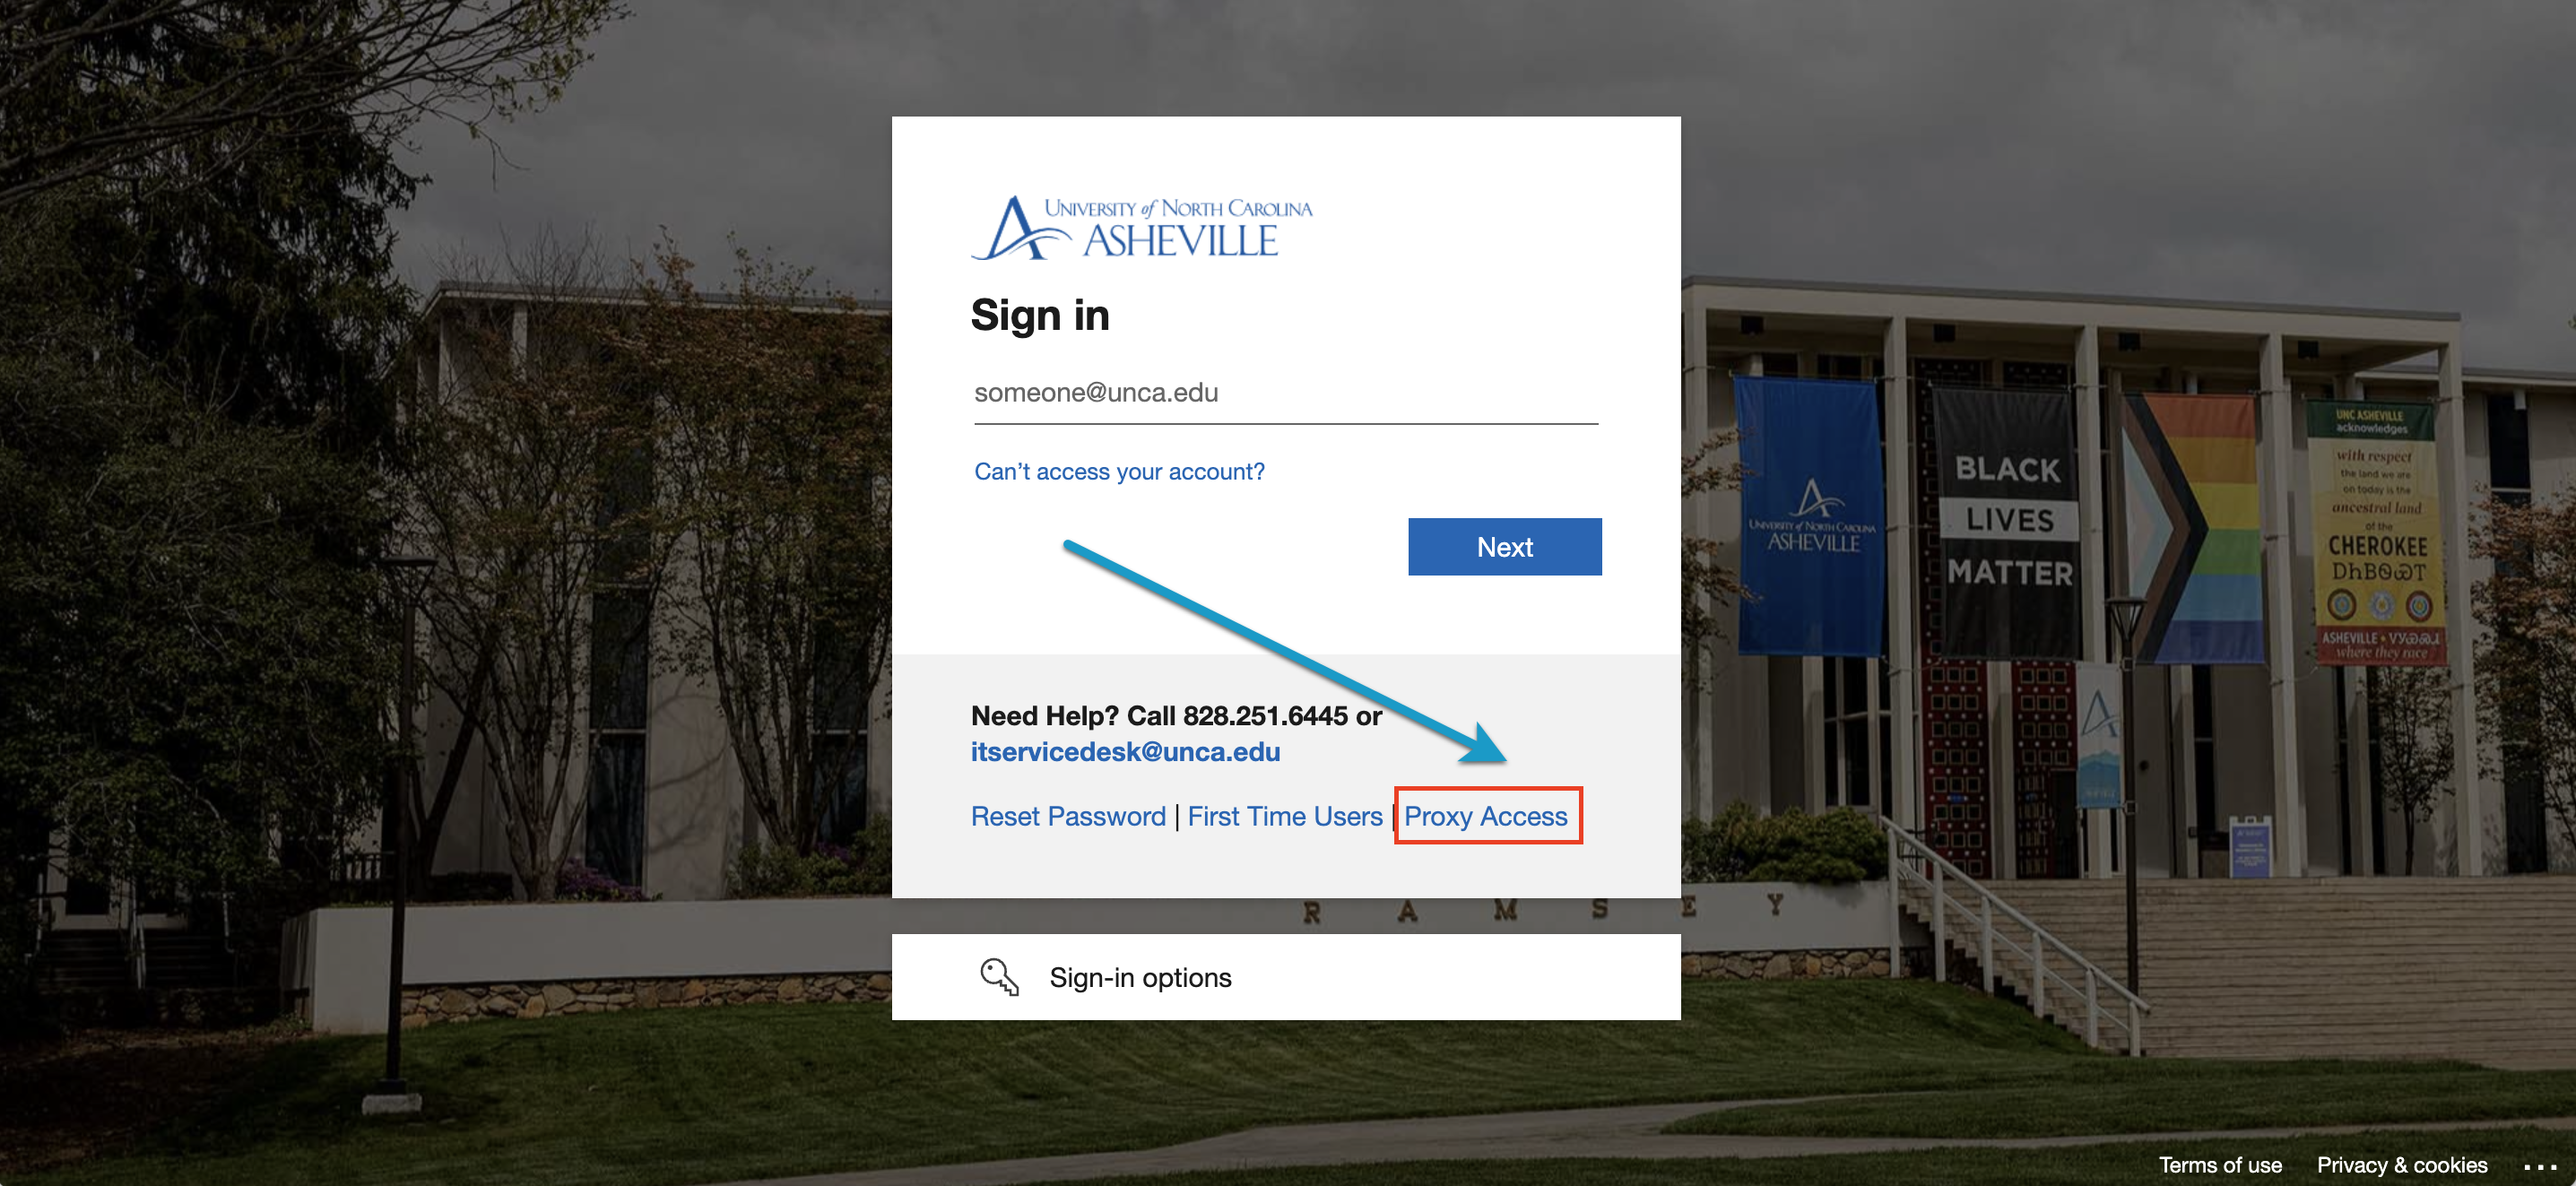
After the password is set, they should be able to log in and see the information their student has granted them.