
How to Remove Your Cisco VoIP Phone and Connect Ethernet Passthrough to Your Dock
Purpose:
This guide explains how to safely remove your Cisco VoIP phone from your workspace and repurpose the existing Ethernet cabling by connecting it directly to your docking station or laptop for network access.
📘 Before You Begin
This procedure is intended for users transitioning from a desk phone to a softphone solution (e.g., Zoom Phone).
You will need:
Access to the Ethernet cable connected to the wall/network port.
A docking station or computer with an Ethernet (RJ45) port.
📘 Step-by-Step Instructions
Identify the Ethernet Cables
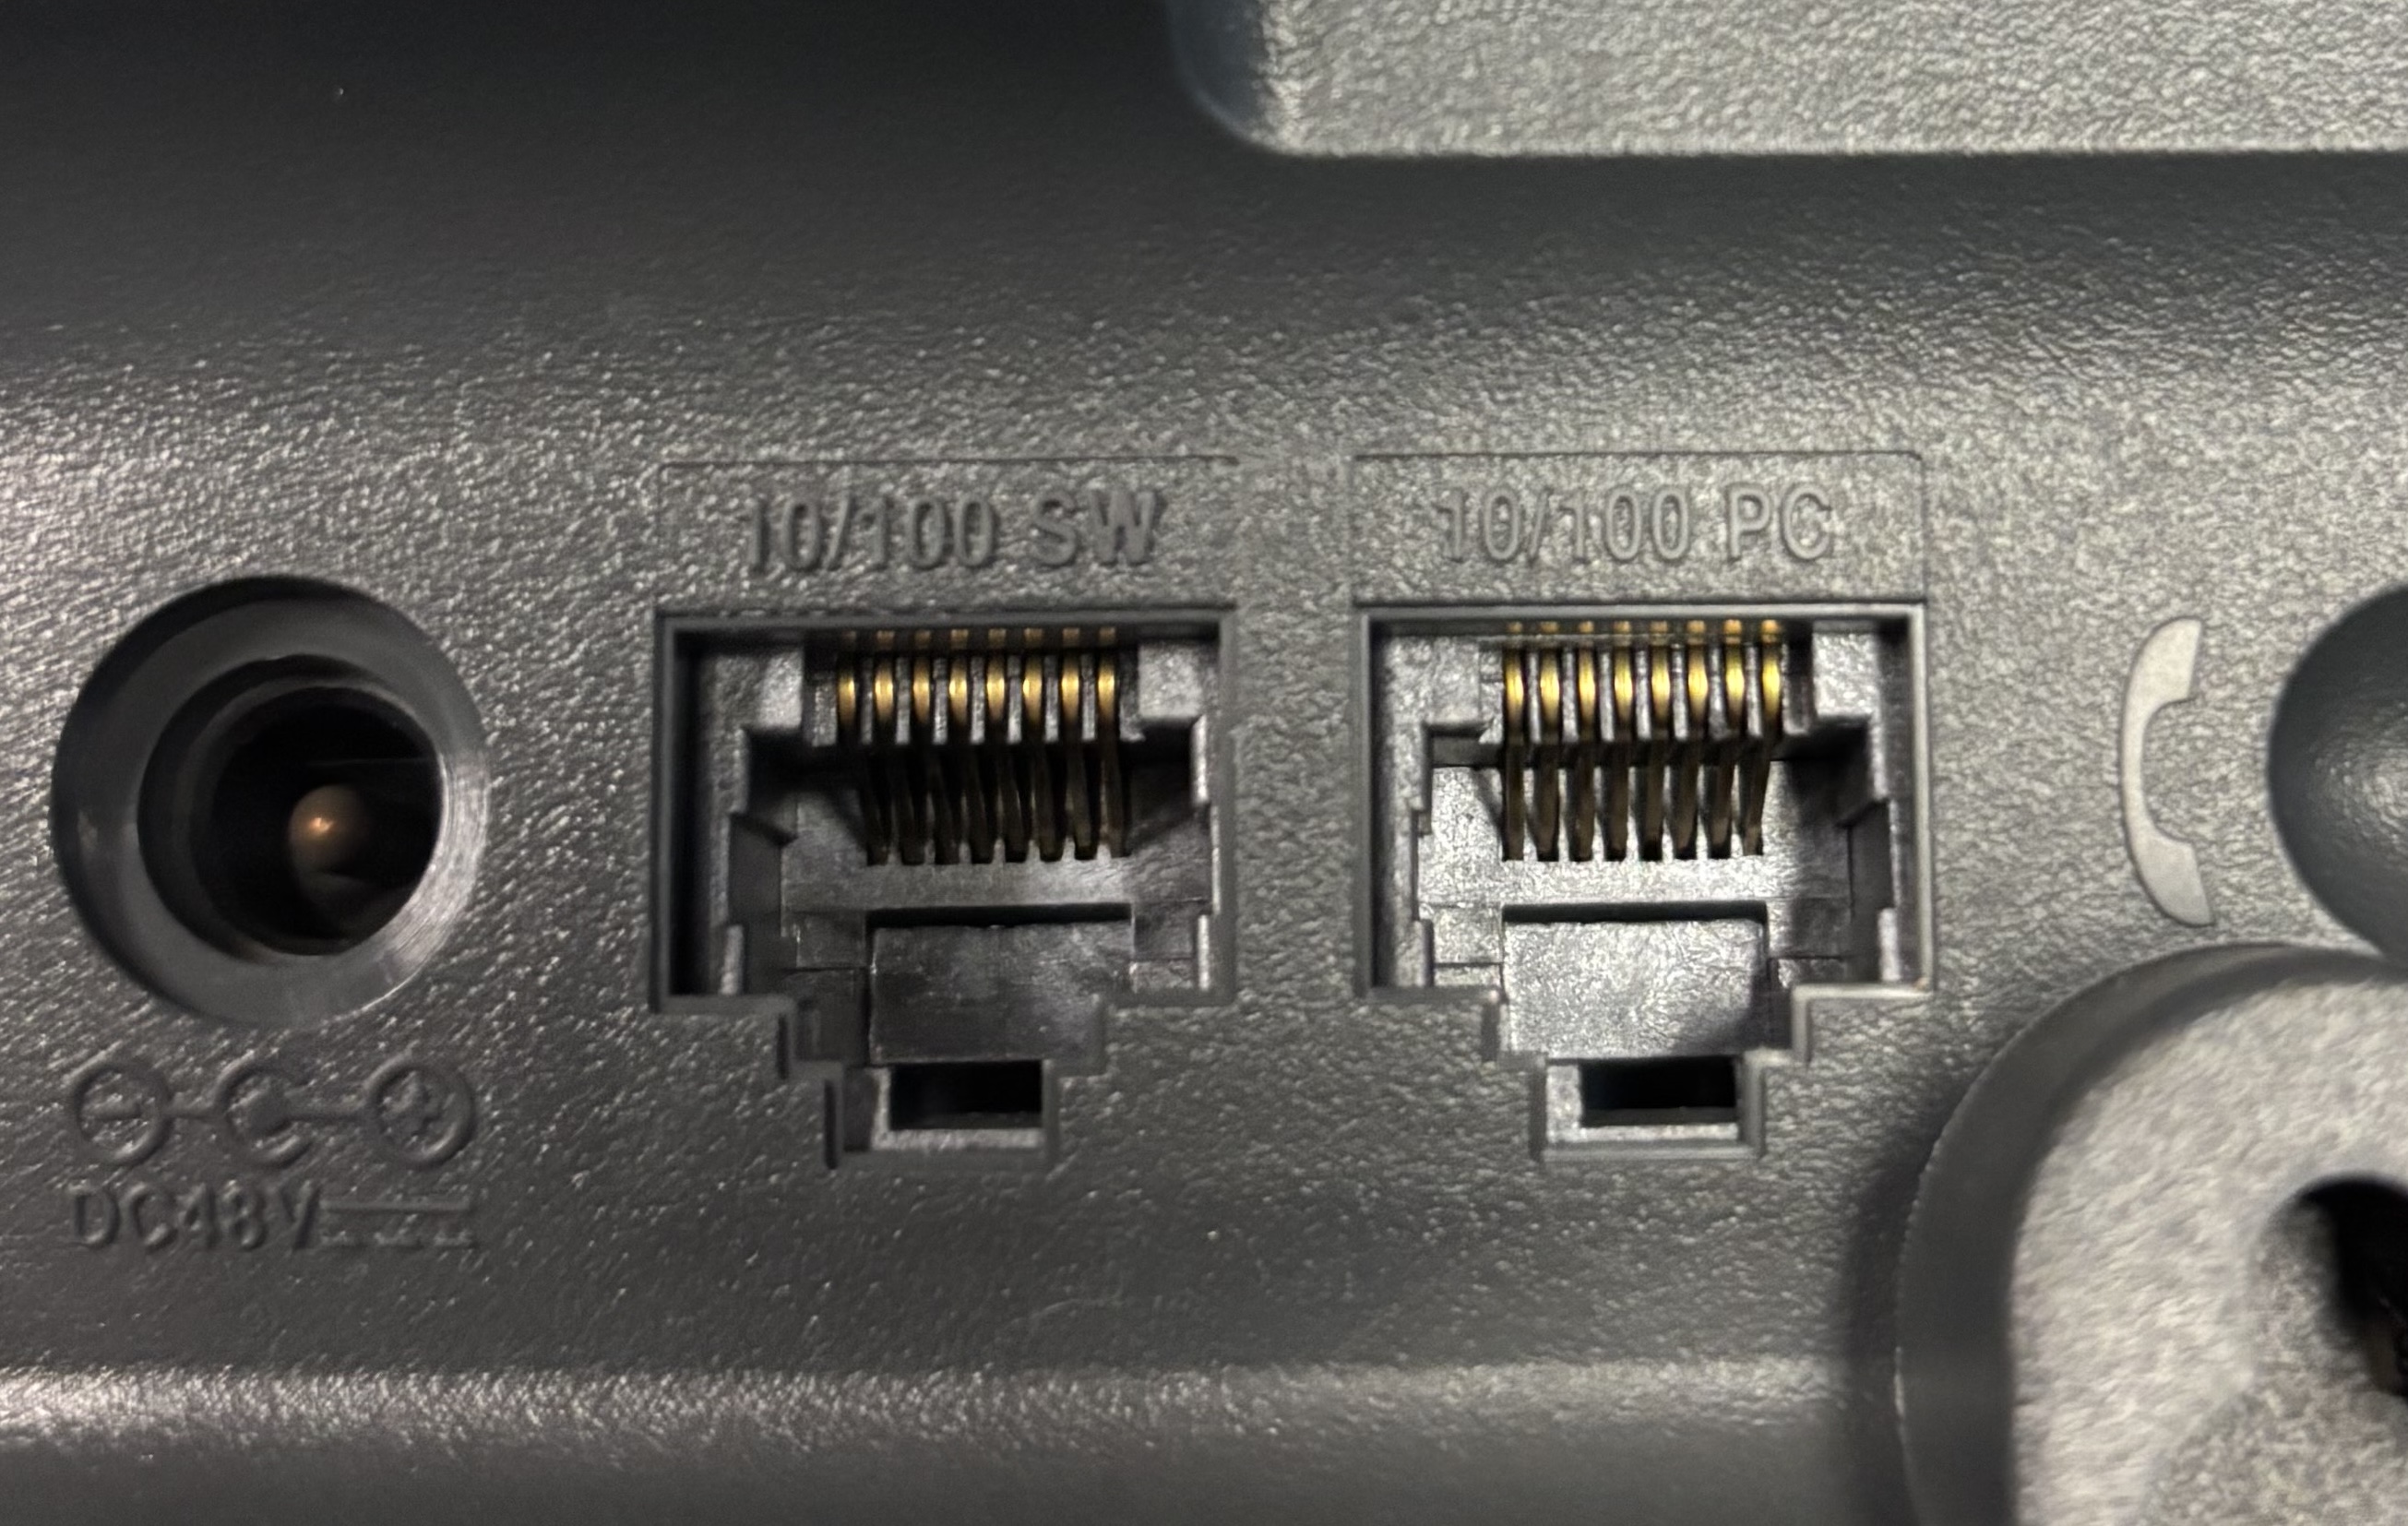
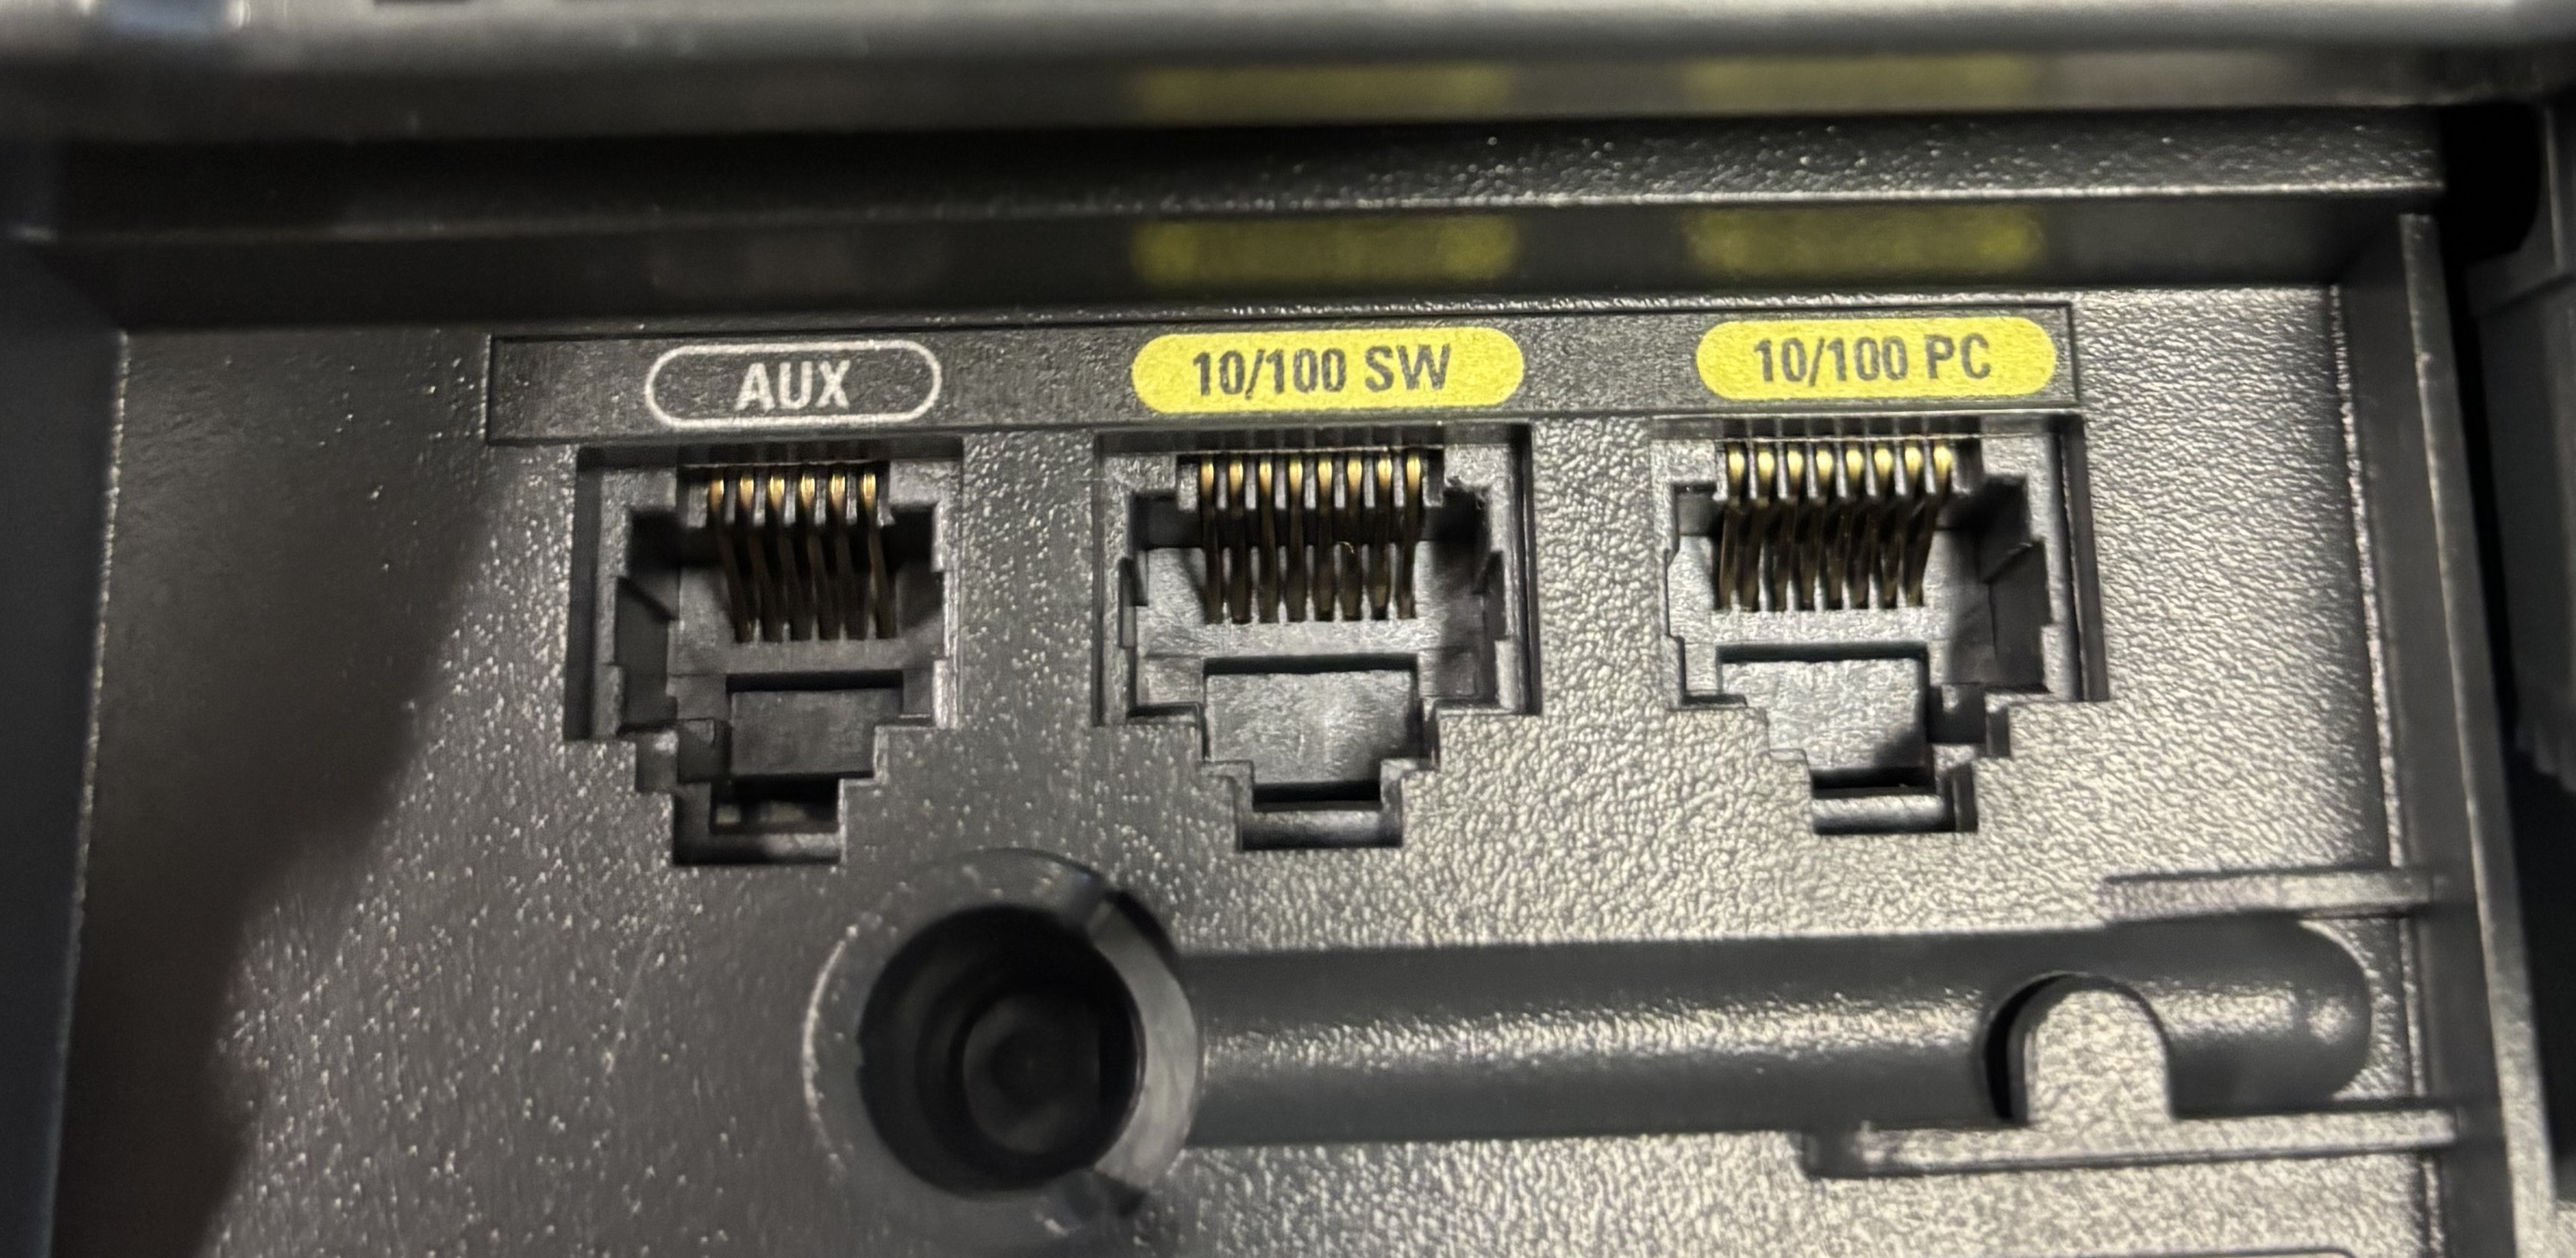
On the back of the Cisco phone, locate two Ethernet ports:
Network (SW or Network port): This port connects to the wall/network.
PC port: This port connects to your computer or docking station.
Disconnect the Ethernet Cables
Unplug both Ethernet cables from the back of the Cisco phone.
Carefully remove the Cisco phone from your desk and store it as instructed by IT
Connect the Network Cable Directly to Your Dock
Take the Ethernet cable that was connected to the SW or Network port on the Cisco phone.
Plug it directly into the Ethernet port on your docking station (or directly into your computer if no dock is used).
Confirm Network Connectivity
Wait a few seconds after connecting the cable.
Ensure you have internet access:
You should see your PC switch from Wi-Fi to Ethernet (if applicable).
Open a browser and visit a website to confirm connectivity.
If there's no connection:
Restart your computer
Contact your IT support team for assistance.

Need Help?
Contact the IT Help Desk at 828-251-6455 or open a ticket via helpdesk@unca.edu.