.png)
Power on the room
|
|
|
|
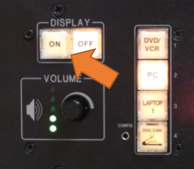
Press the on key and wait for the light to show solid white. |
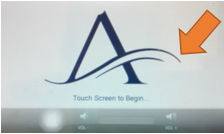
Tap the screen to power on the system. |

Choose a source
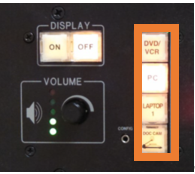
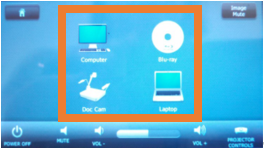
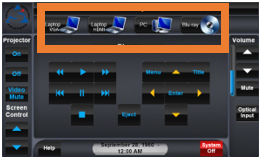
Chose a source from the buttons or icons.
Connecting a laptop
|
|
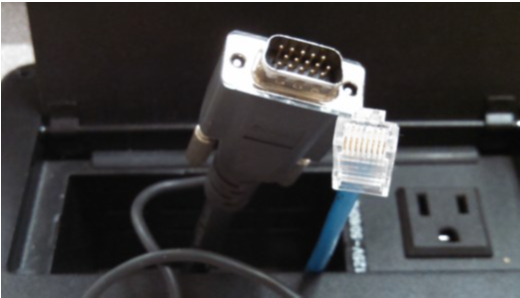
Connect your laptop to the supplied VGA or HDMI cable. Select the laptop source to corresponding to your cable
|
Adjusting Volume
-
Ensure that the volume is turned up in the application or browser and the computer's master volume.

|
|
|
|
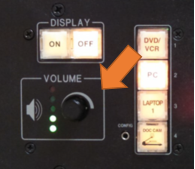
Use the knob to control the volume |
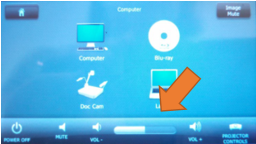
Press the volume icons |
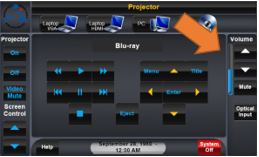
Play a DVD/Blu-ray/VHS
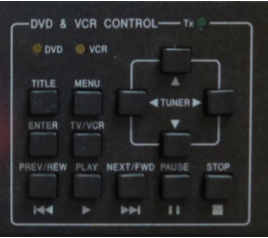
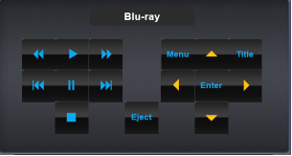
All rooms have the ability to play a DVD. Rooms with Blu-ray capability cannot play a VHS tape. Player is located in the front of the podium. Some rooms have a wireless remote attached to the podium for DVD/VHS control.
|
|
|
|
Use the buttons to control playback |
On-screen buttons control playback |
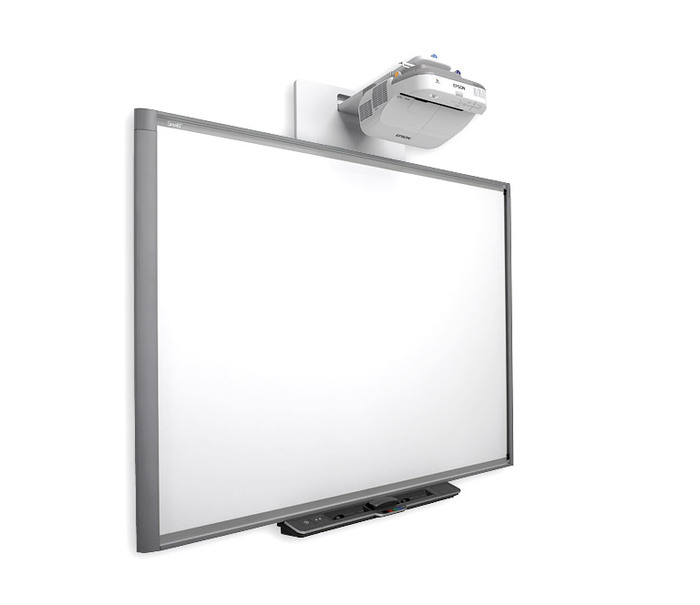
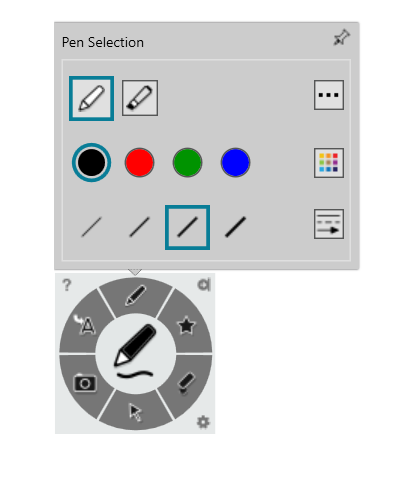
SMART Board Usage
|
|
|
|
|
|
Shut down the system
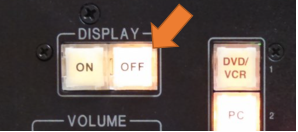
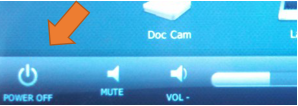
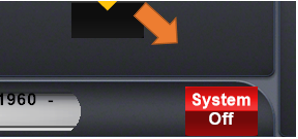 Press the appropriate key and confirm if prompted.
Tips and Tricks
-
The image is off the screen or doesn't look rightPress the source button again or switch to another source and back.
-
The computer is not appearing on screenEnsure the computer is on and awake. Press the power button on the front of the computer within the podium.Ensure the desktop monitor is on and plugged in
-
The computer is not working or frozenReset the computer by holding the power button on the computer within the podium until it turns off completely. Wait 30 seconds and press the power button again to start up.
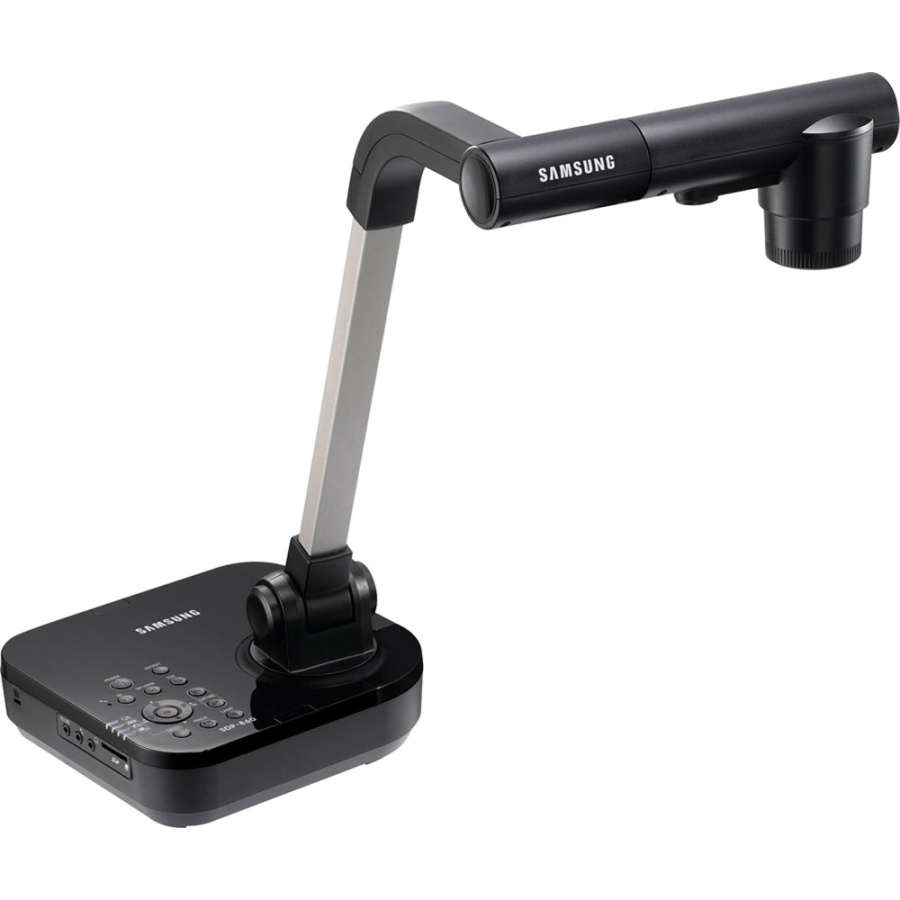
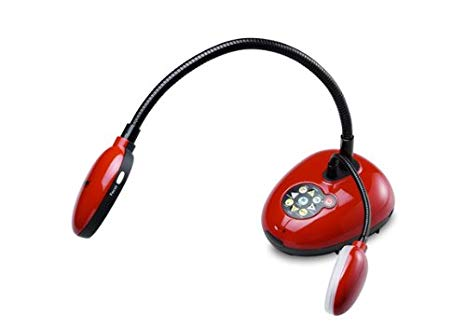
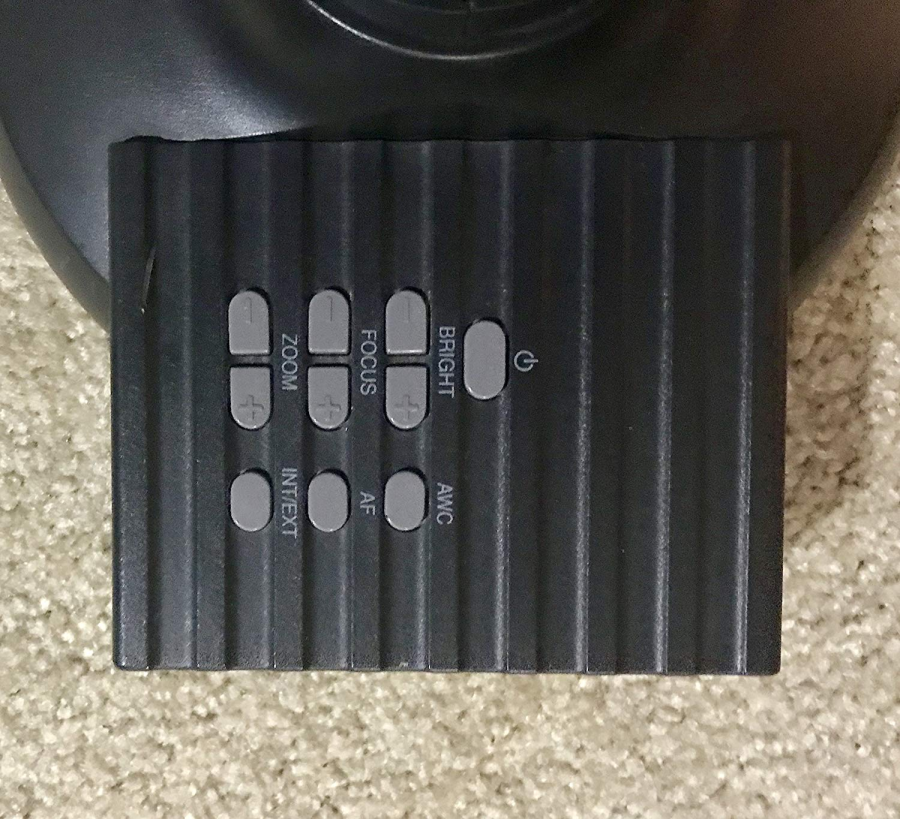
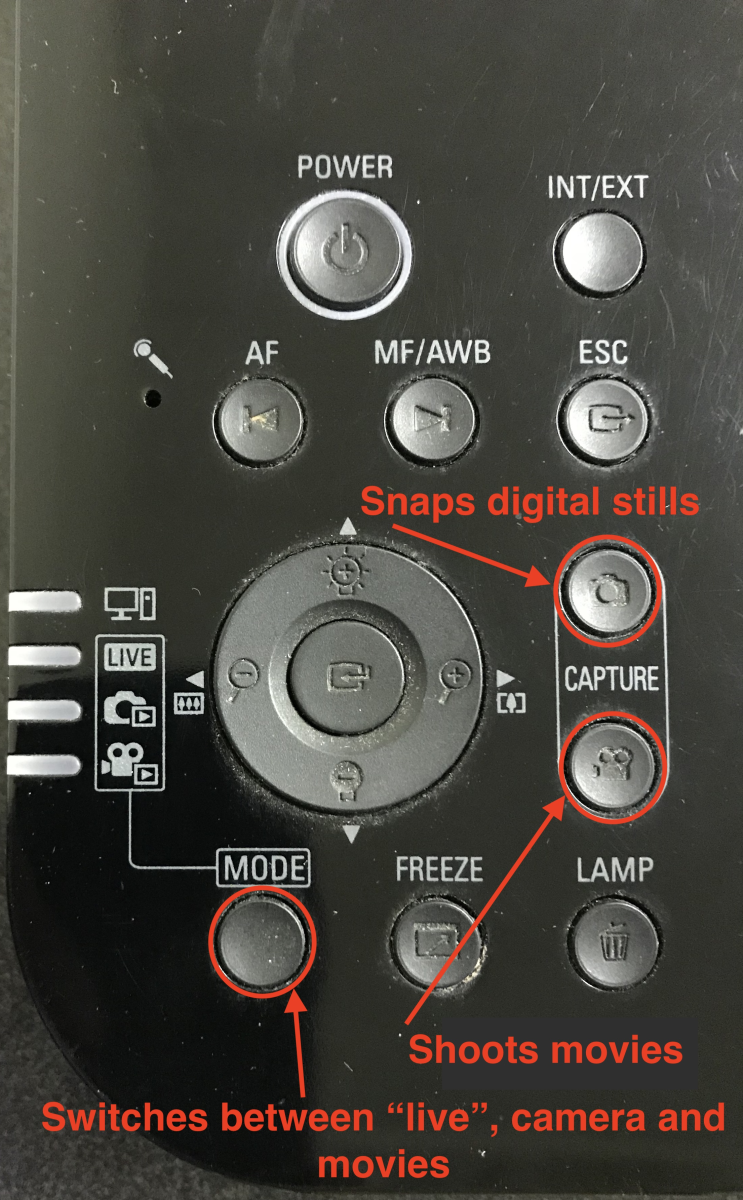
Document Camera Usage
|
|
|
|
|
|